Discover how to Managing House Details, Property Photos and Documents, User Permissions, Property Activity Logs.

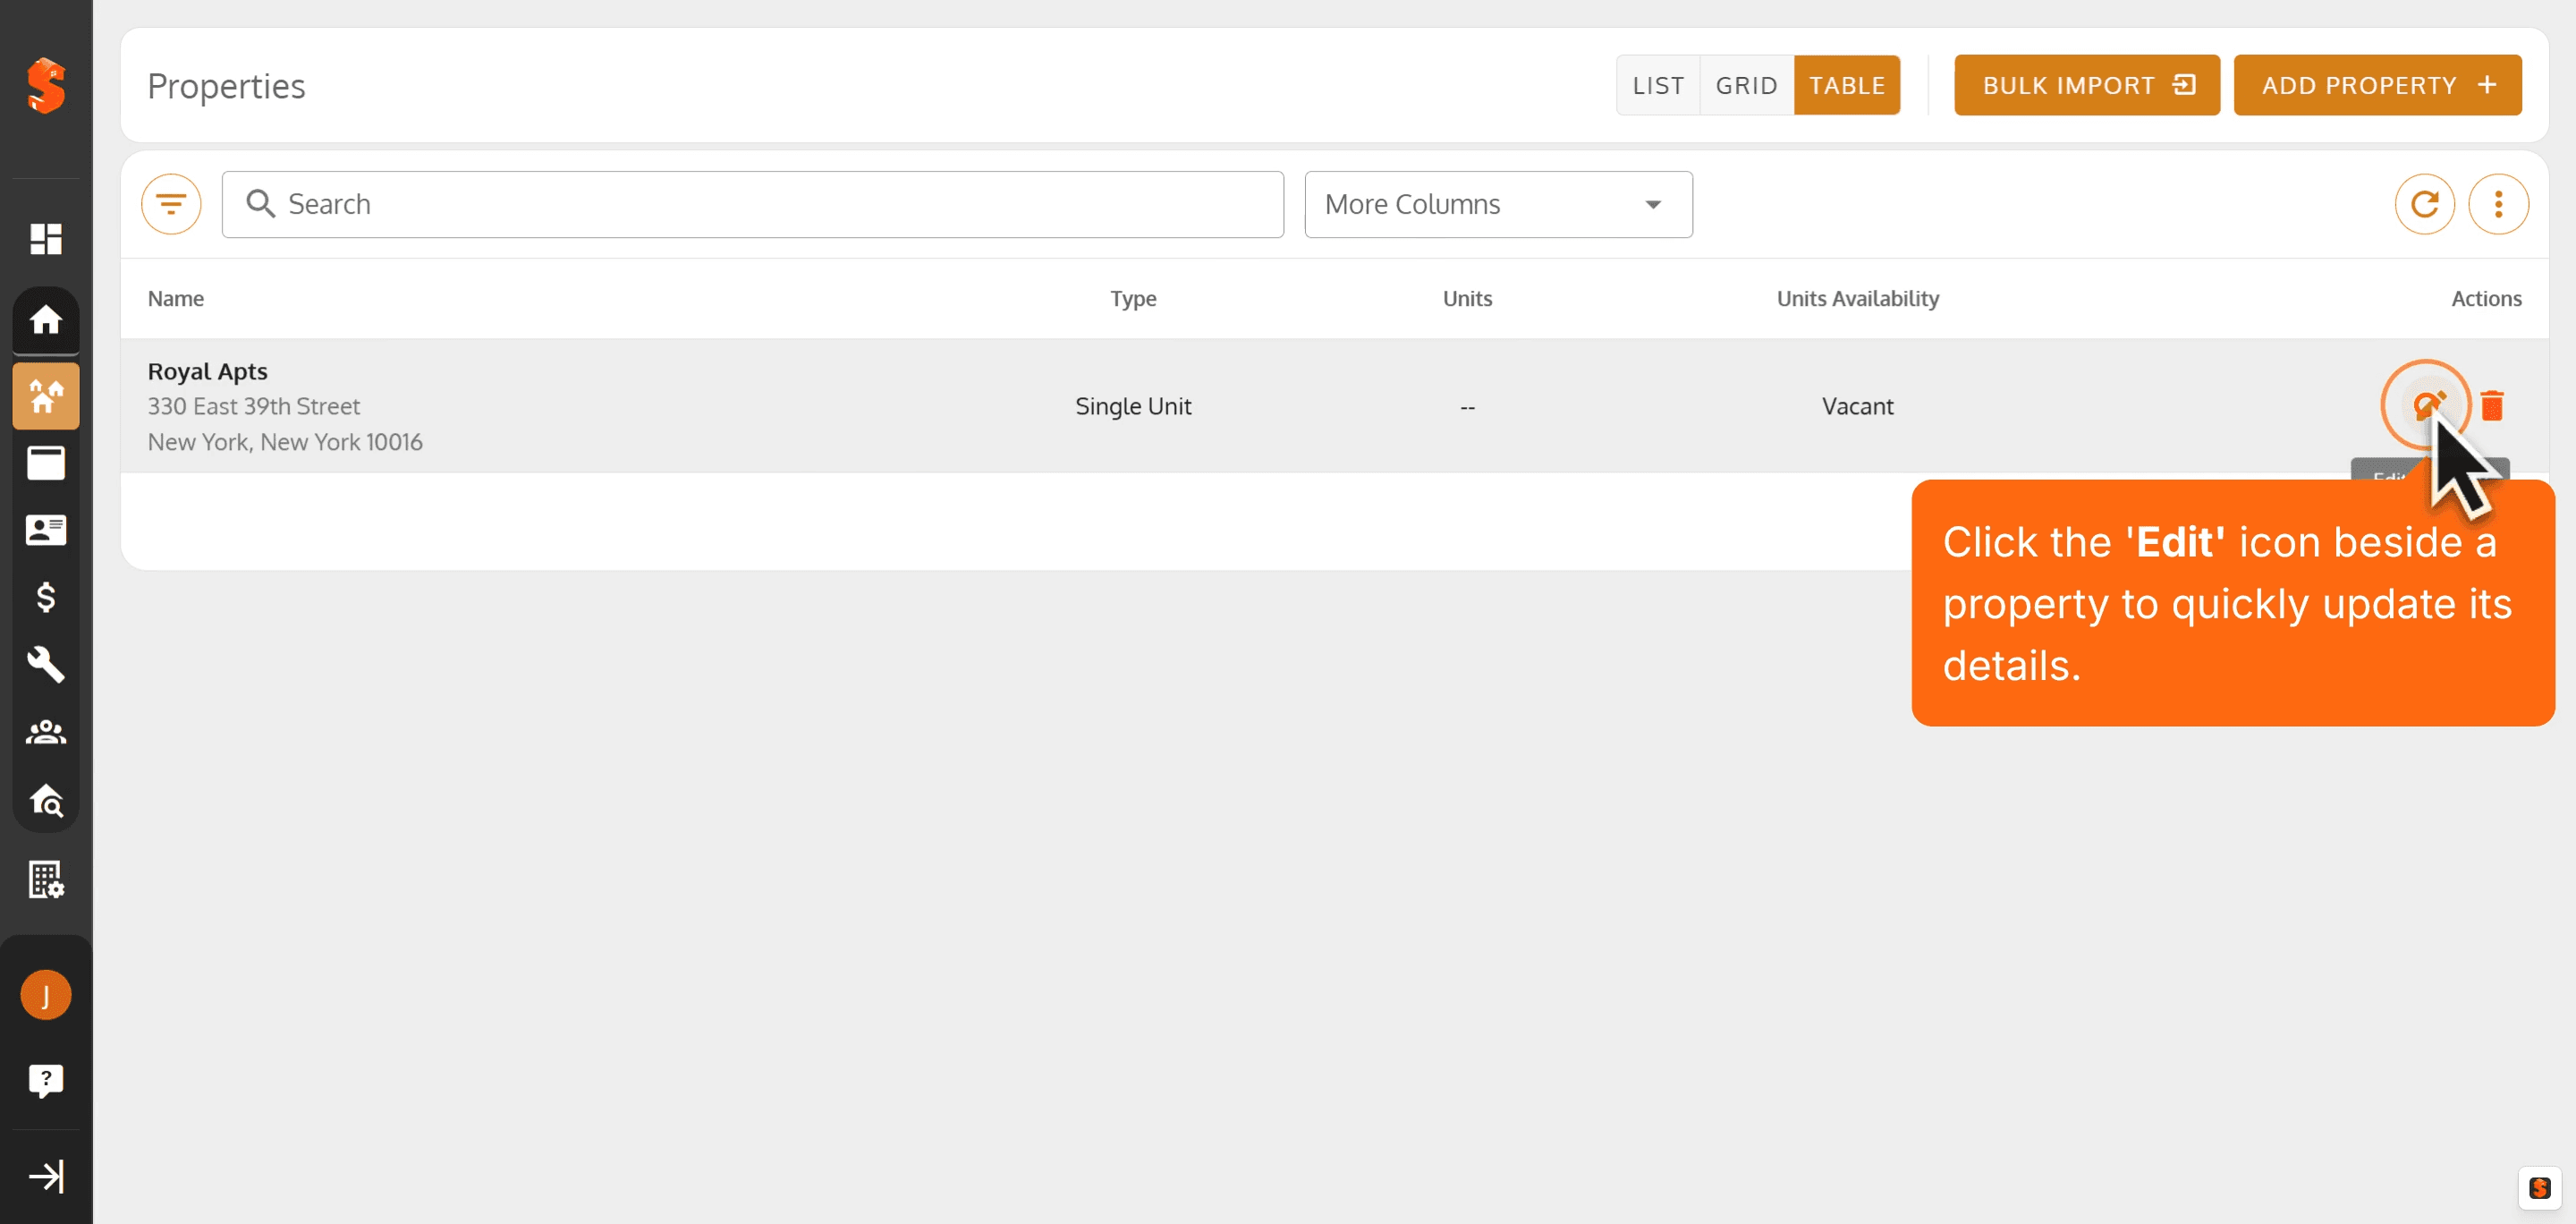
1. Click the 'Edit' icon beside a property to quickly update its details.
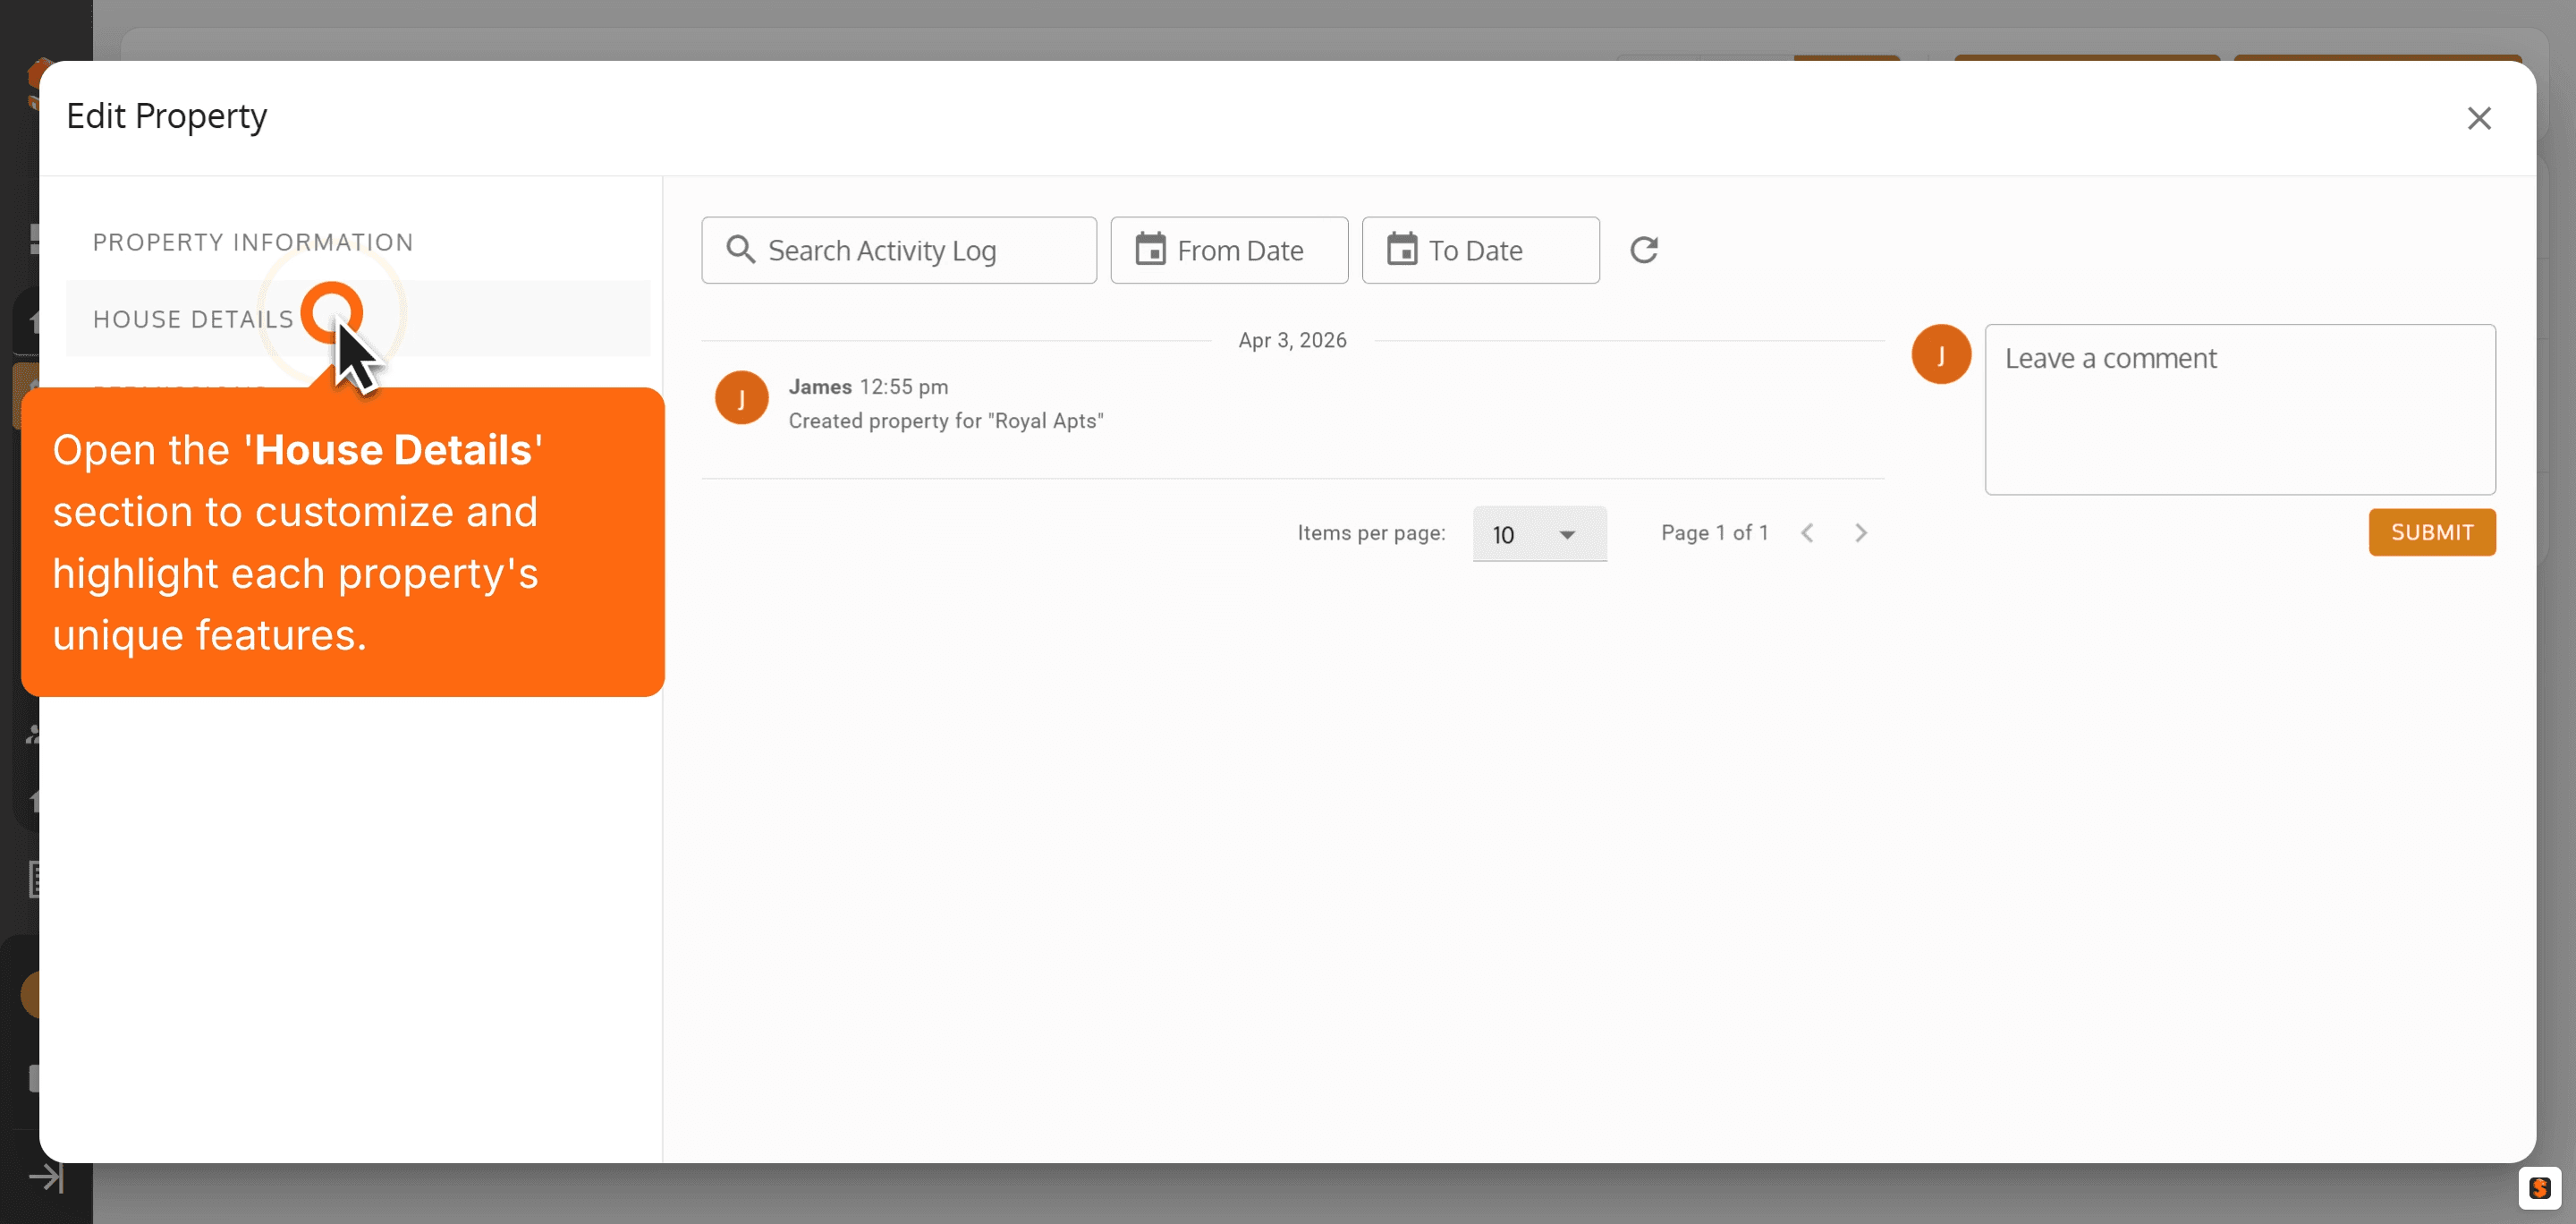
2. Open the 'House Details' section to customize and highlight each property's unique features.
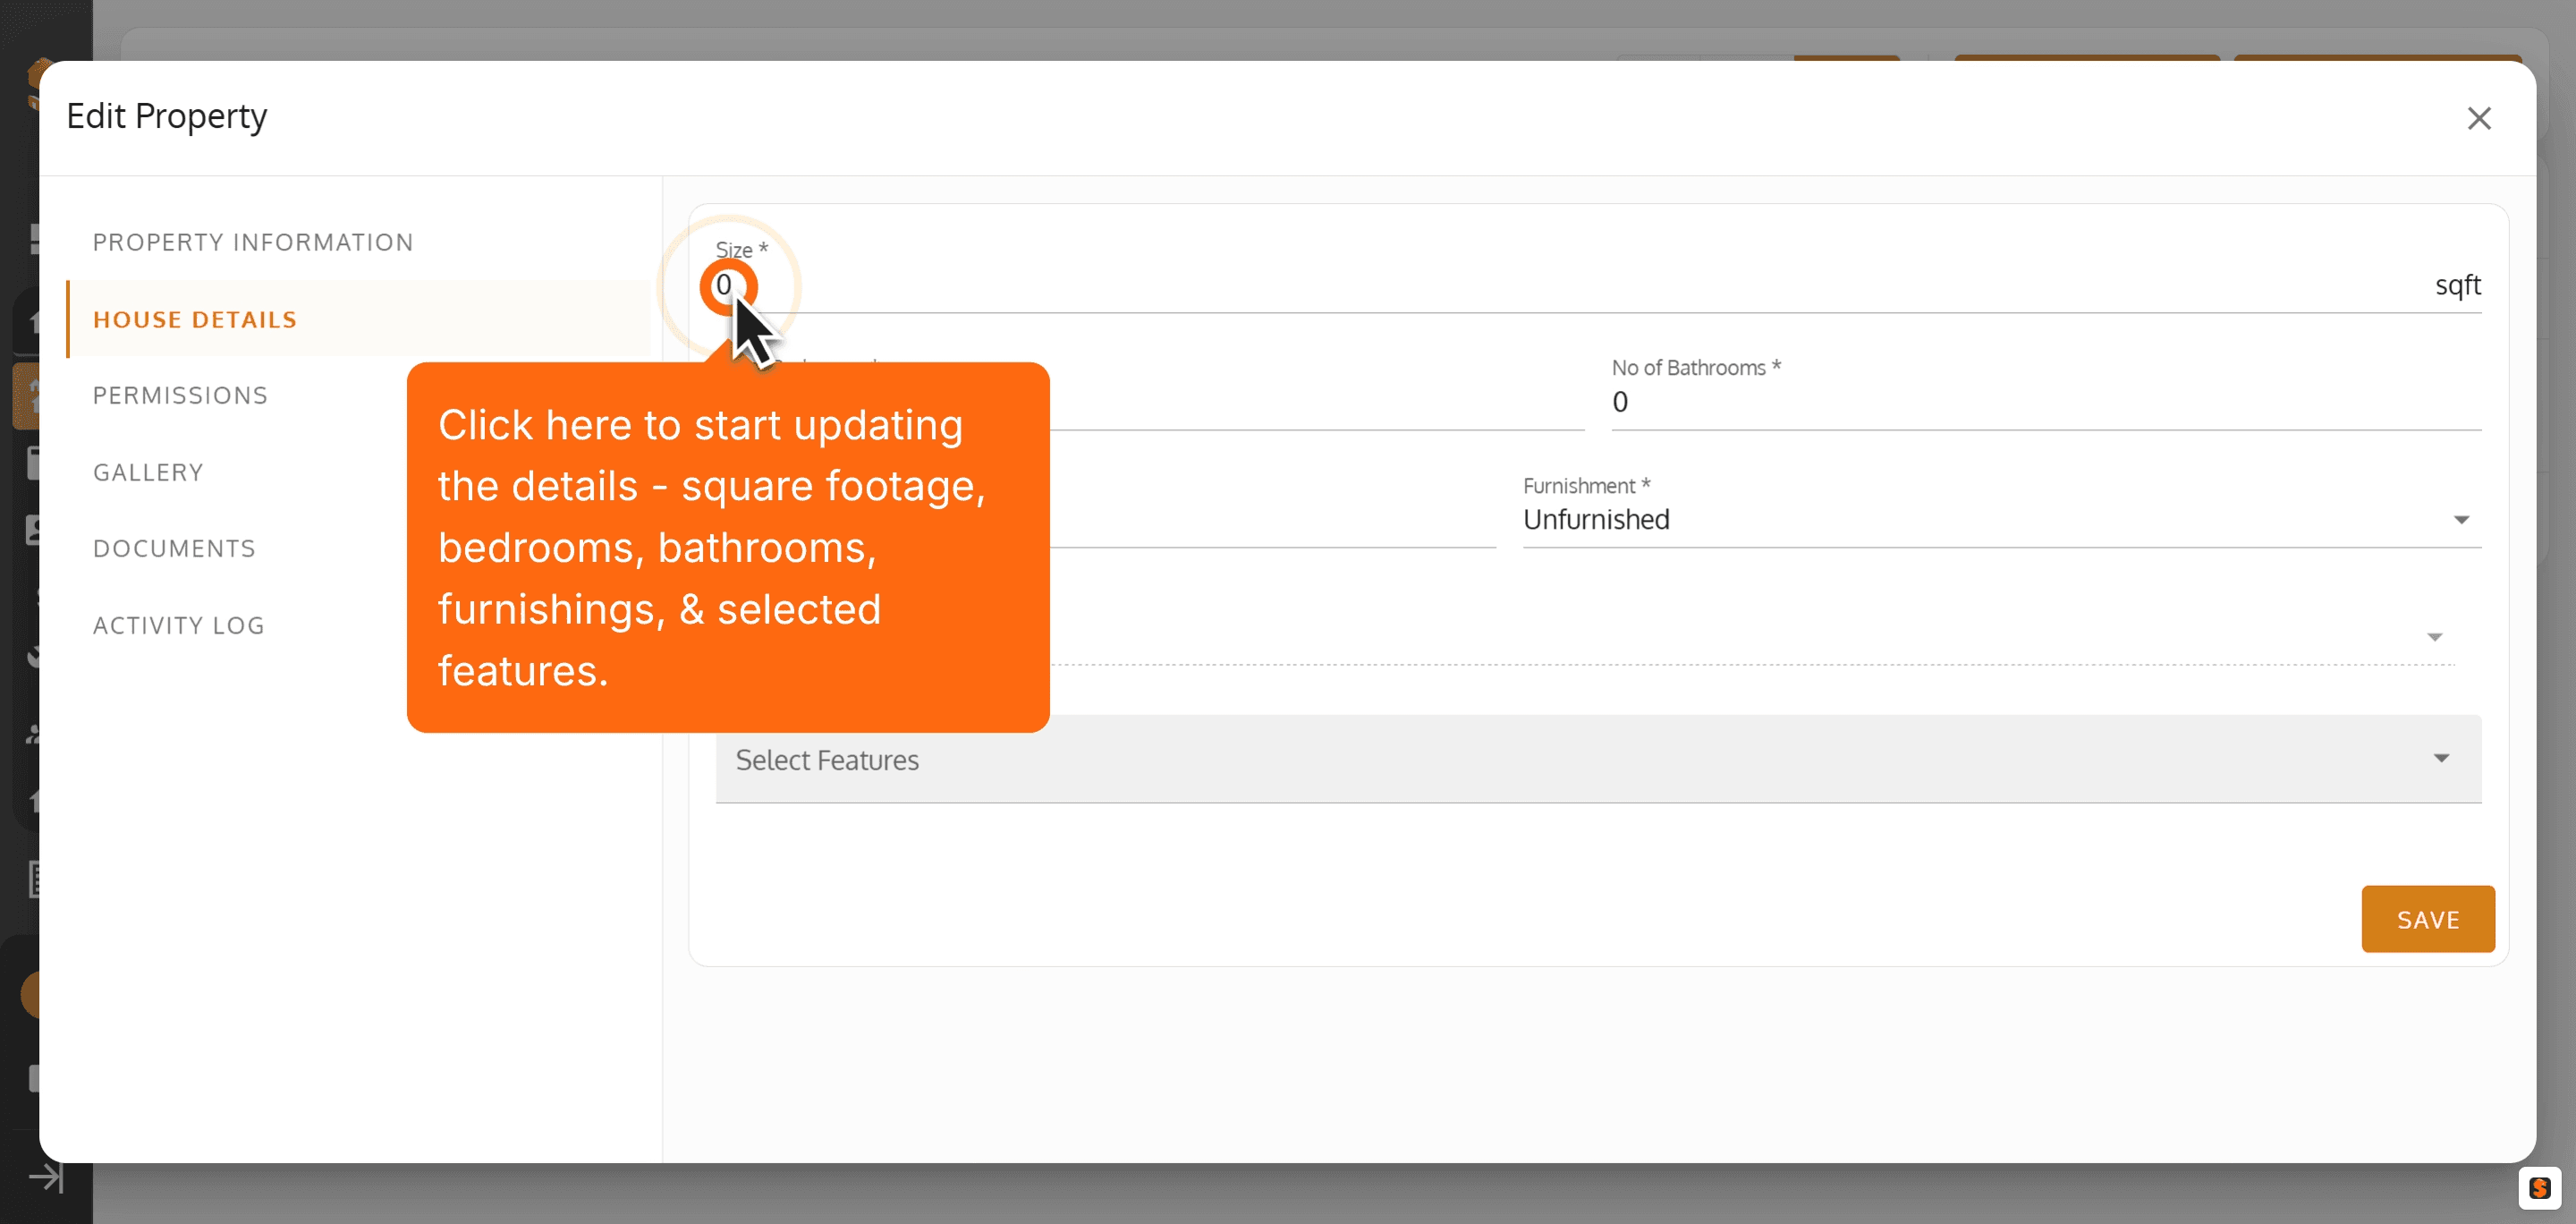
3. Click here to start updating the details - square footage, bedrooms, bathrooms, furnishings, & selected features.
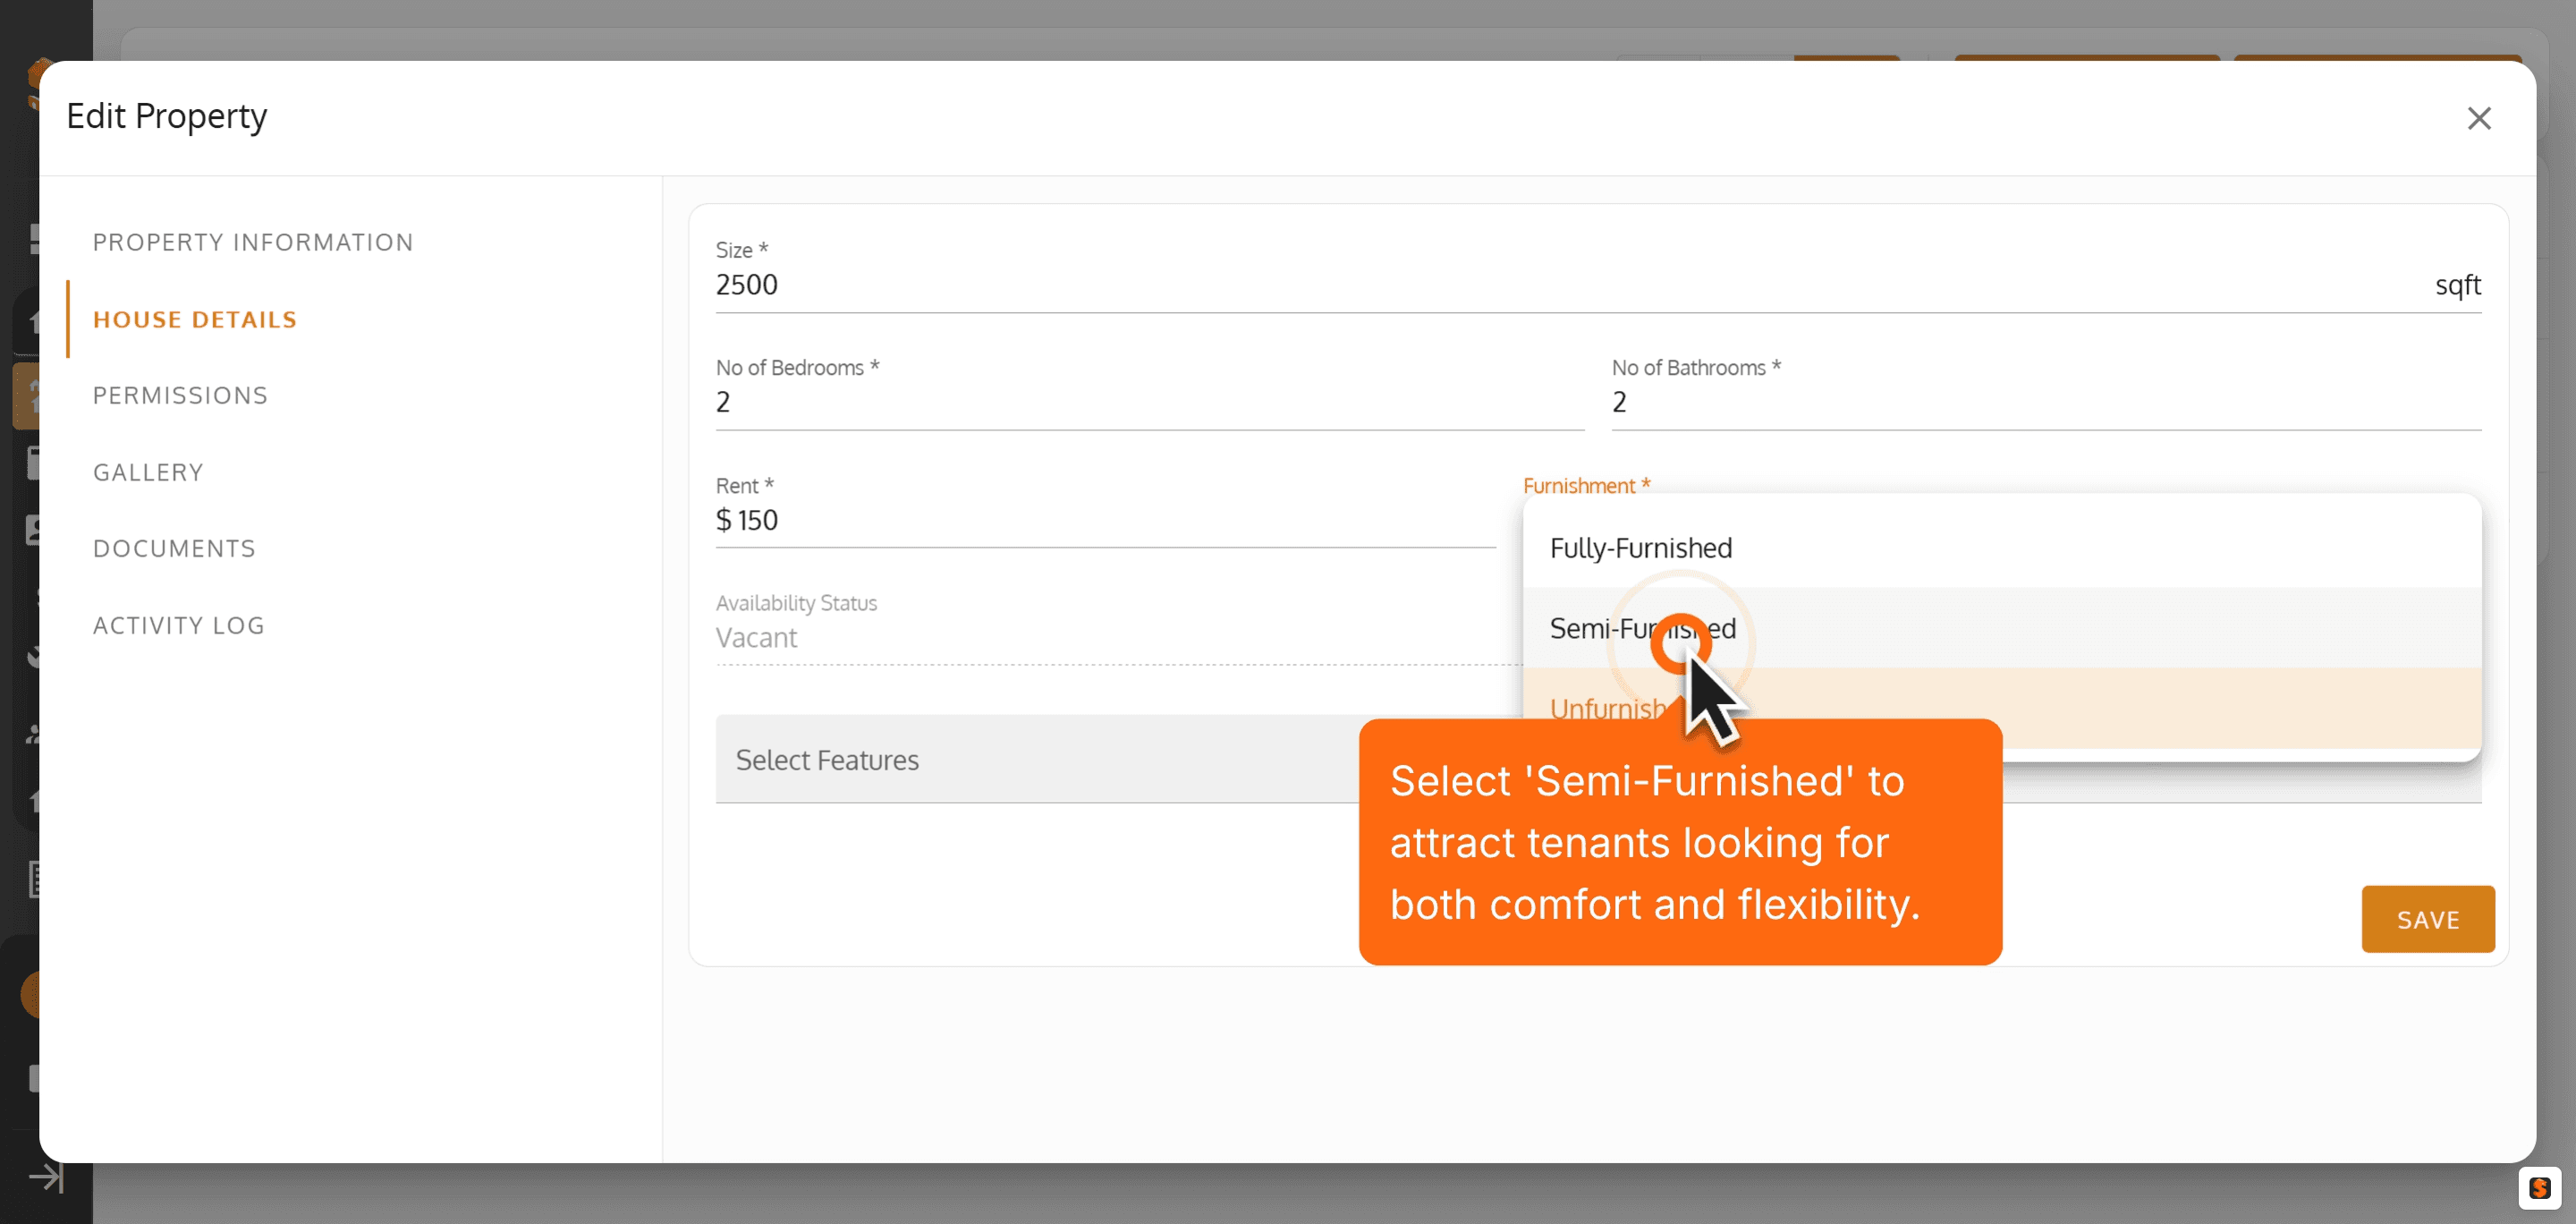
4. Select 'Semi-Furnished' to attract tenants looking for both comfort and flexibility.
5. Use the 'Select Features' dropdown to mark standout amenities and boost interest.
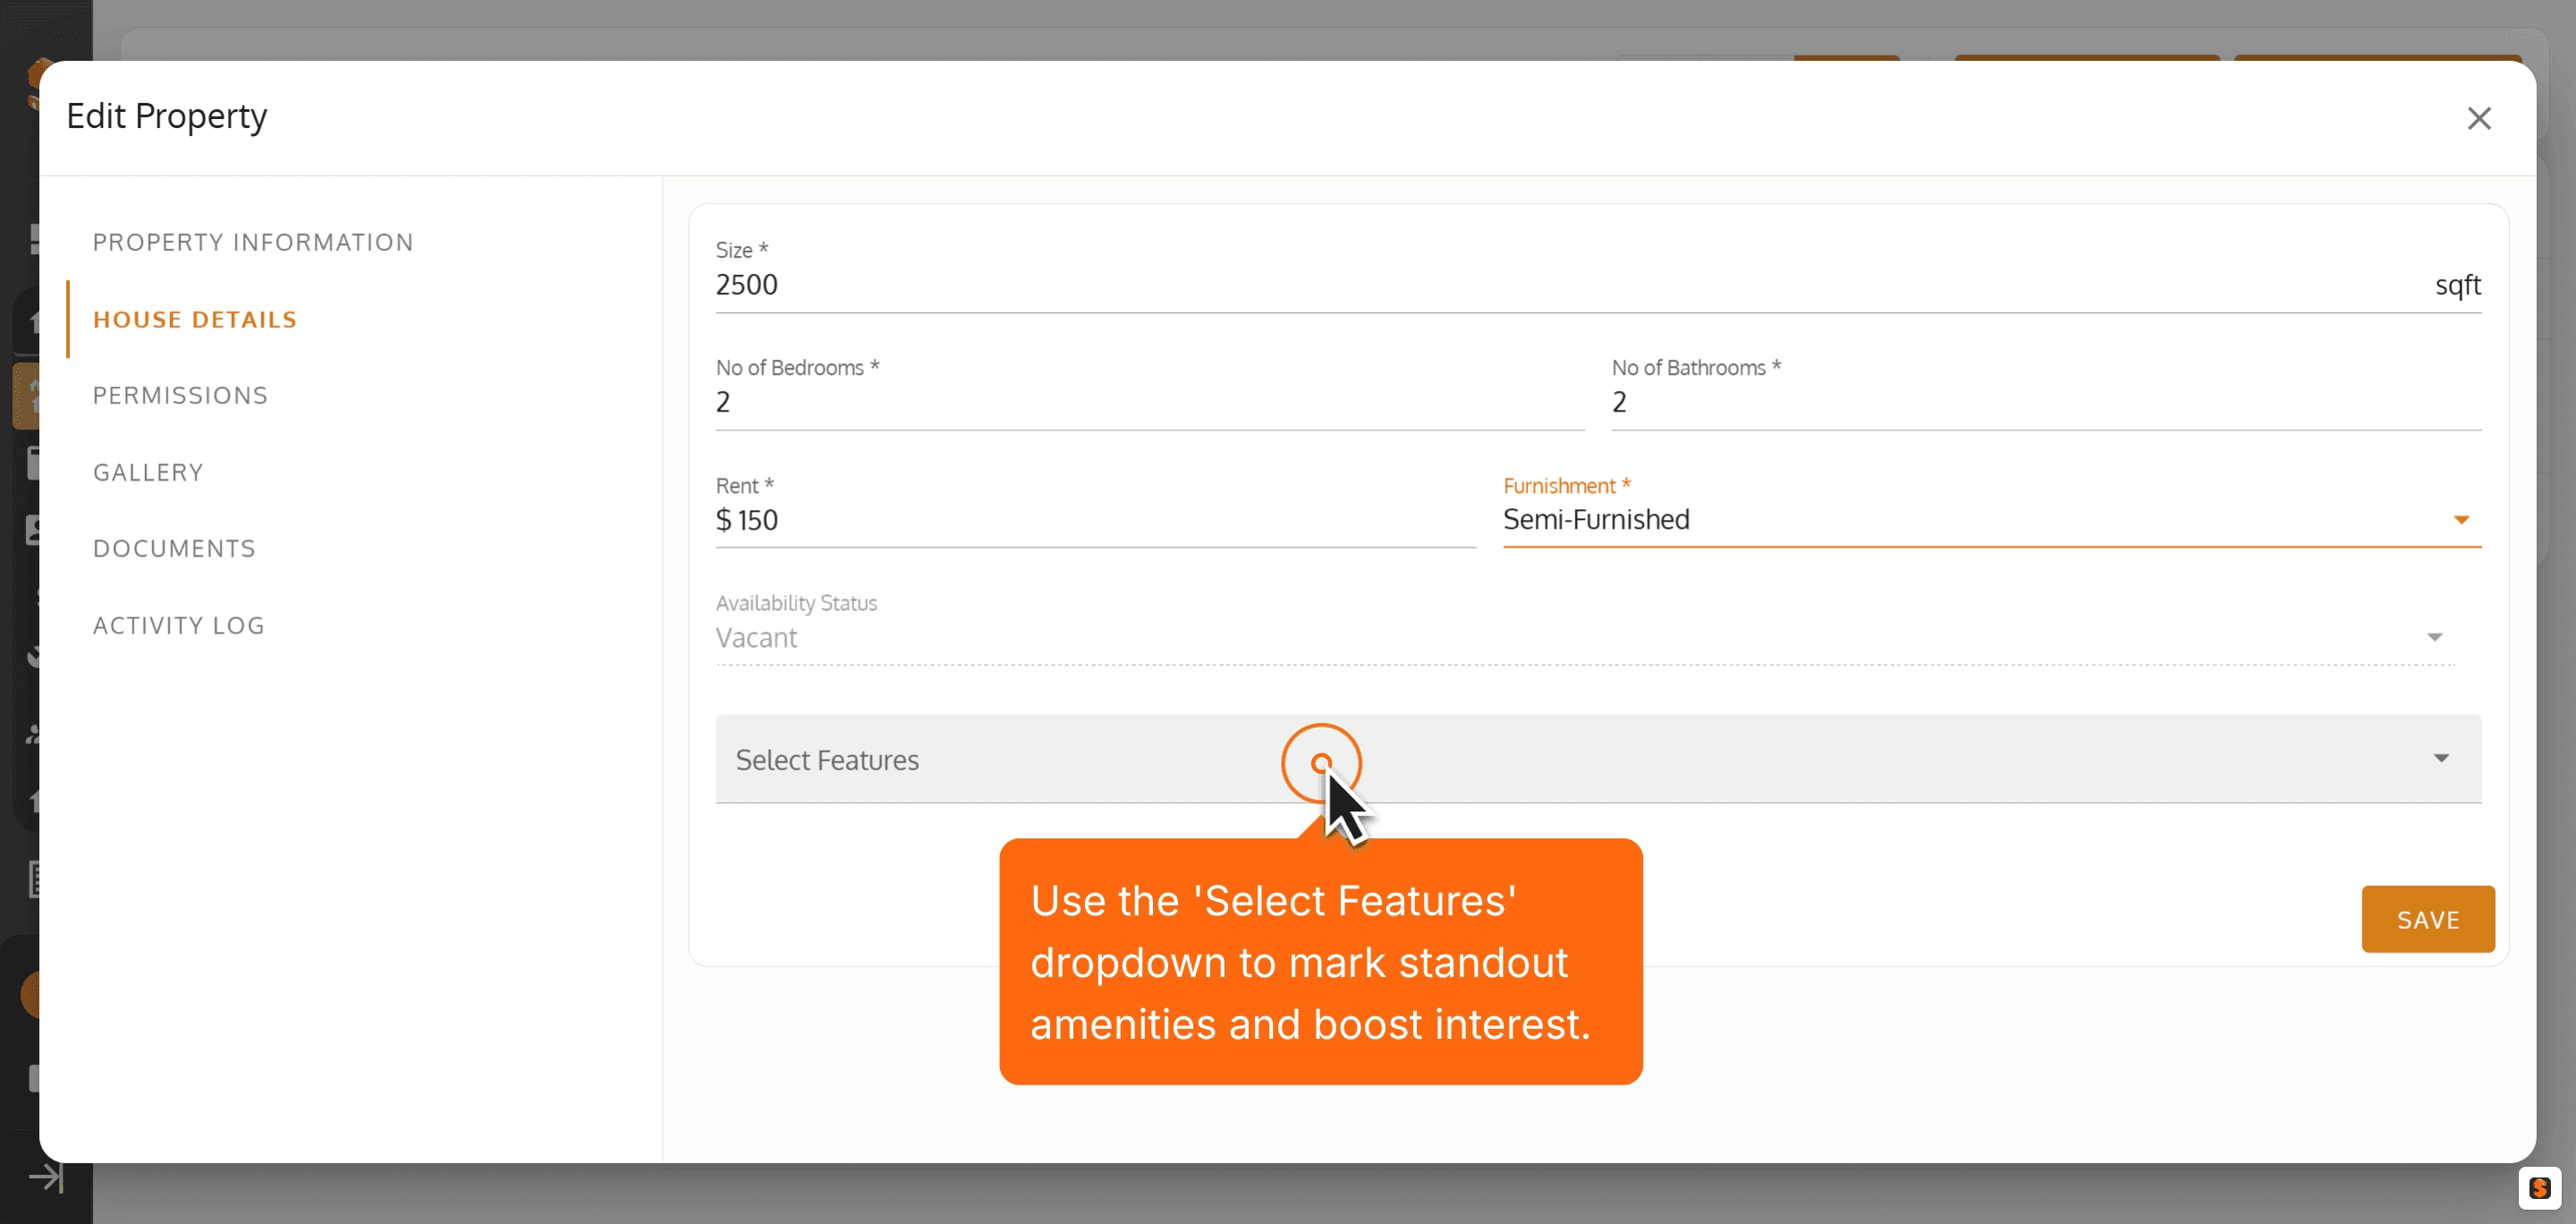
6. Click 'Save' all updates to keep your listing current and attractive to potential tenants.
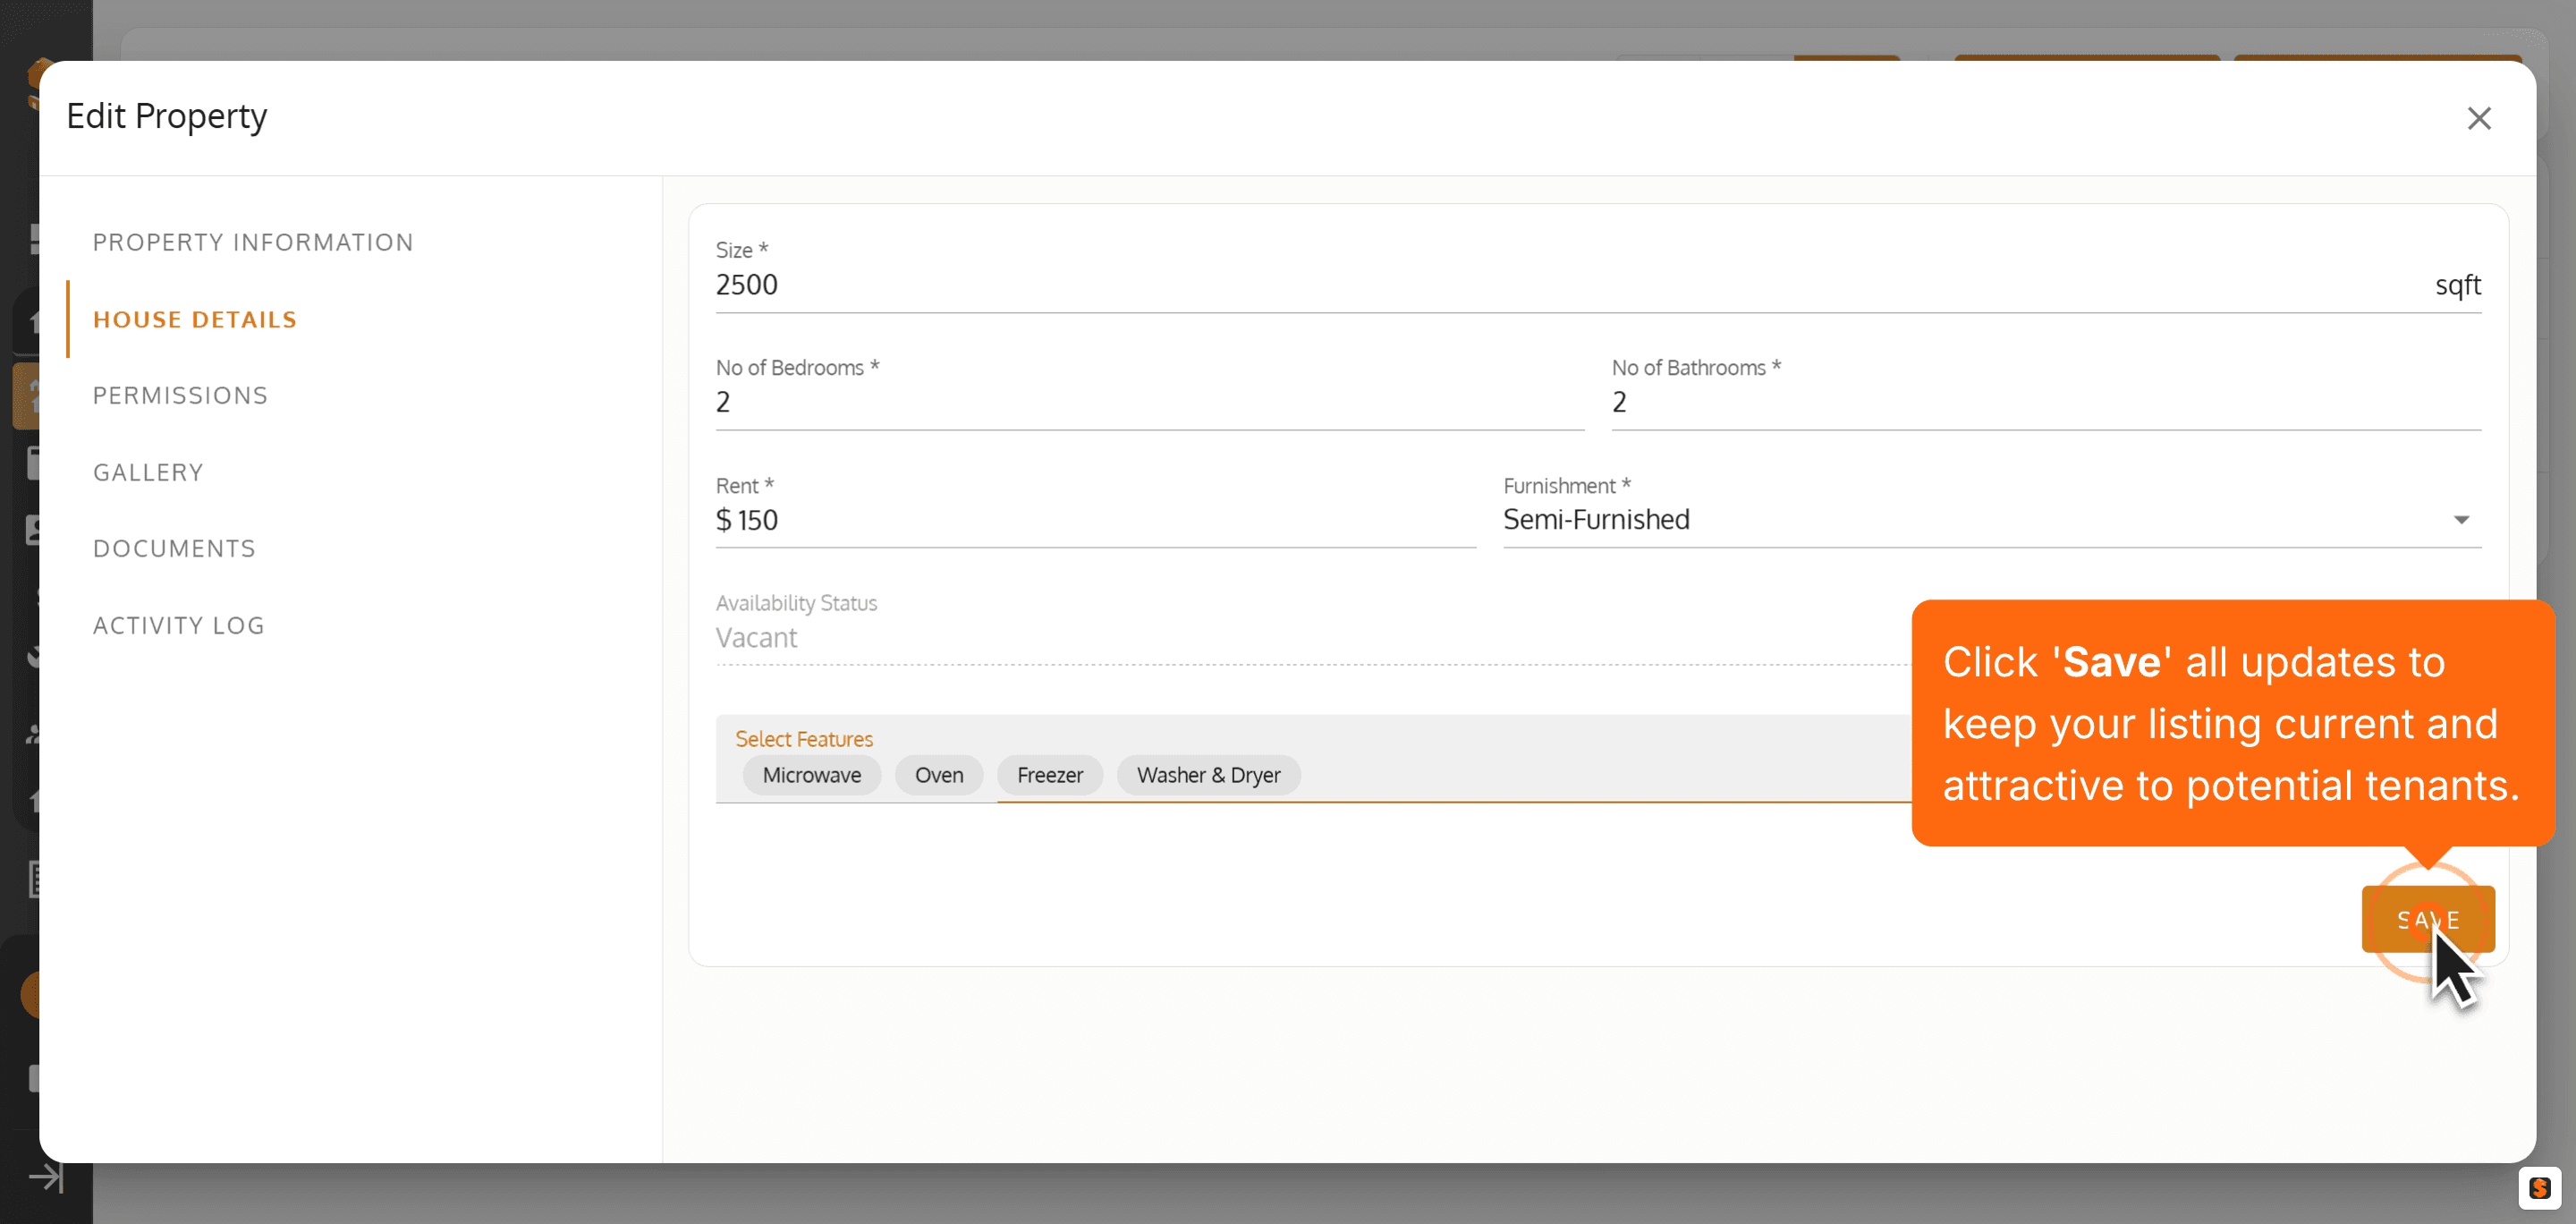
7. Tap the 'PERMISSIONS' tab to Give property access to users and control who can manage or view this property.
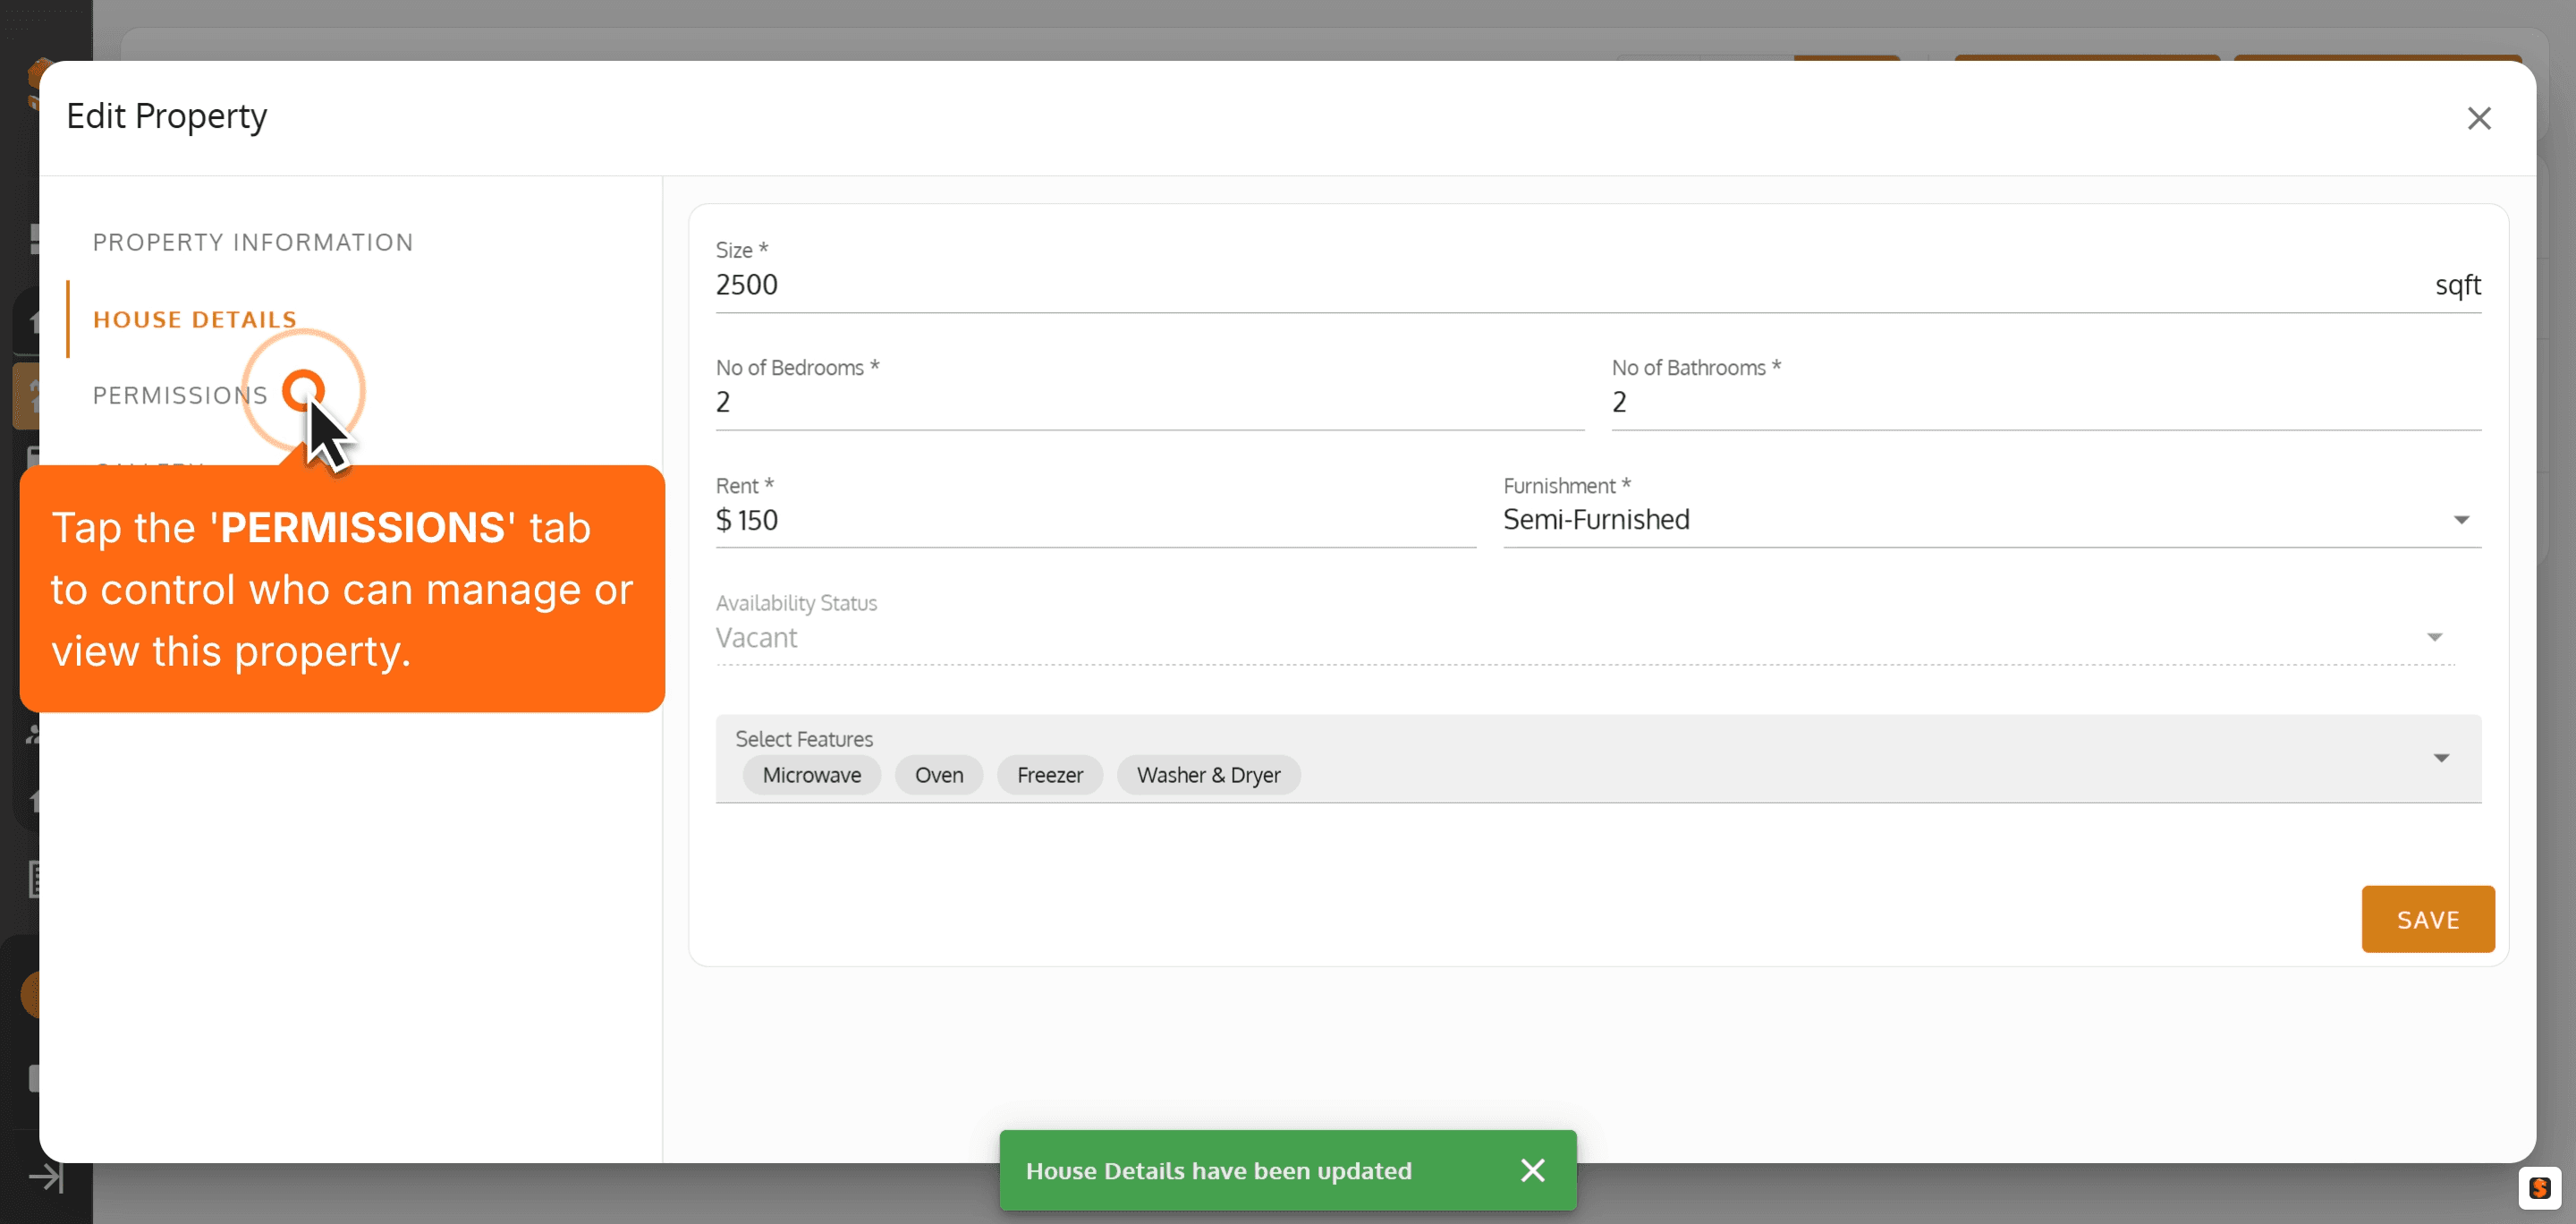
8. Change User or Team roles easily to streamline collaborative property management.
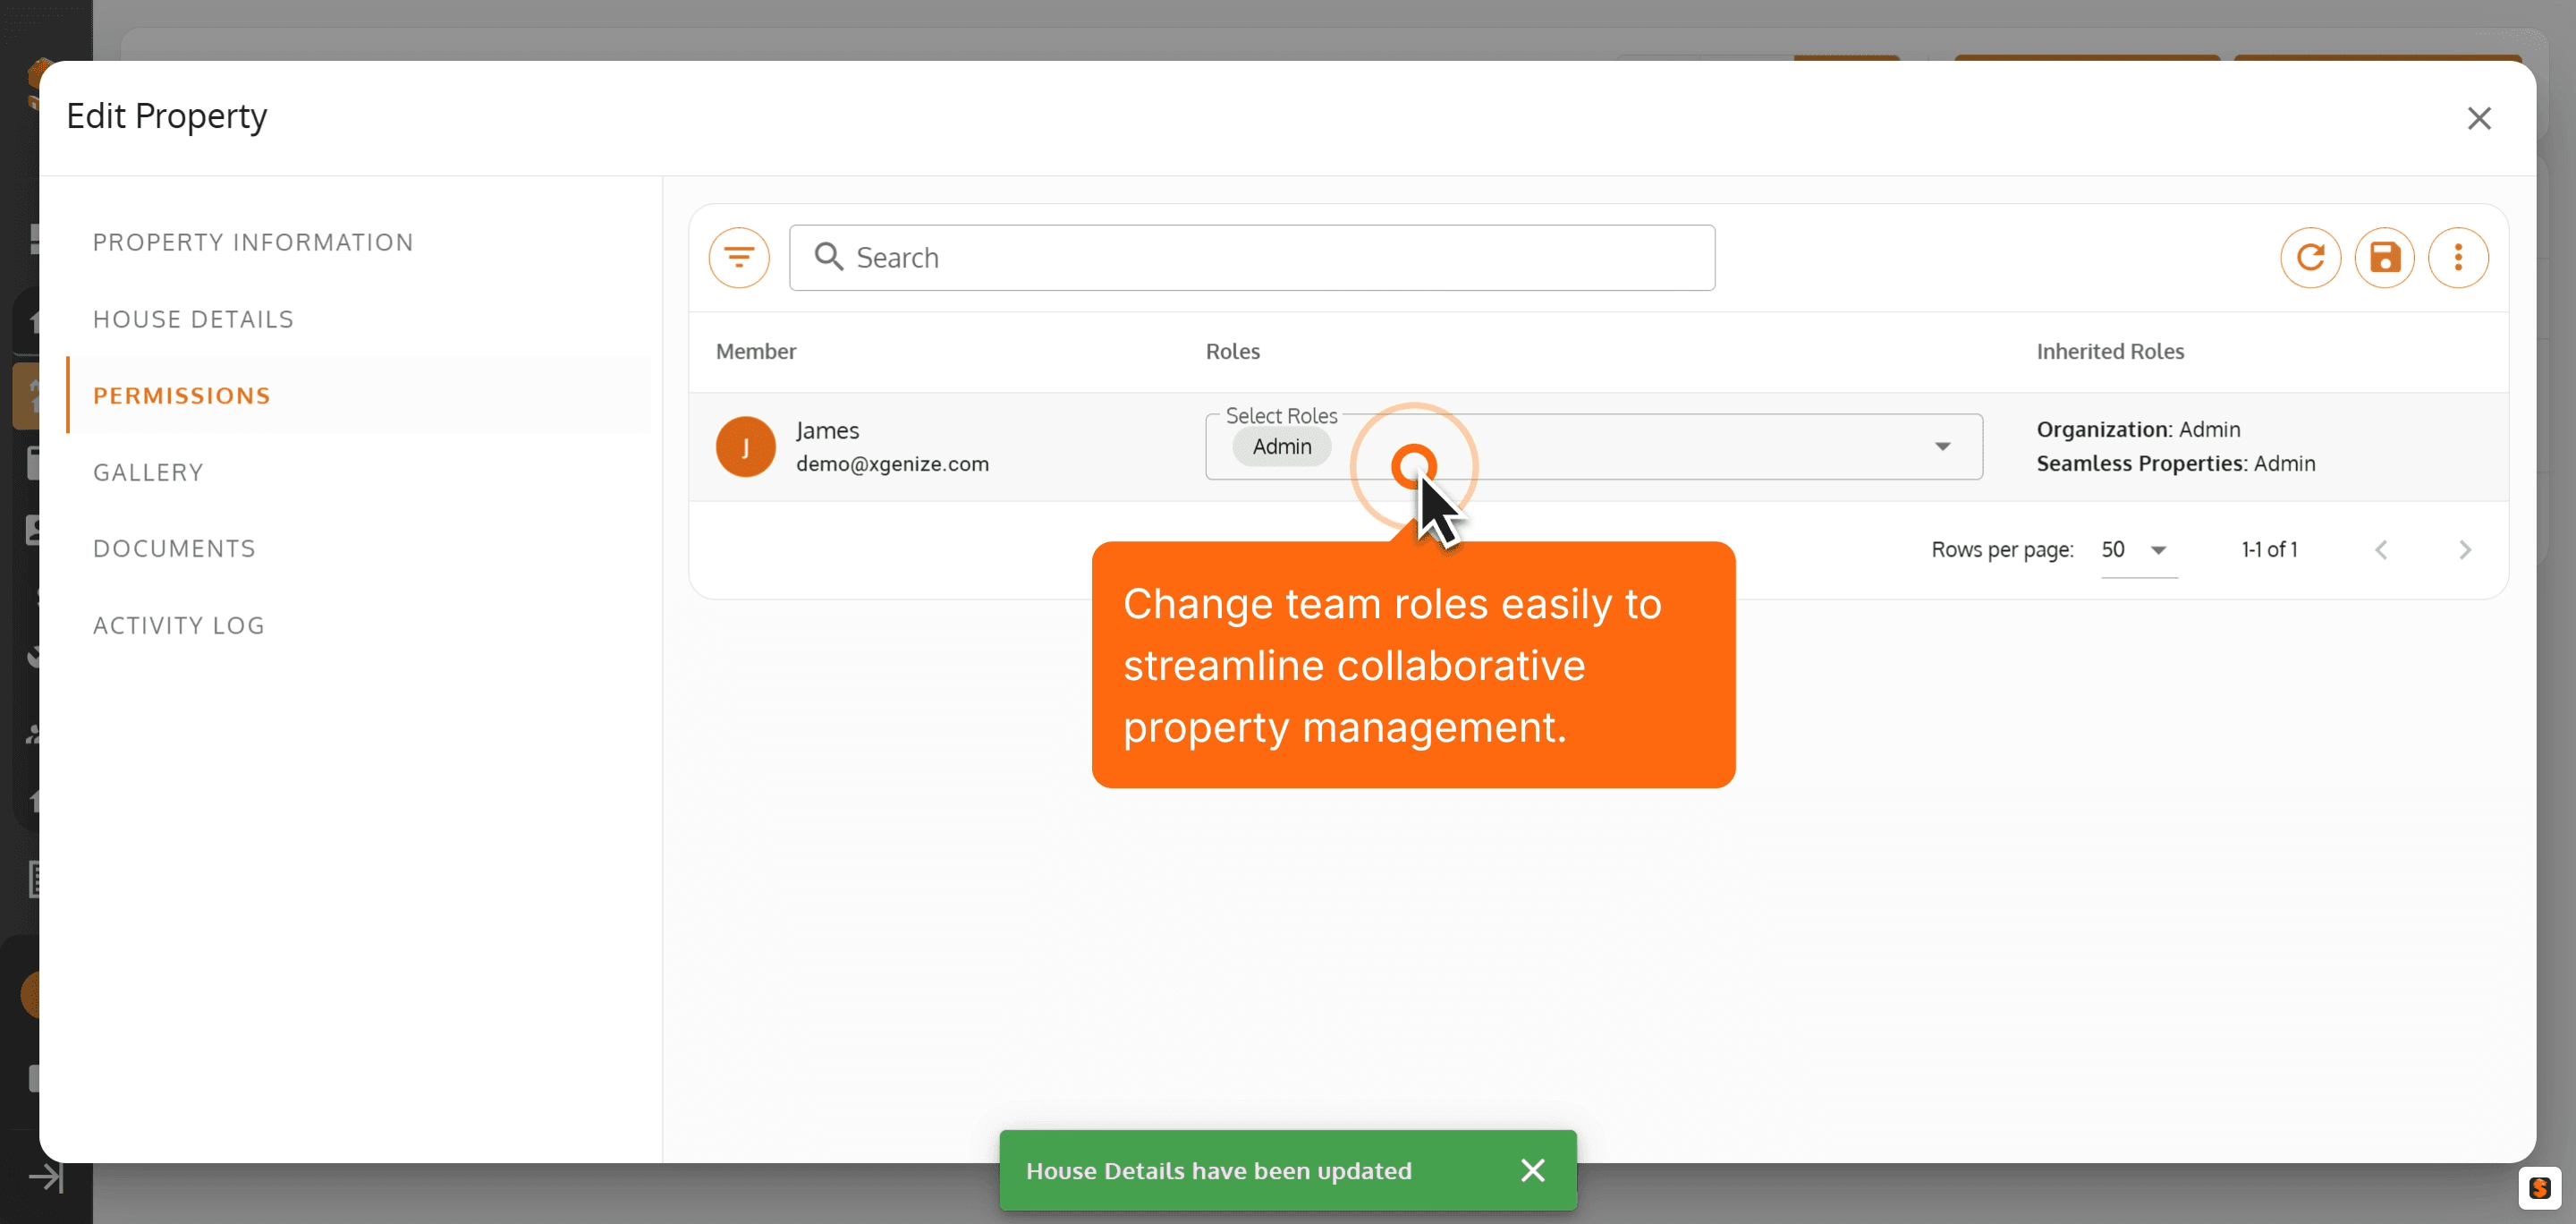
9. Assign the 'Manager' role to empower team members with full listing control.
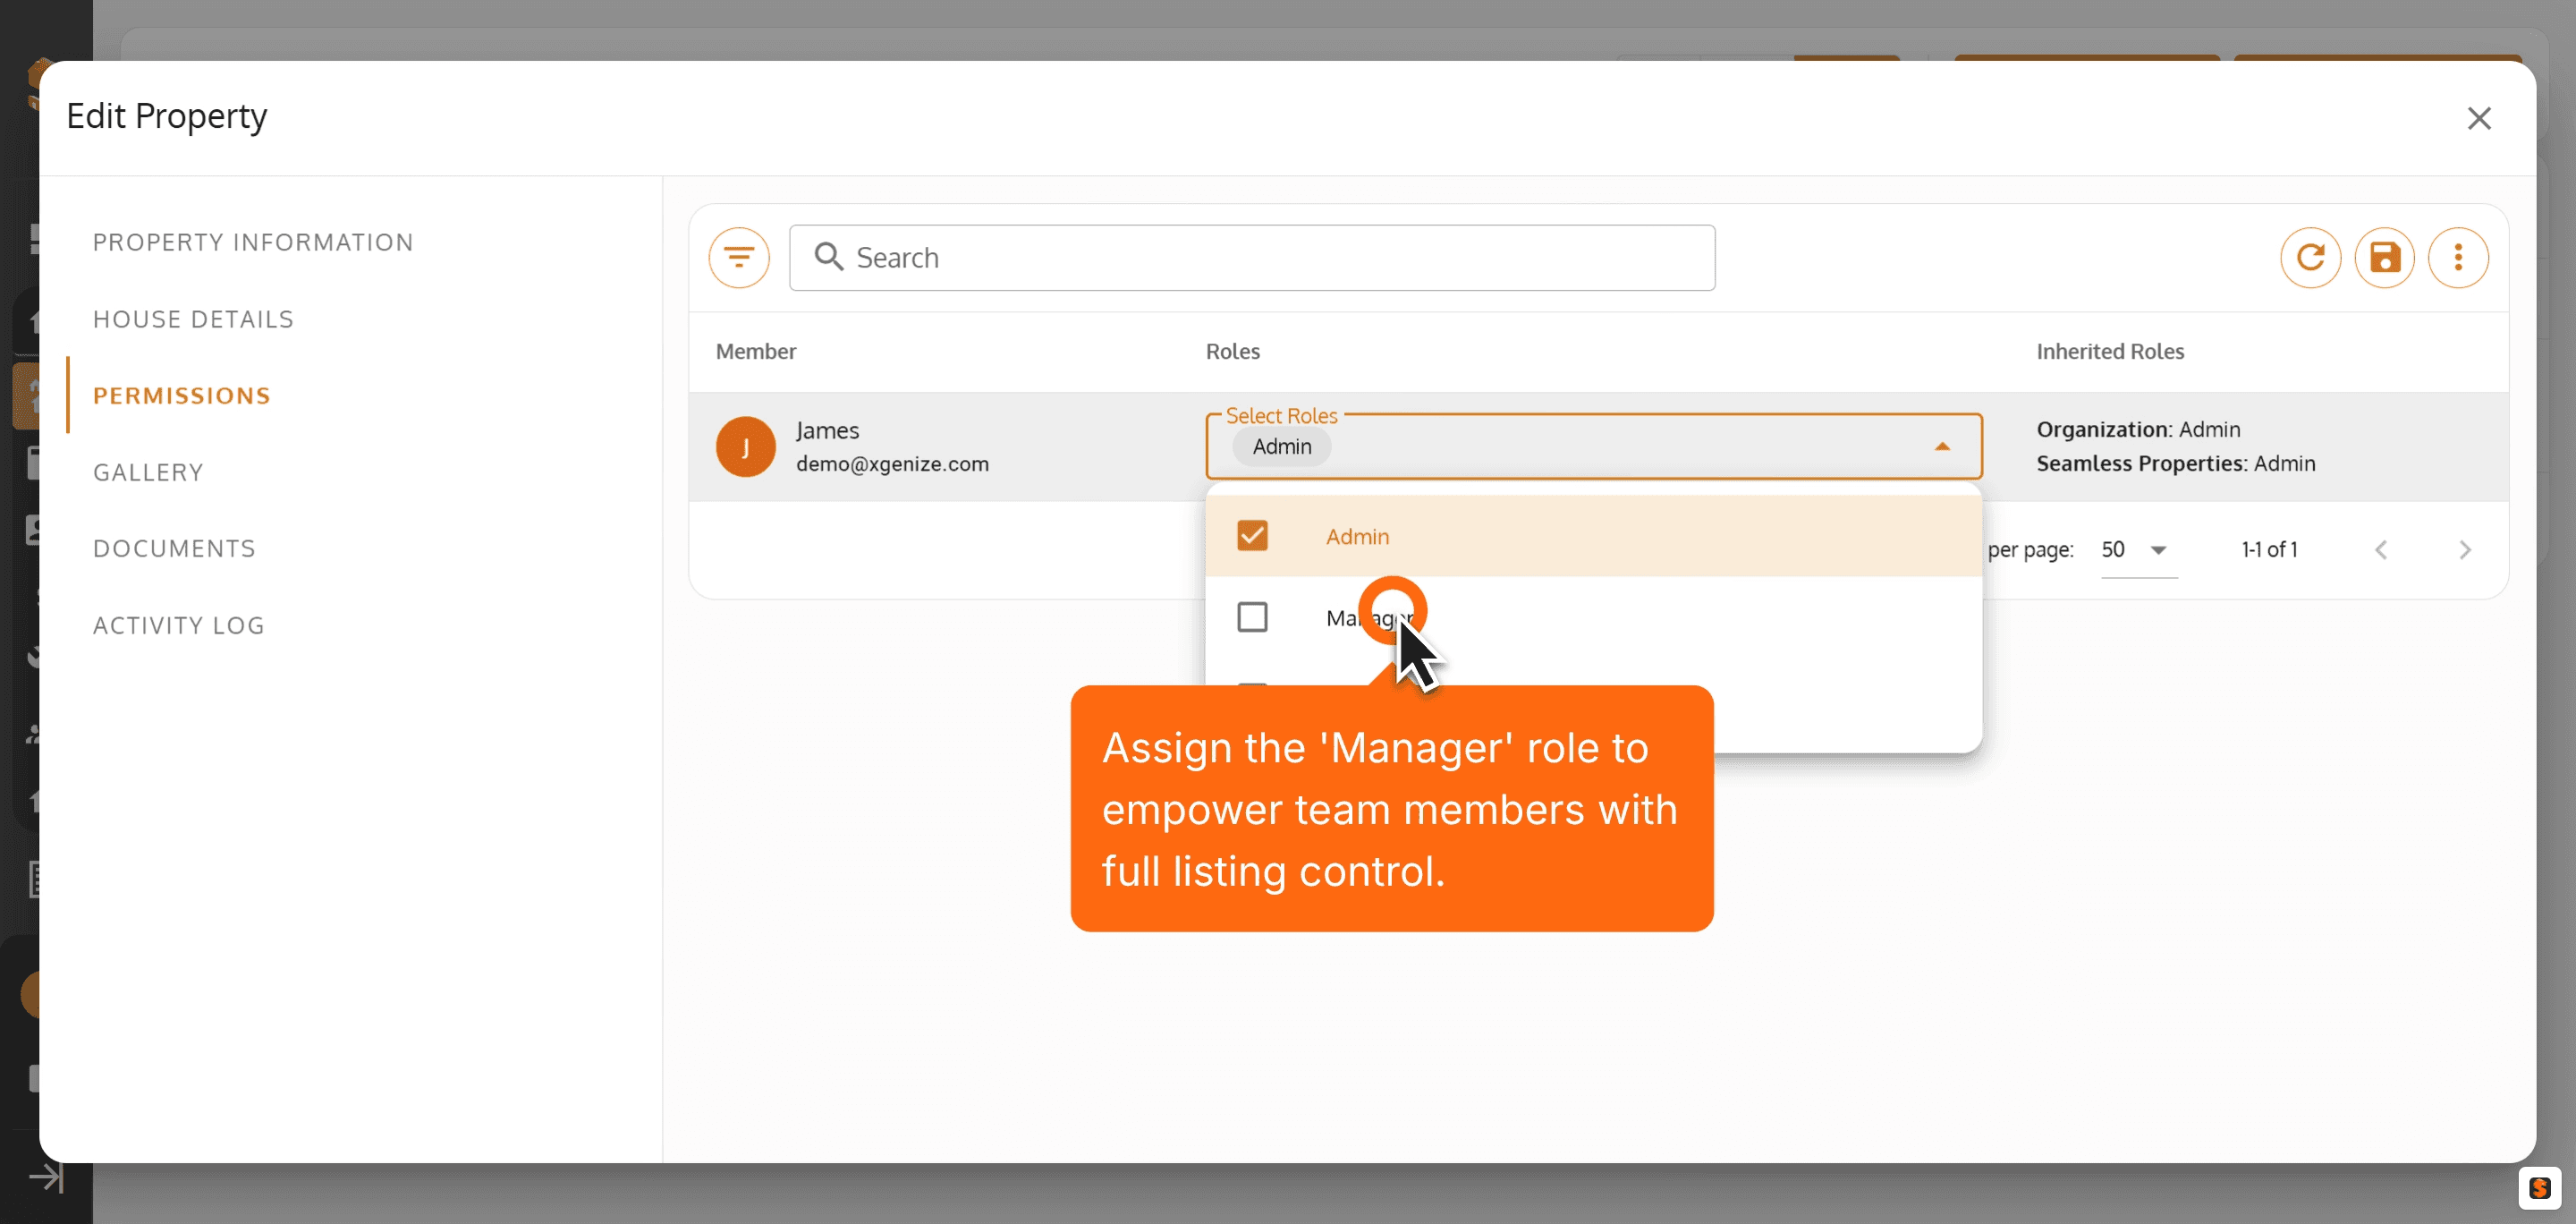
10. Add the 'Member' role for more flexible and secure team collaboration.

11. Save 'Role' updates to immediately apply new permissions for efficient teamwork.
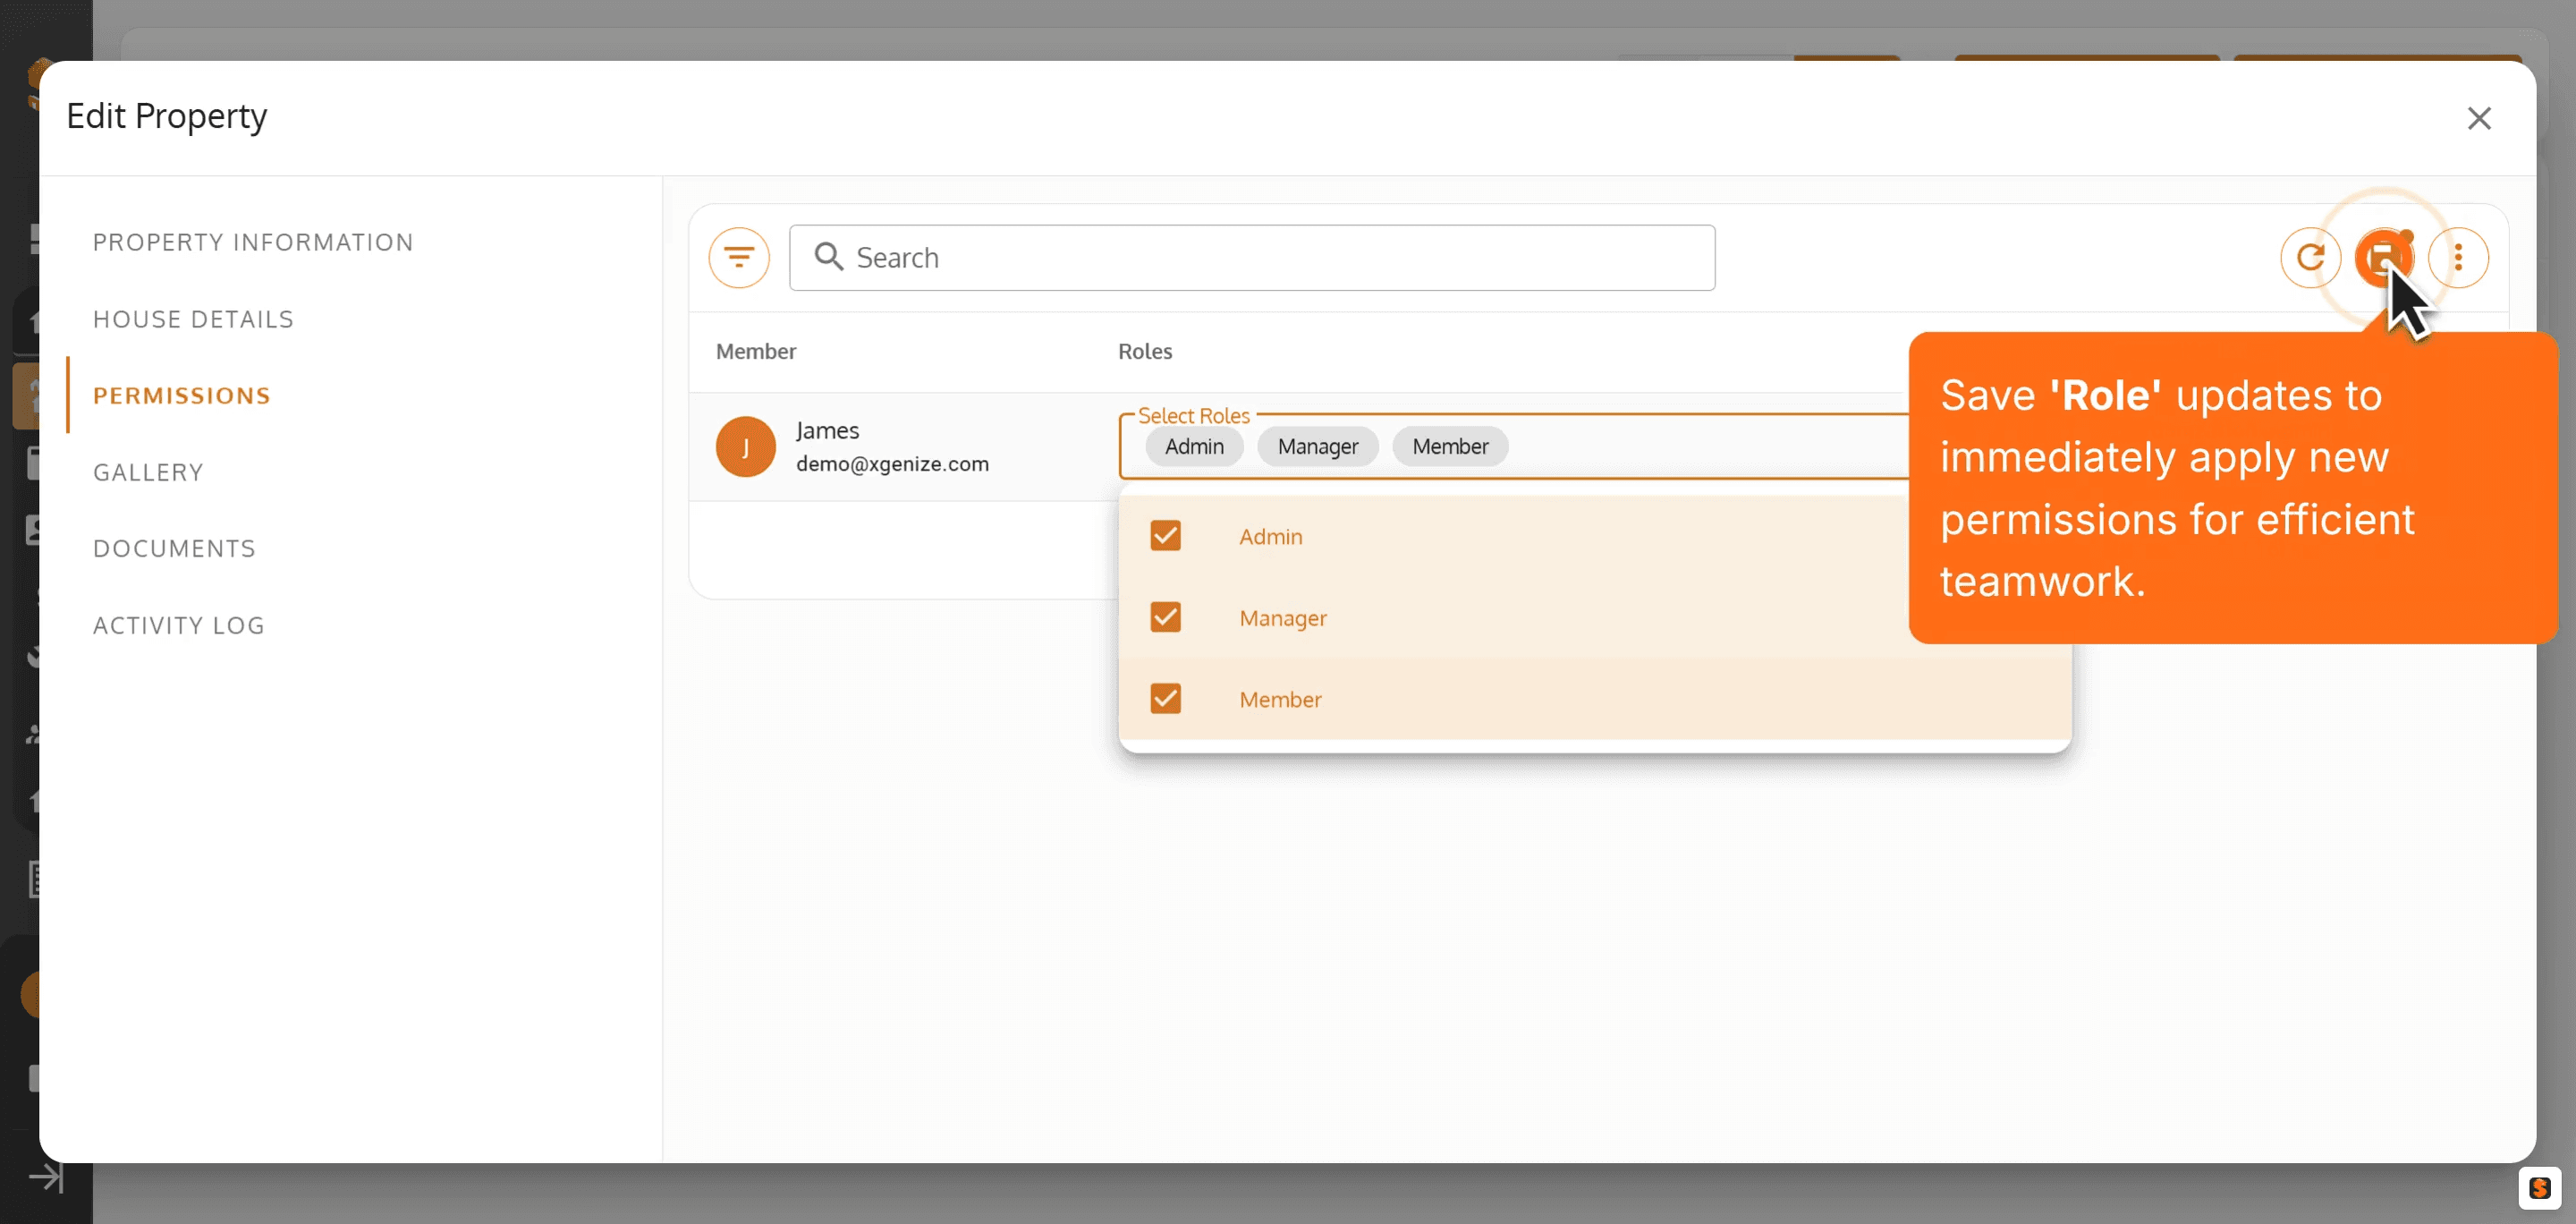
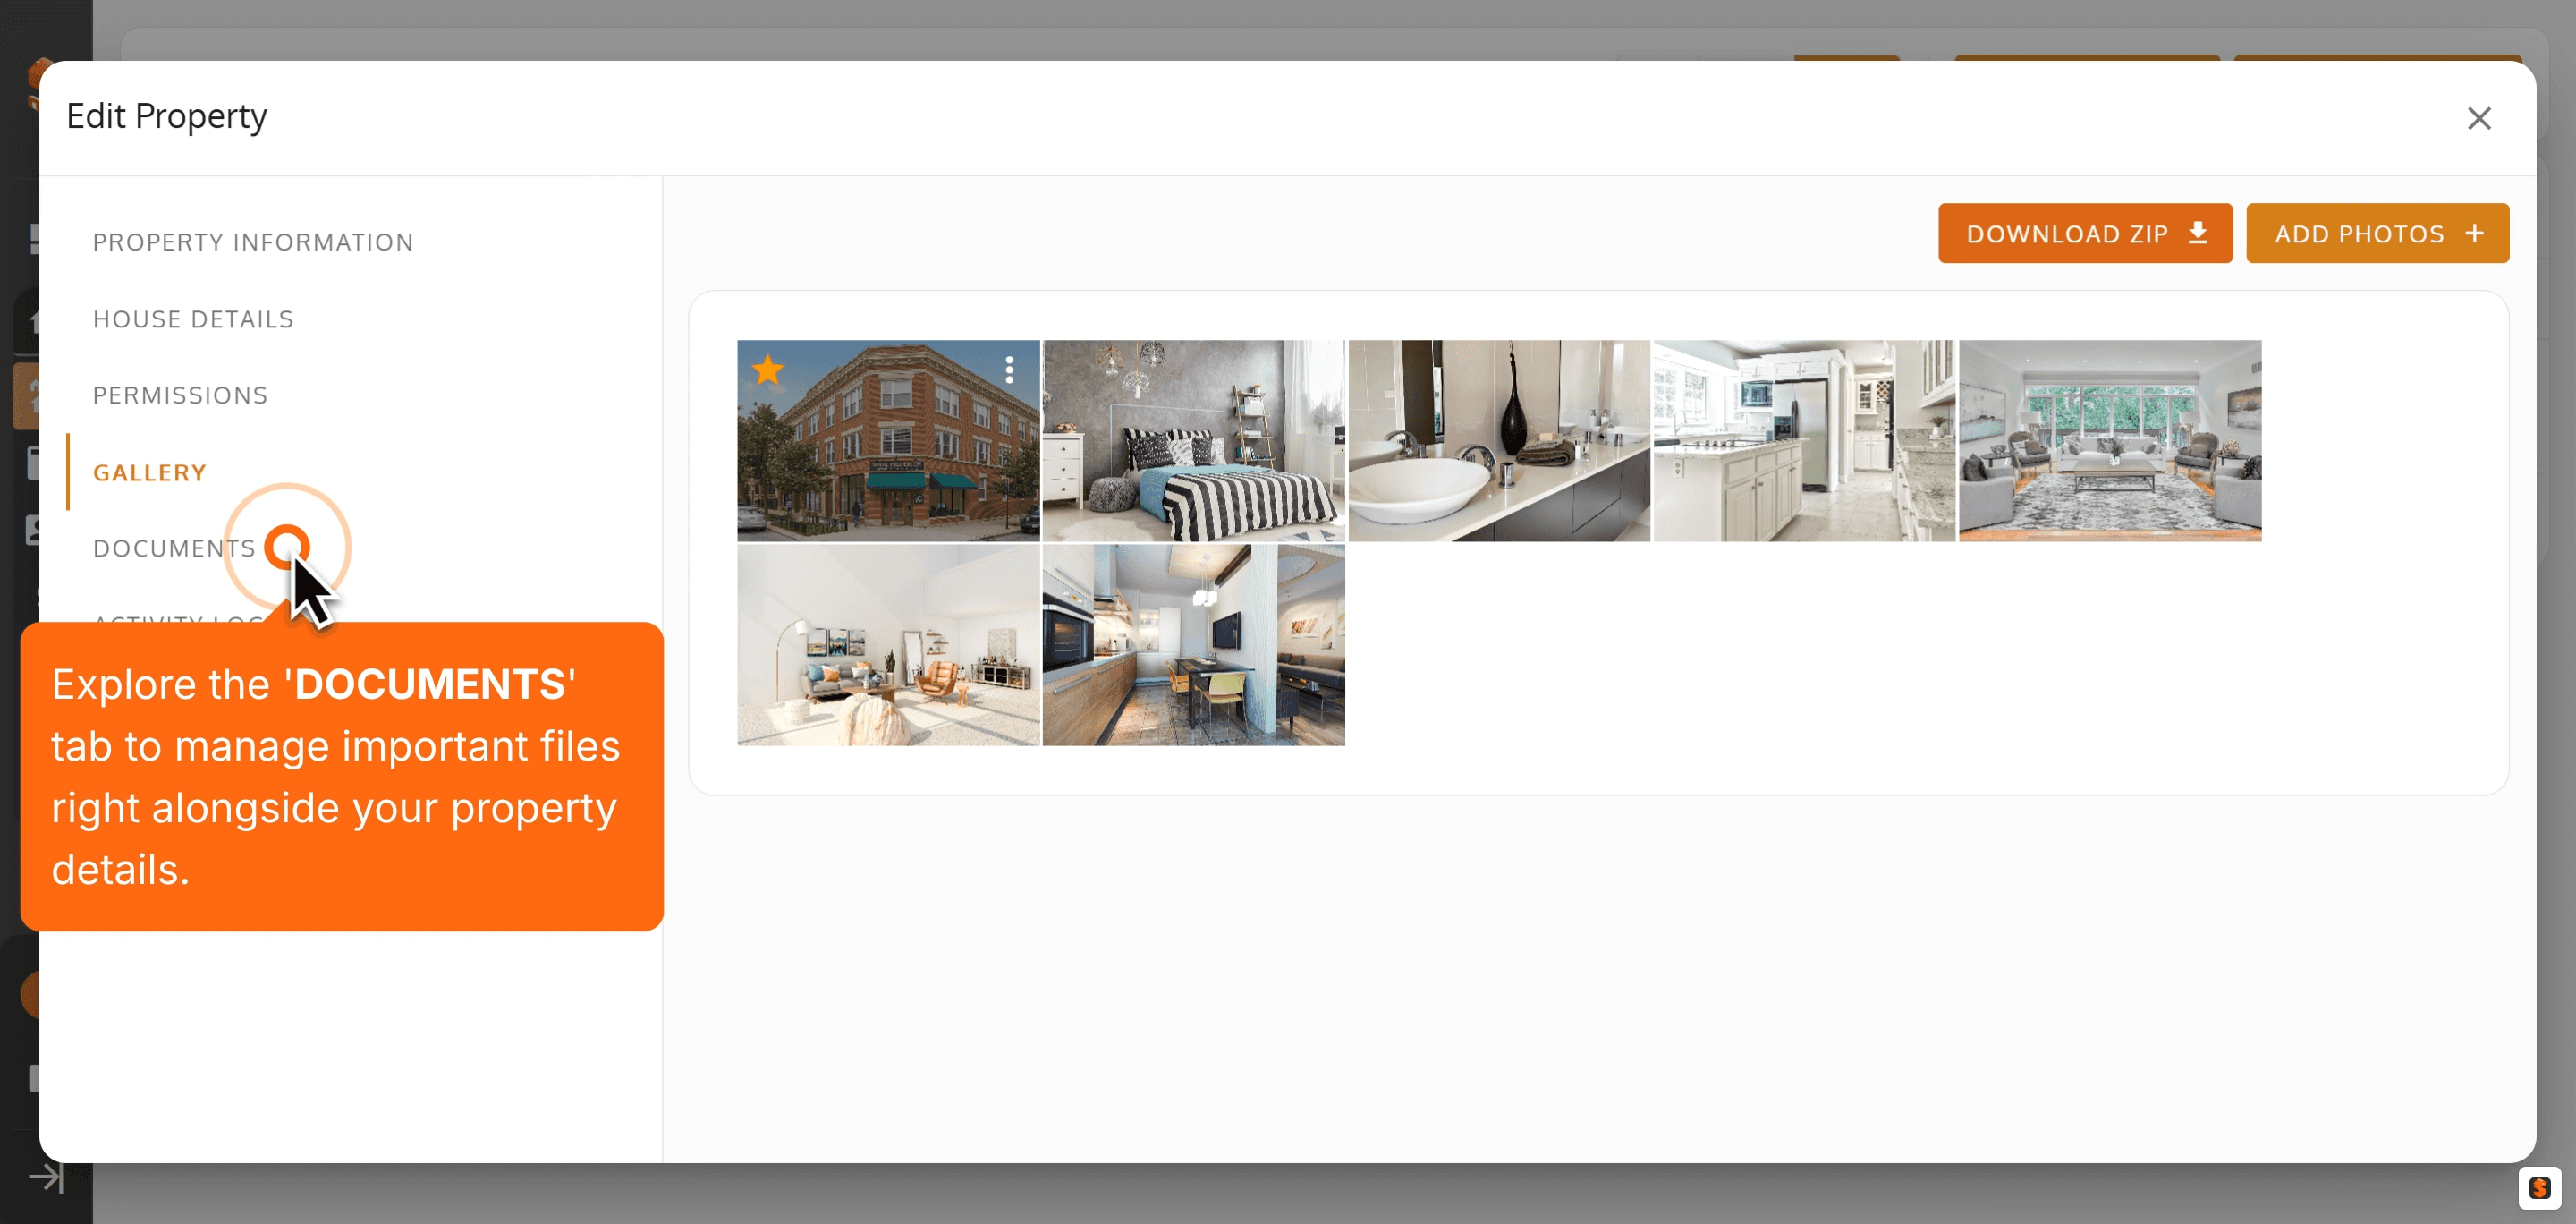
12. Click 'GALLERY' to manage eye-catching photos and enhance your property's visual appeal.
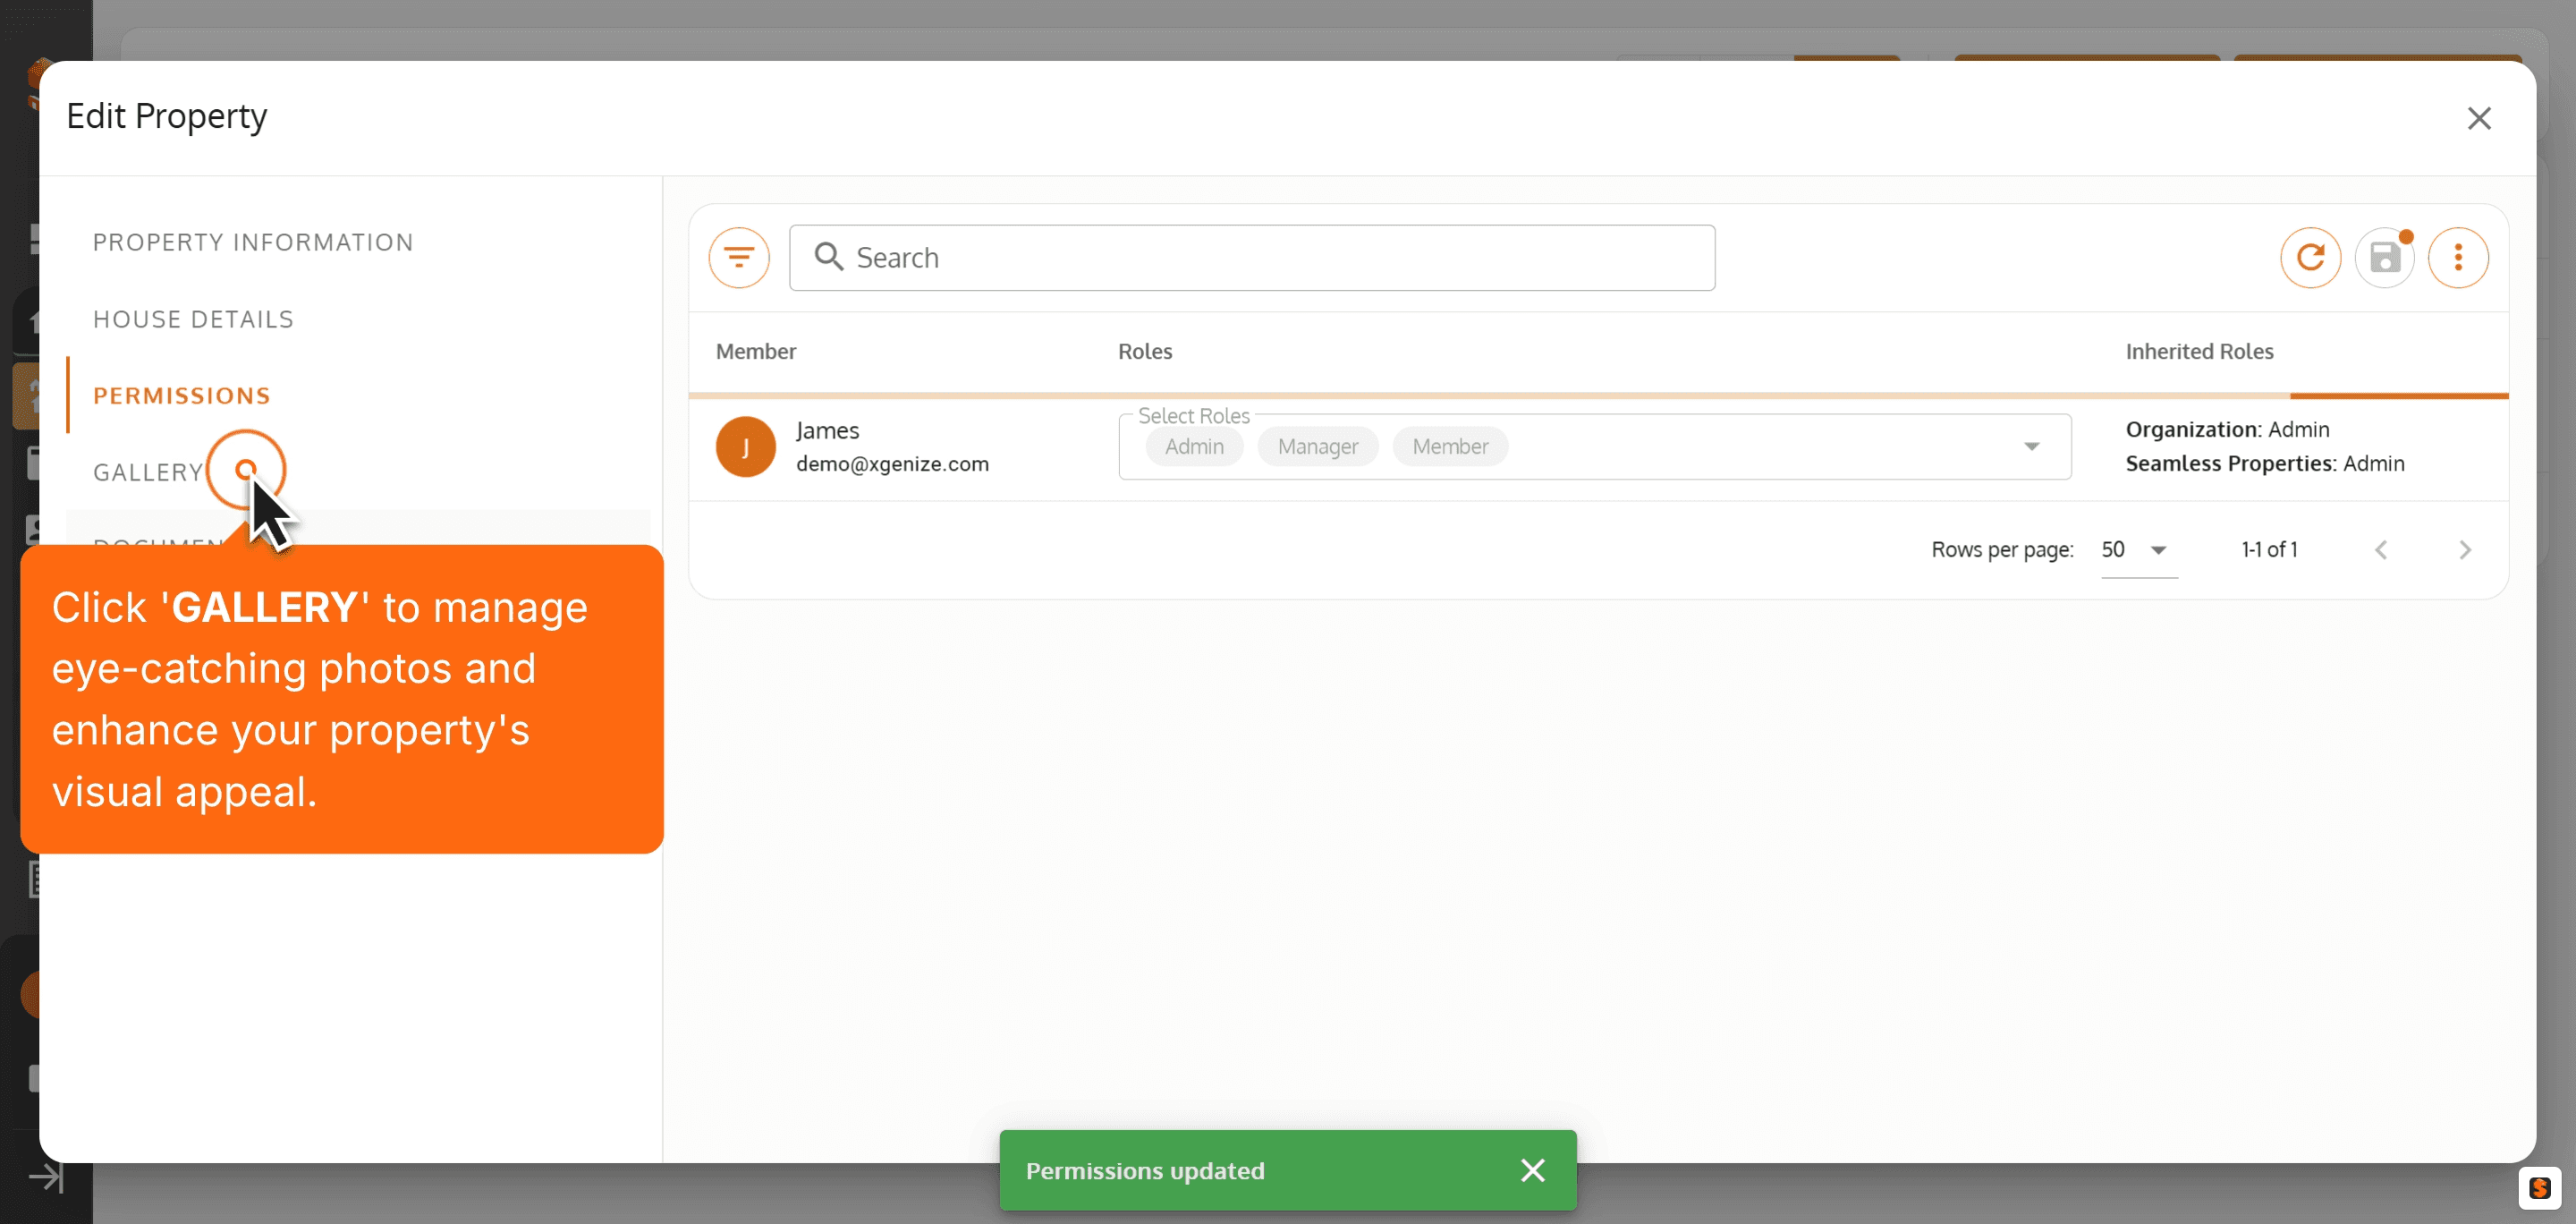
13. Add property photos to make your listing more enticing for potential clients.
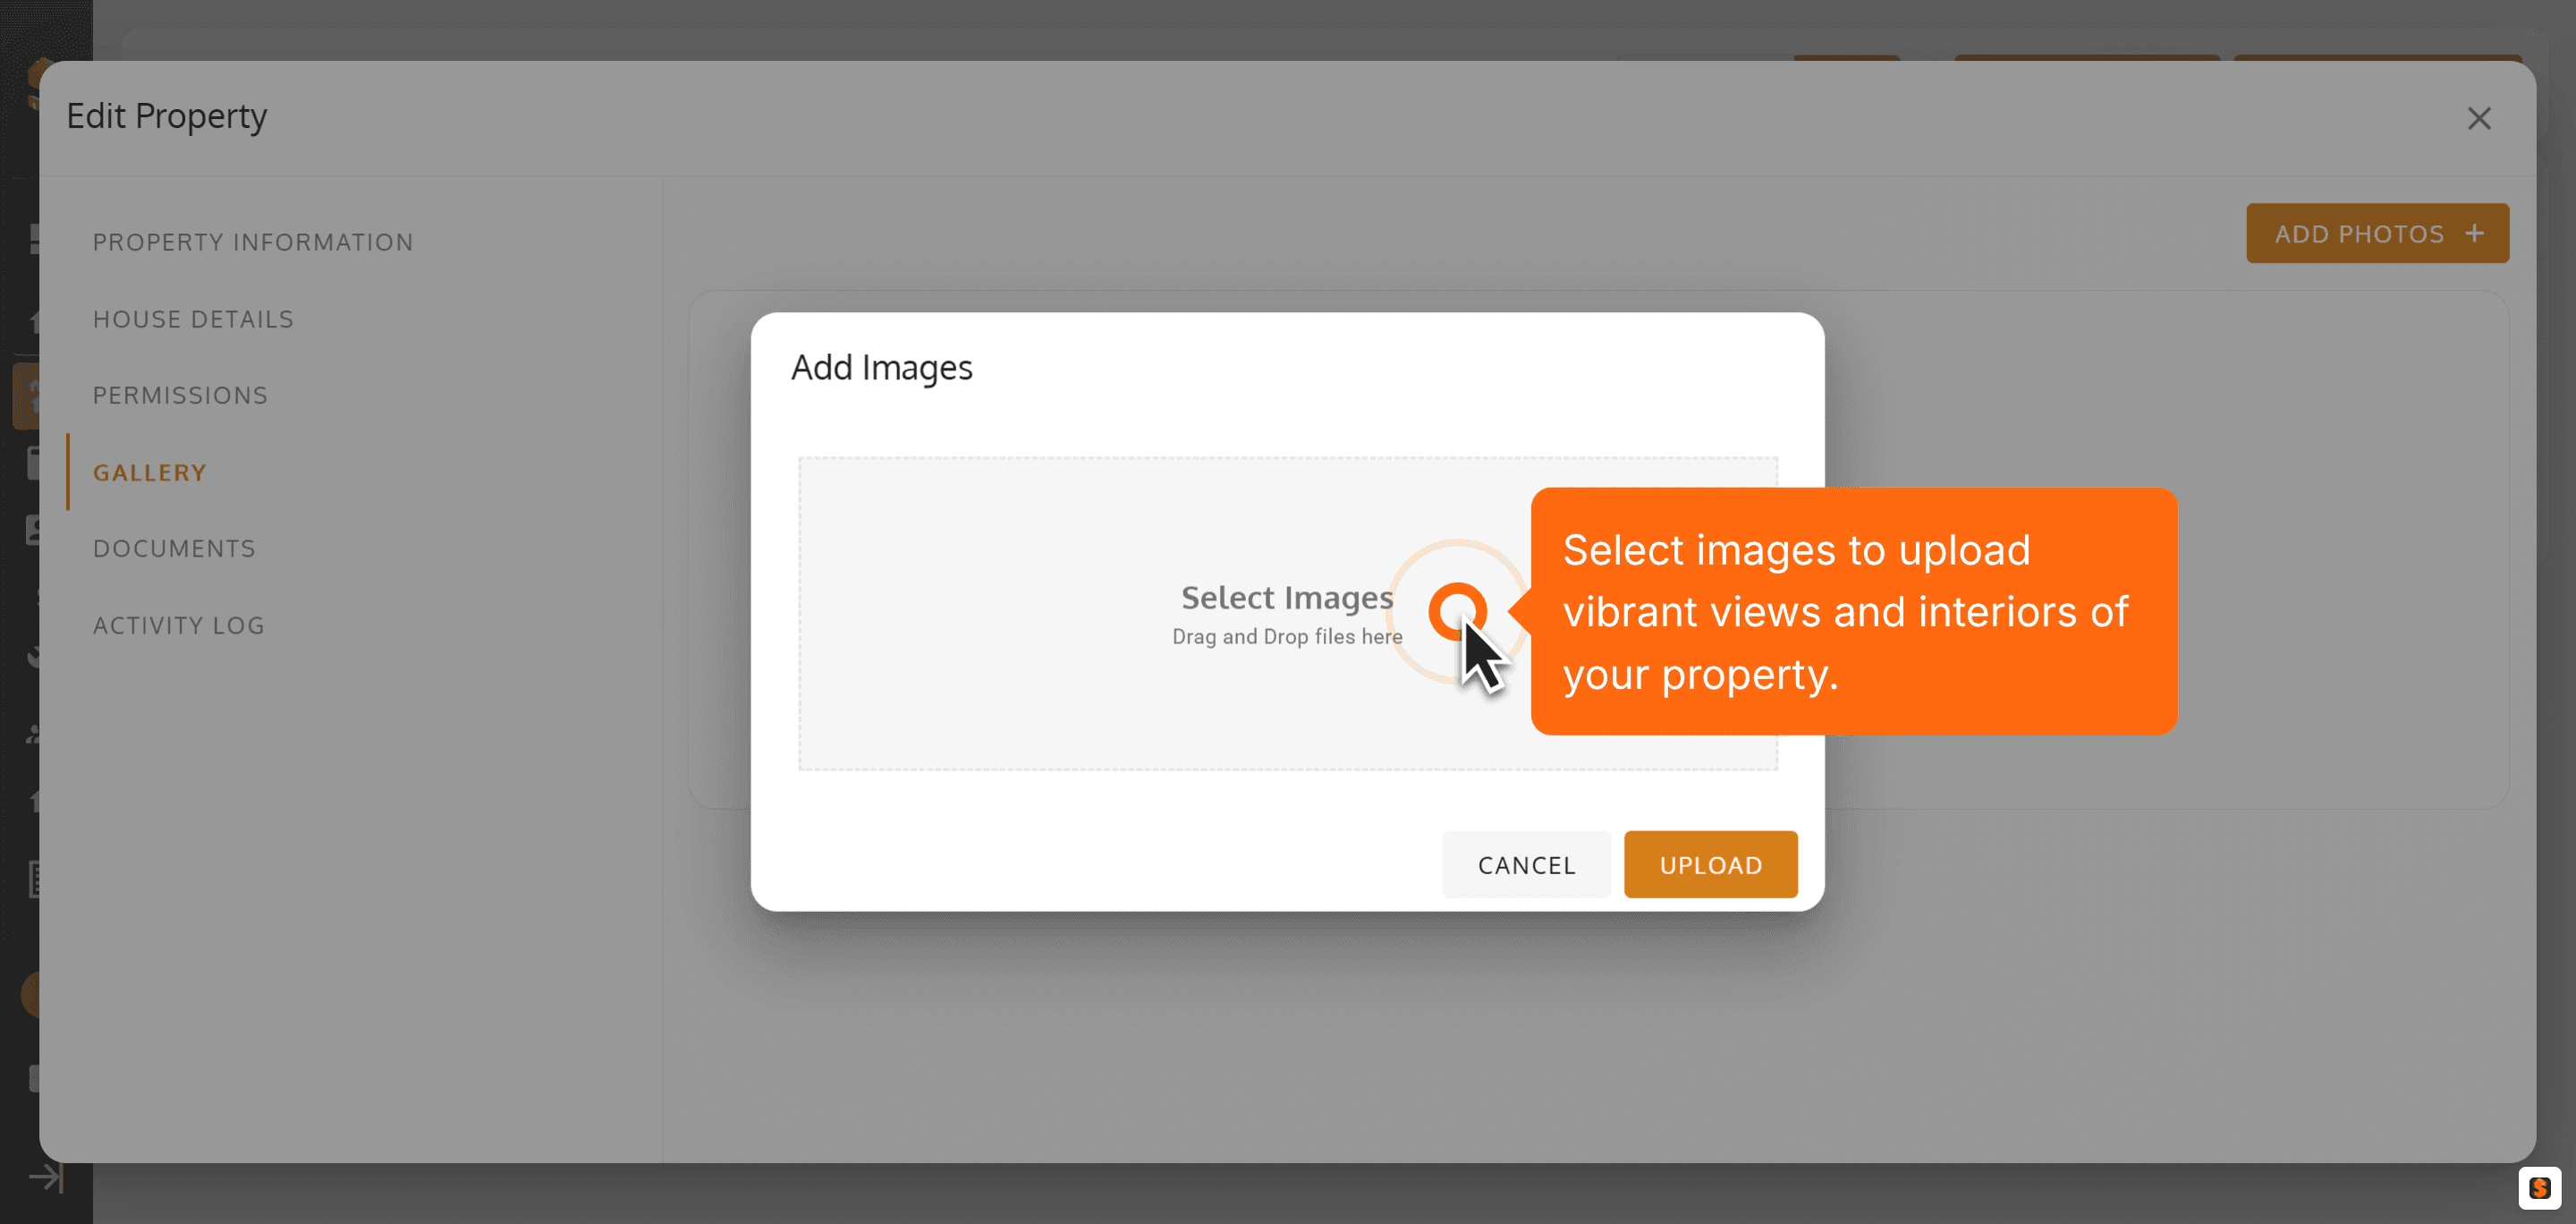
14. Select images to upload vibrant views and interiors of your property.
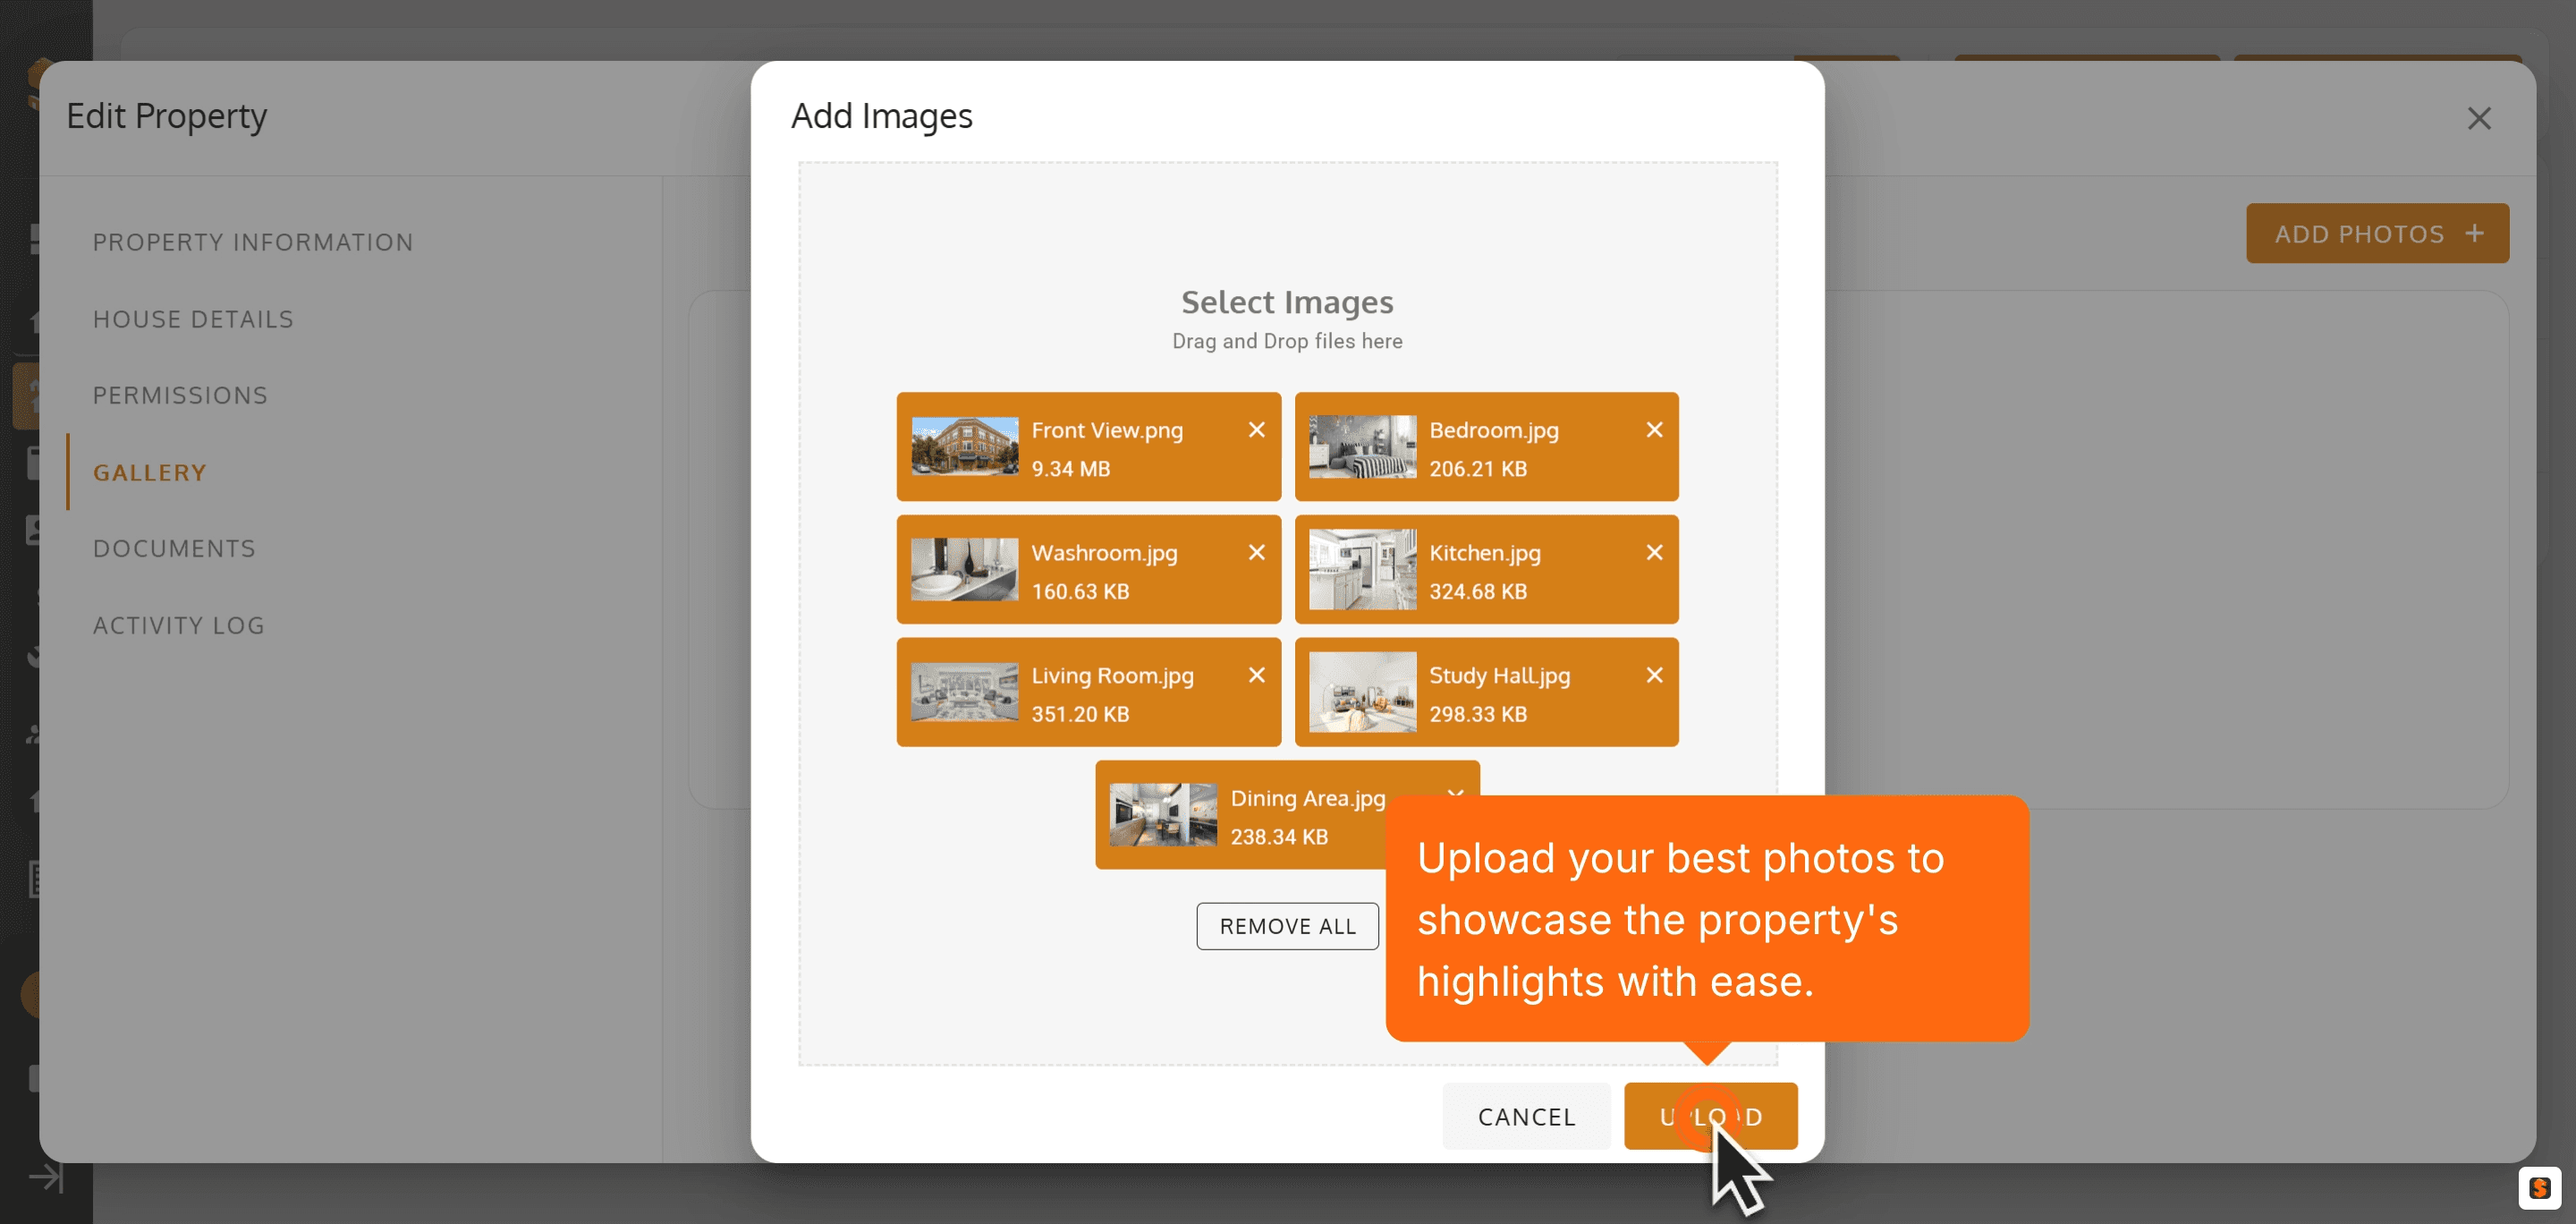
15. Upload your best photos to showcase the property's highlights with ease.
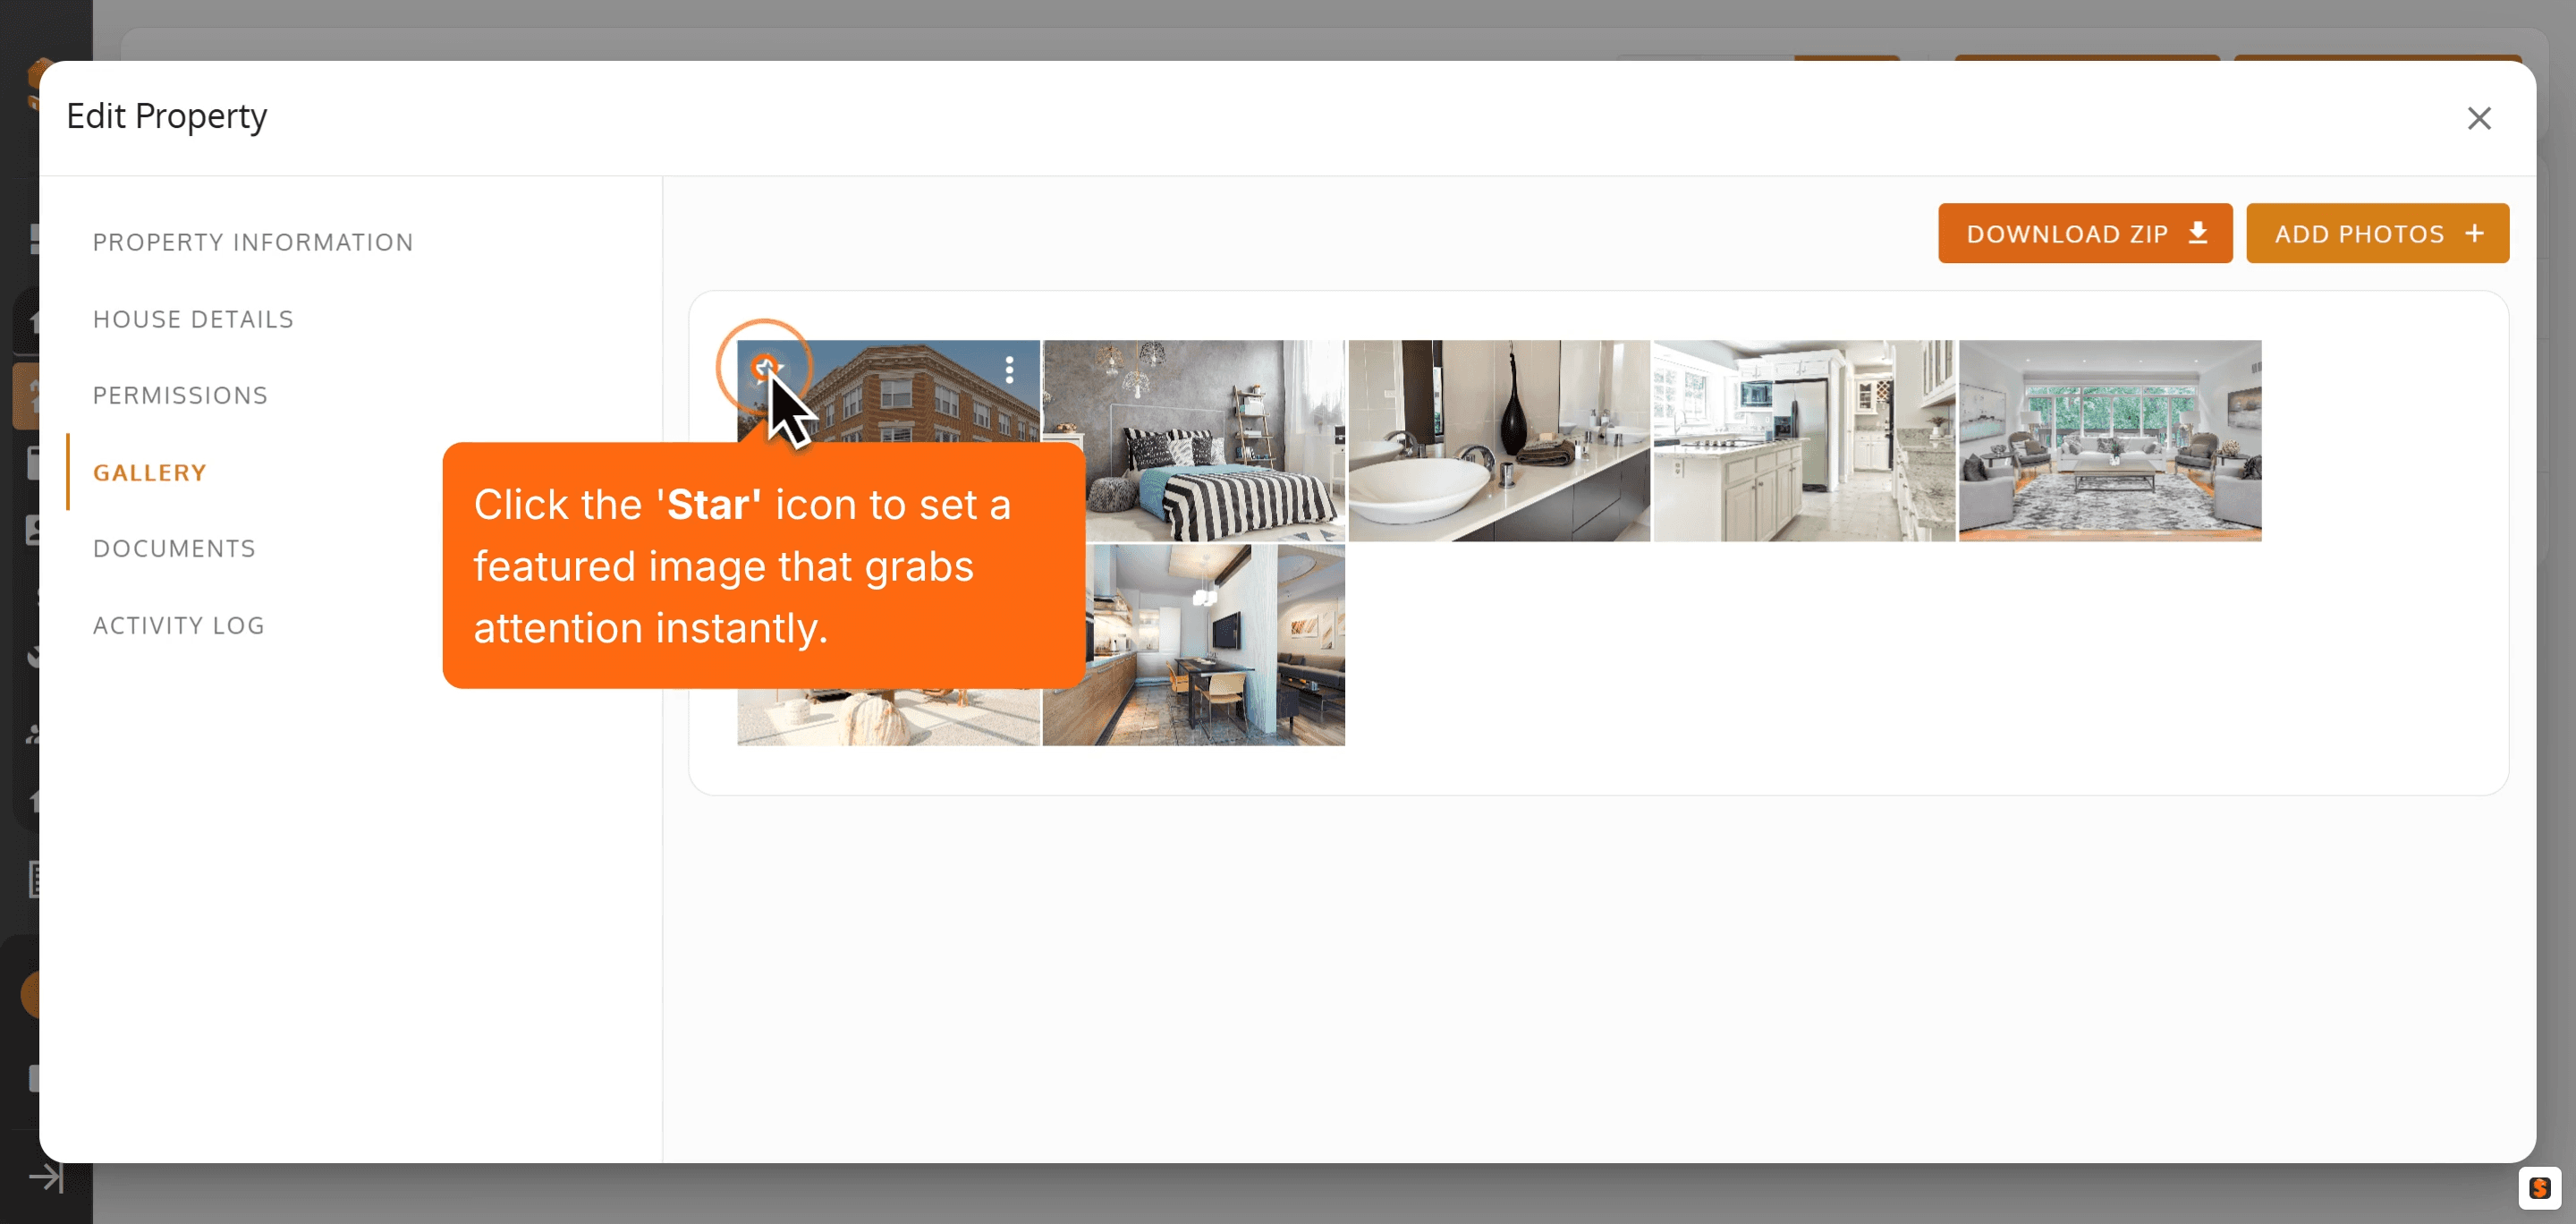
16. Click the 'Star' icon to set a featured or cover image of the property that grabs attention instantly.
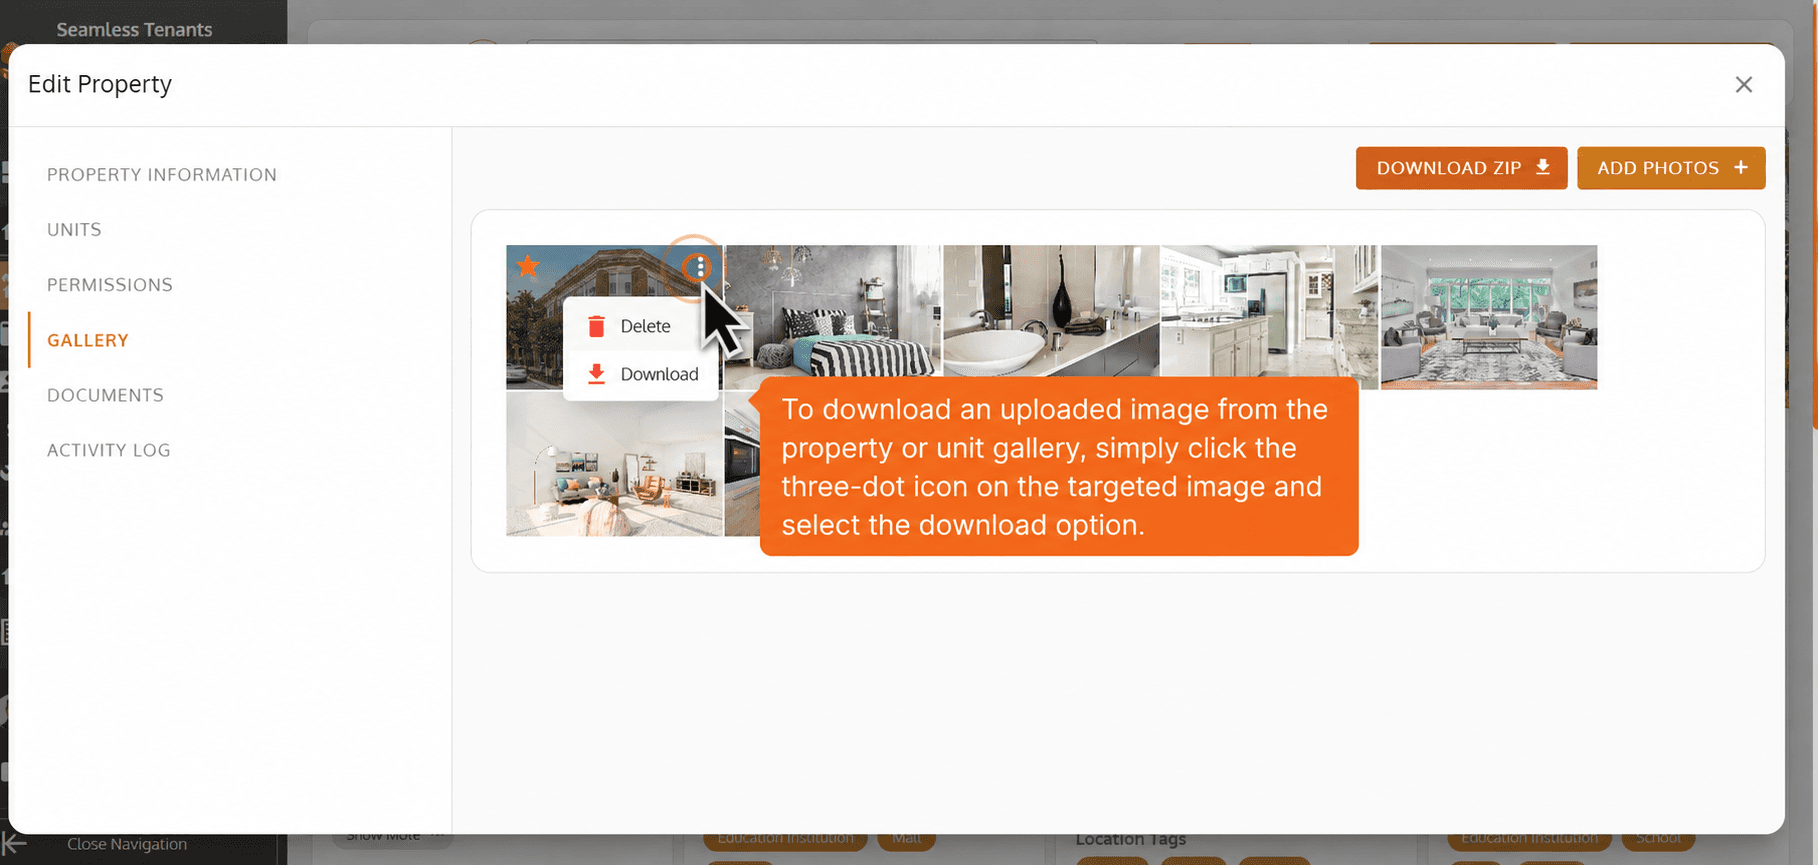
To download an uploaded image from the property or unit gallery, simply click the three-dot icon on the targeted image and select the download option.
17. Find or Explore the 'DOCUMENTS' tab to manage important files right alongside your property details.
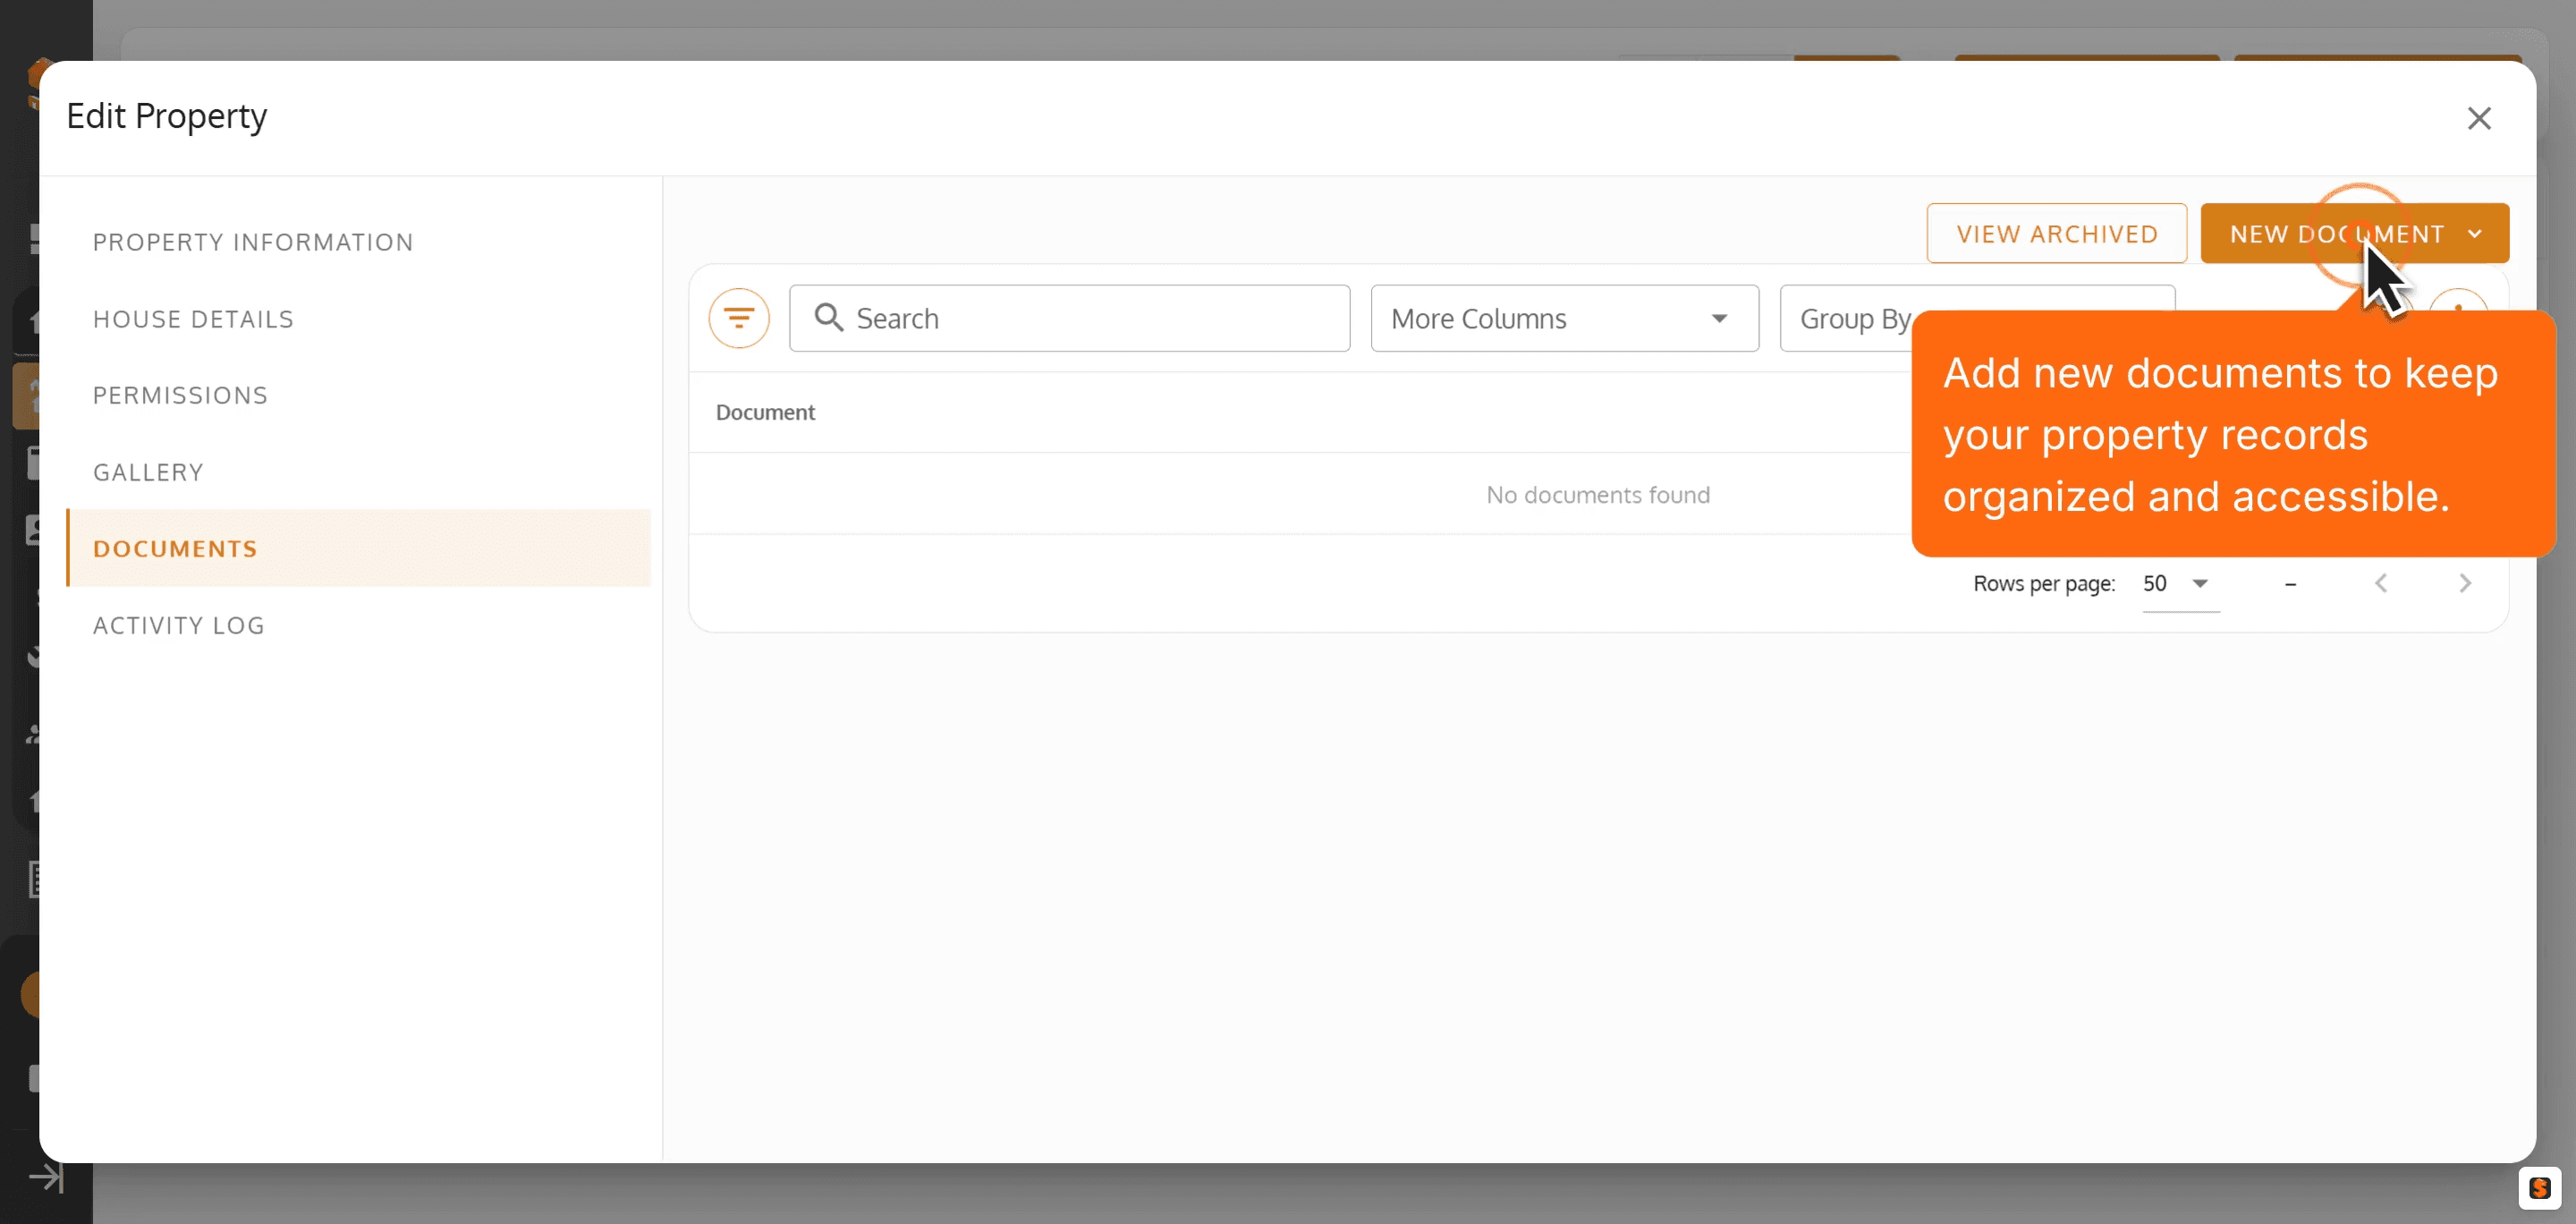
18. Click New Document to keep your property records organized and accessible.
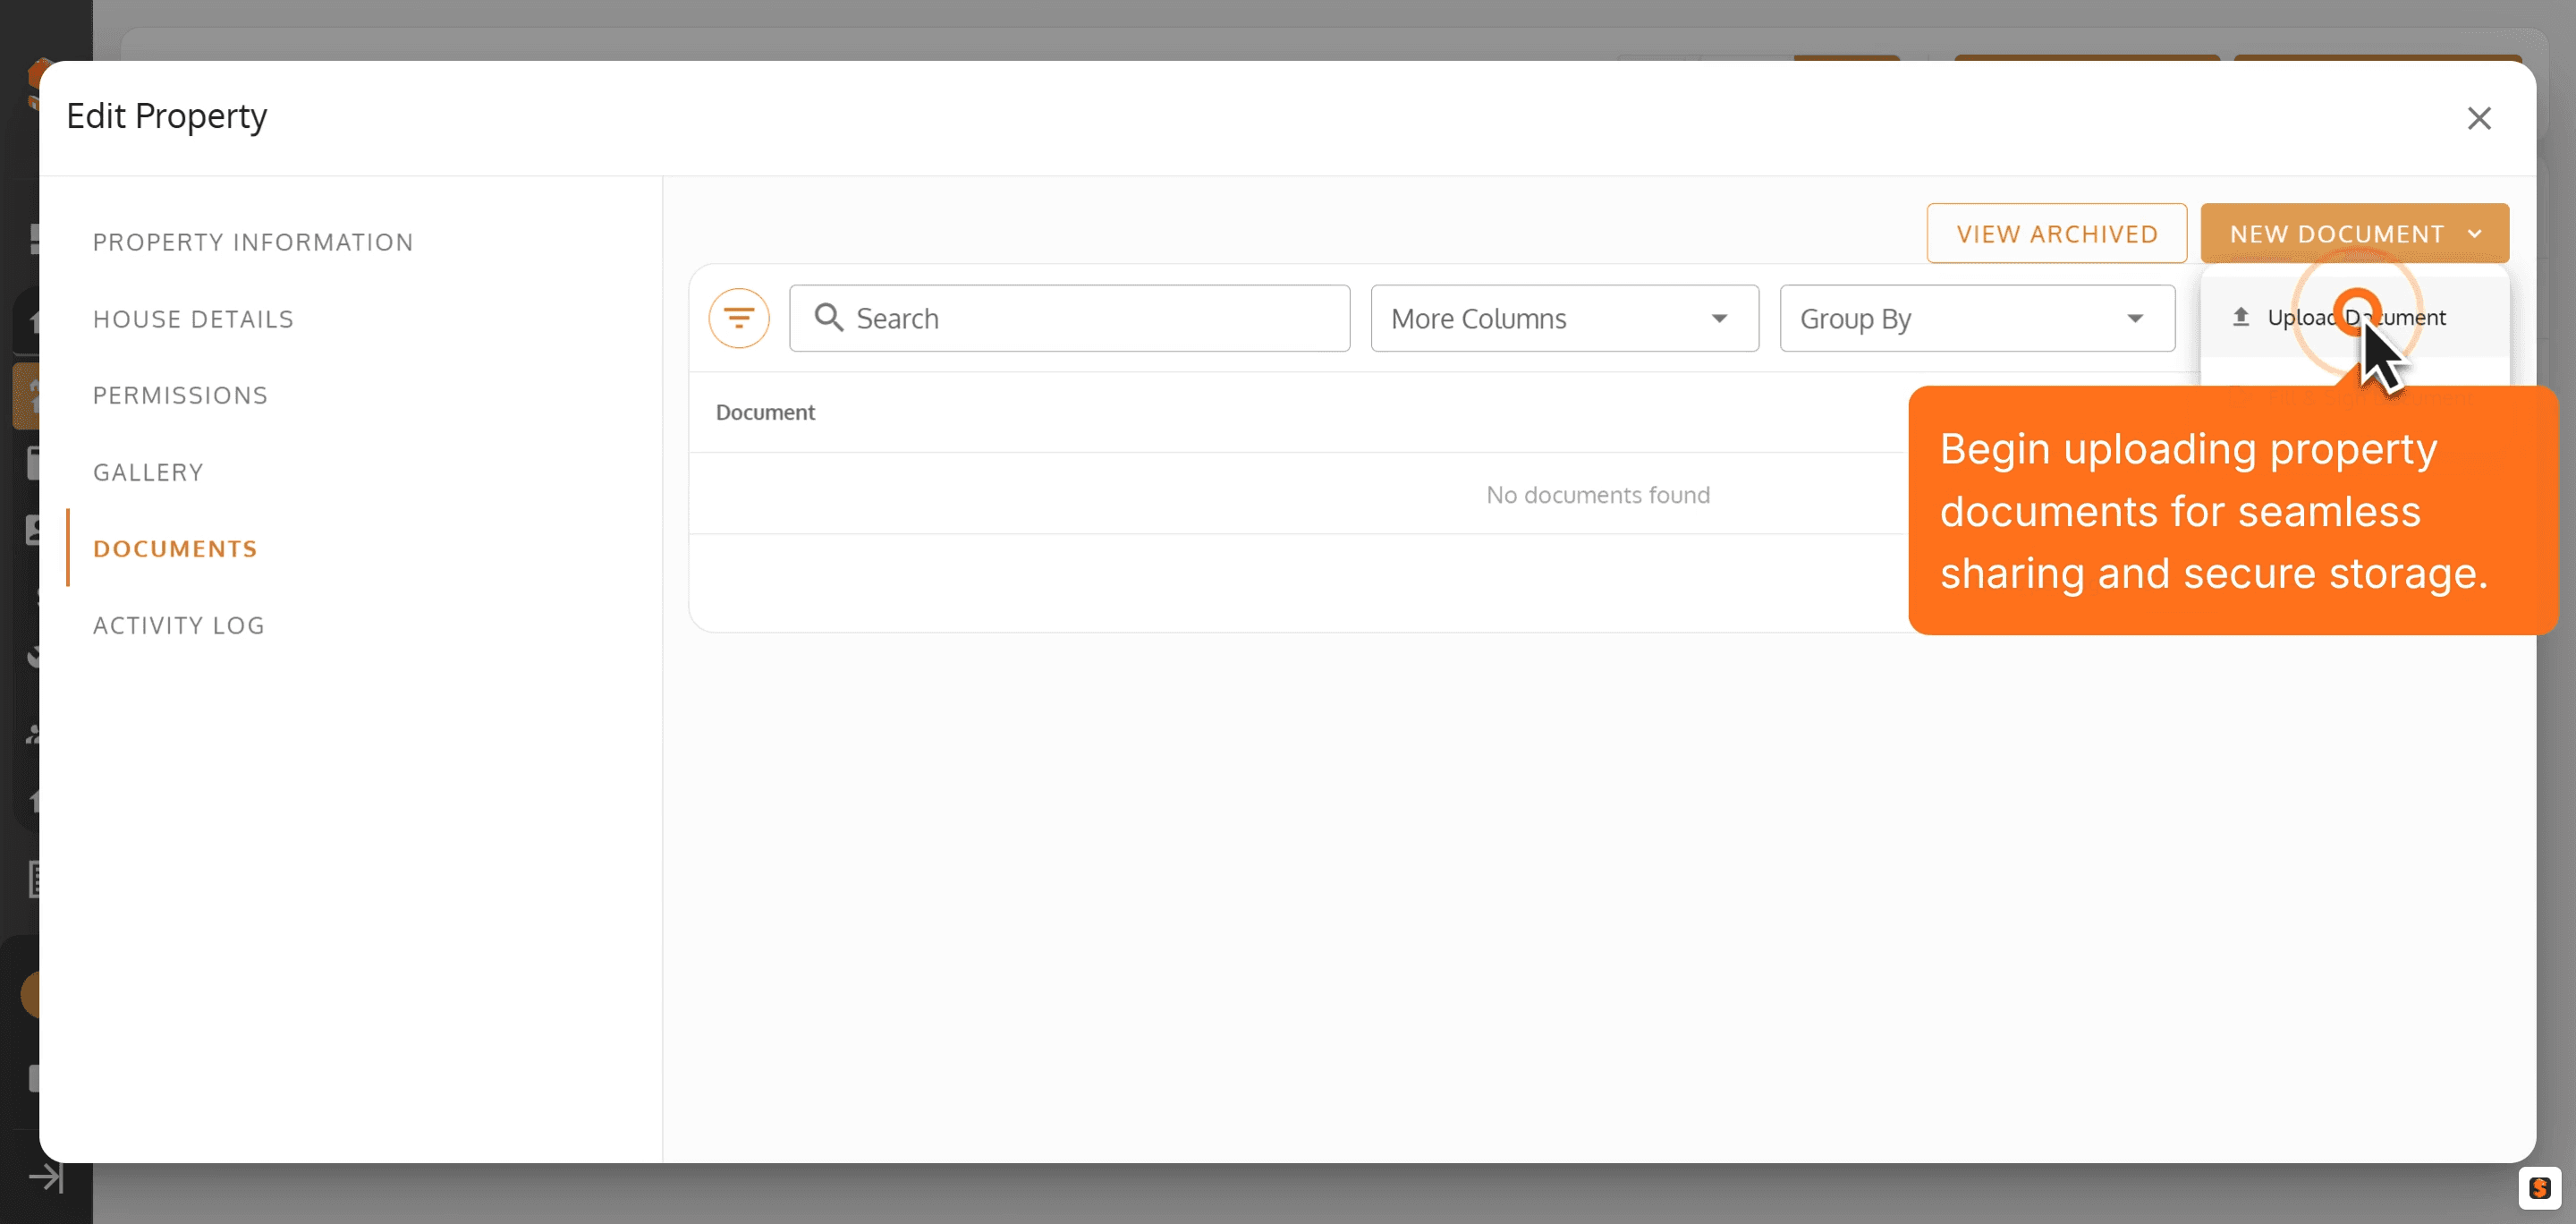
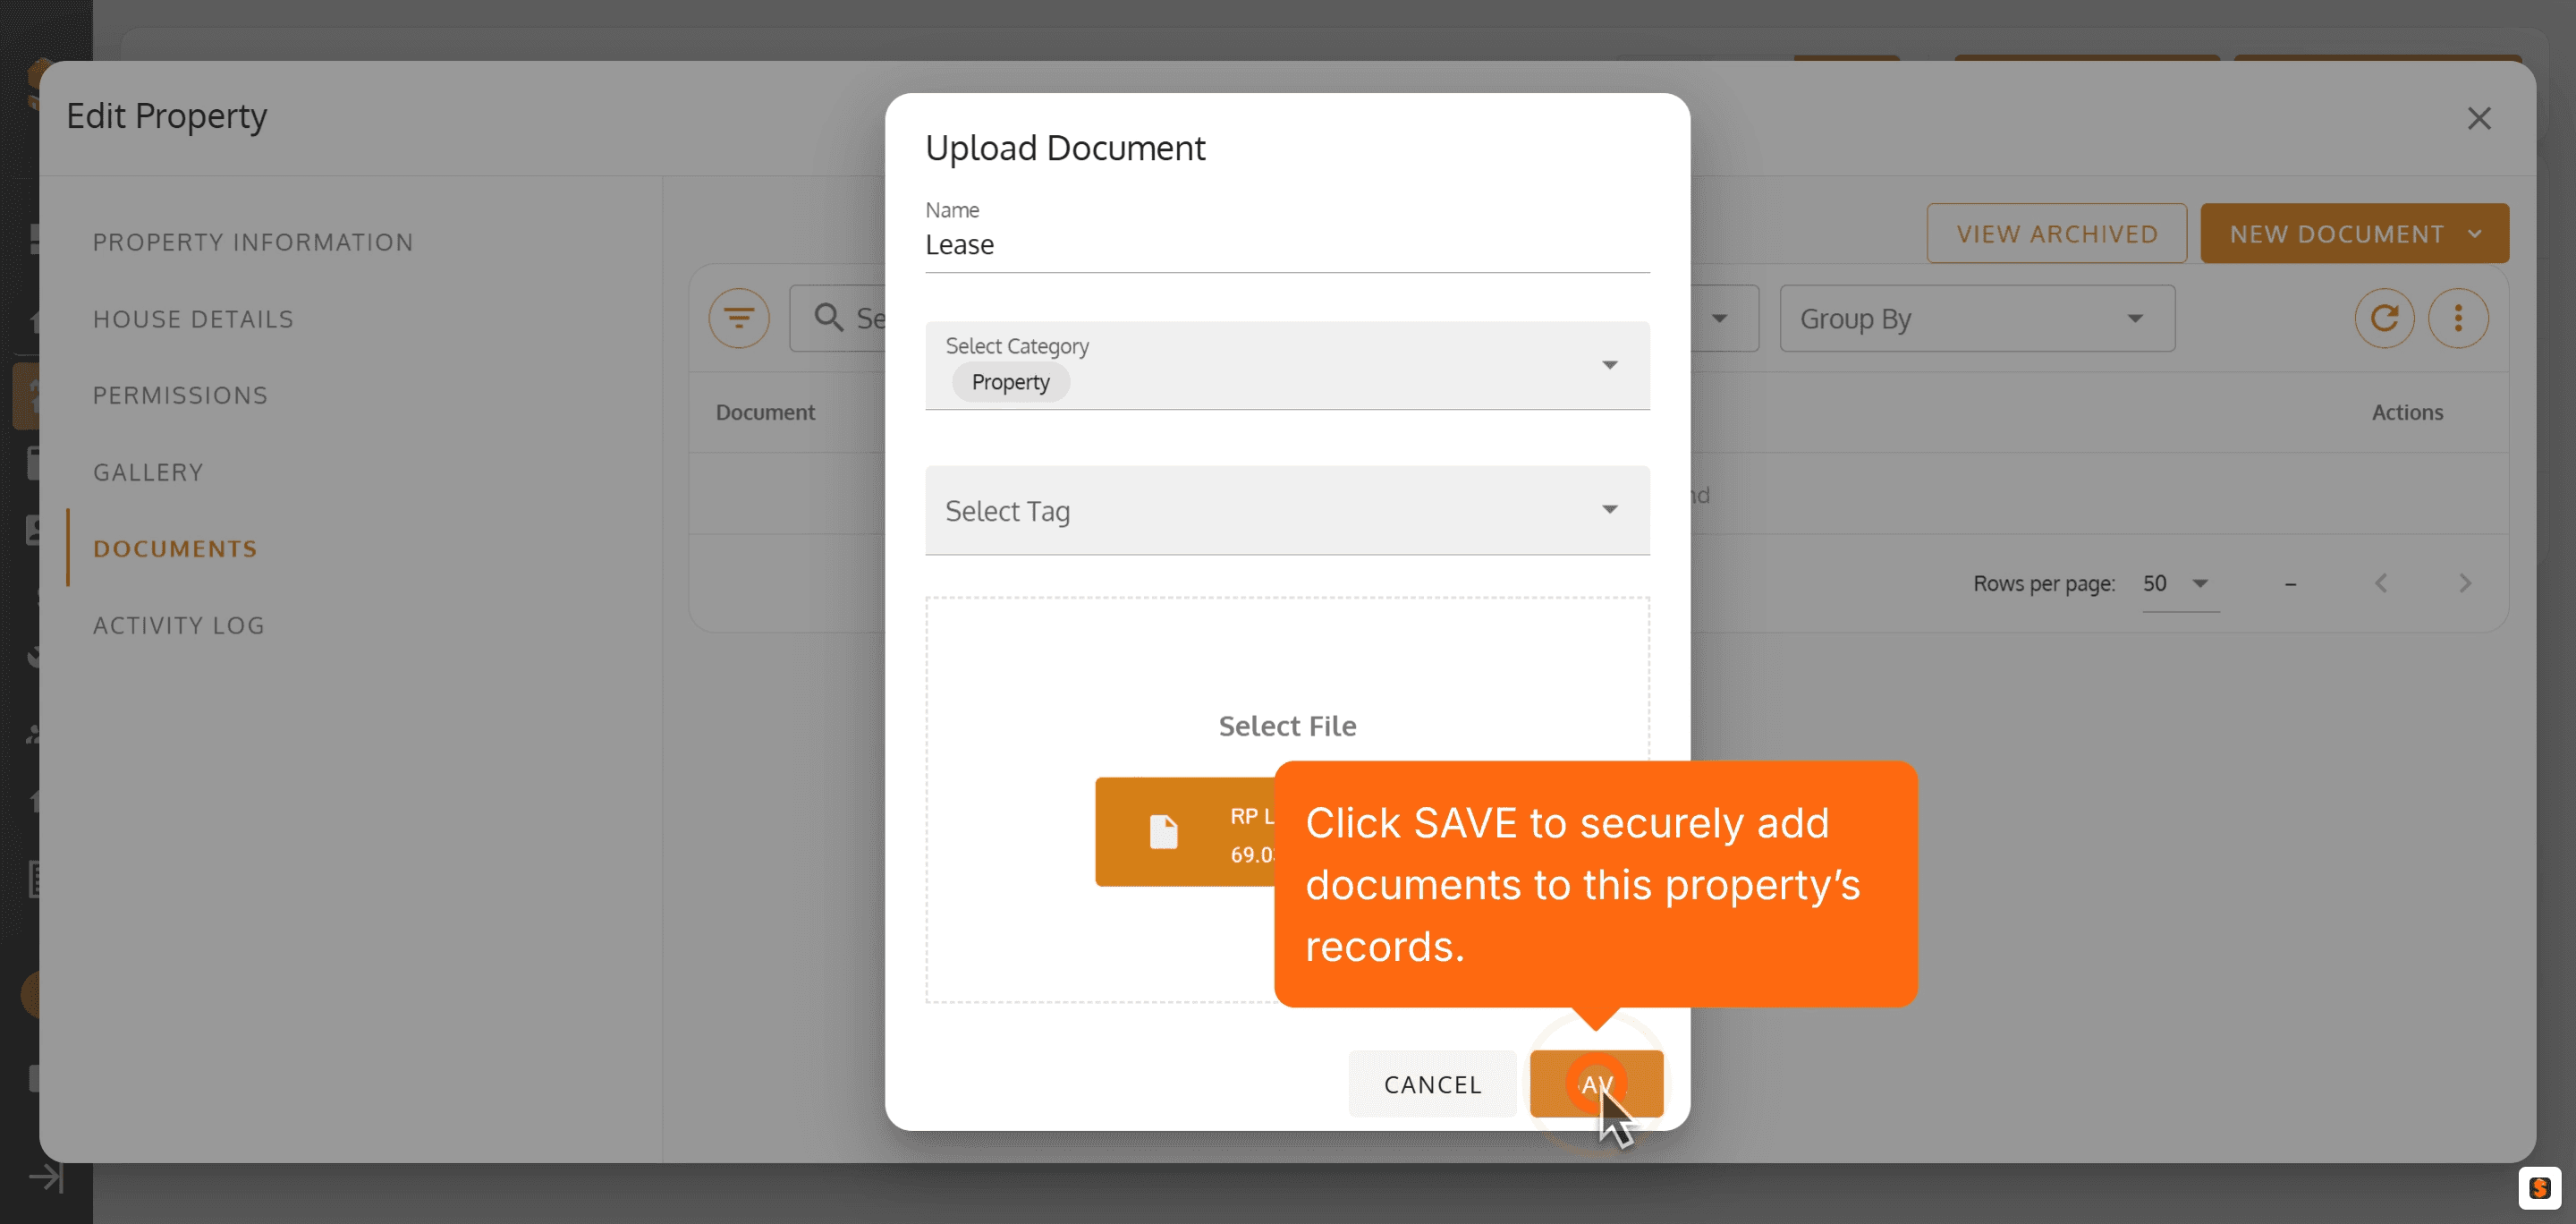
19. Click Upload Document to upload the relevant document in the property's Document Section that you can view or edit later.
20. Enter a clear name for your document to help teammates and tenants find it quickly.
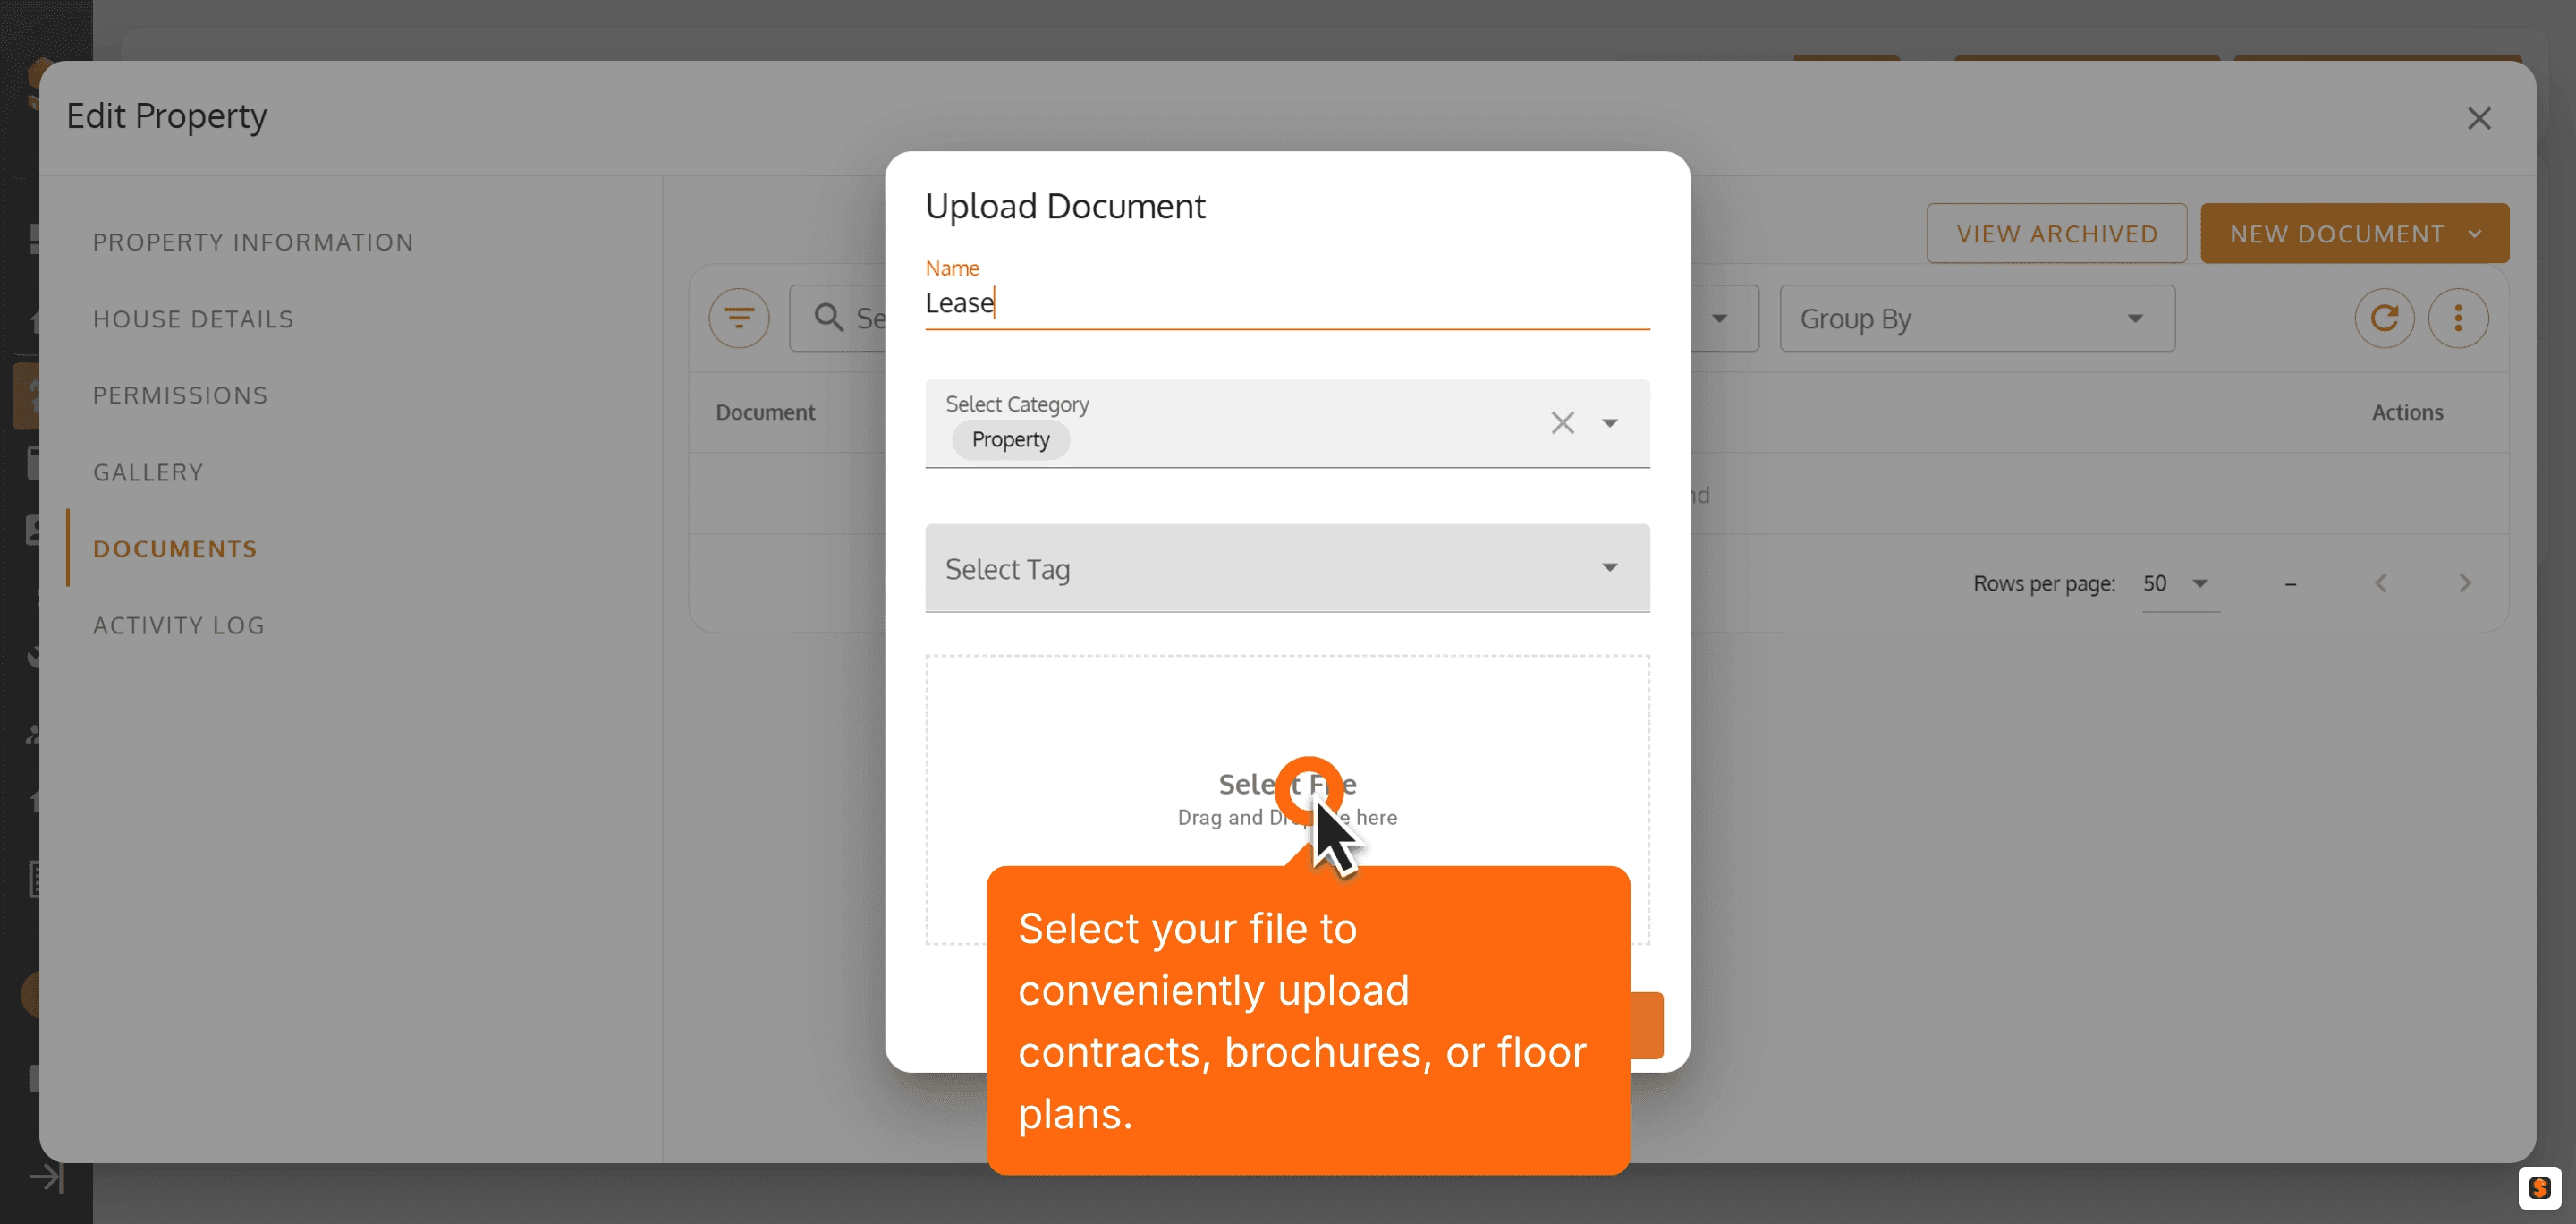
21. Select your file to conveniently upload contracts, brochures, or floor plans.
22. Click SAVE to securely add documents to this property’s records.
To download an uploaded document from the property document section, simply click the Download Icon on the targeted document.

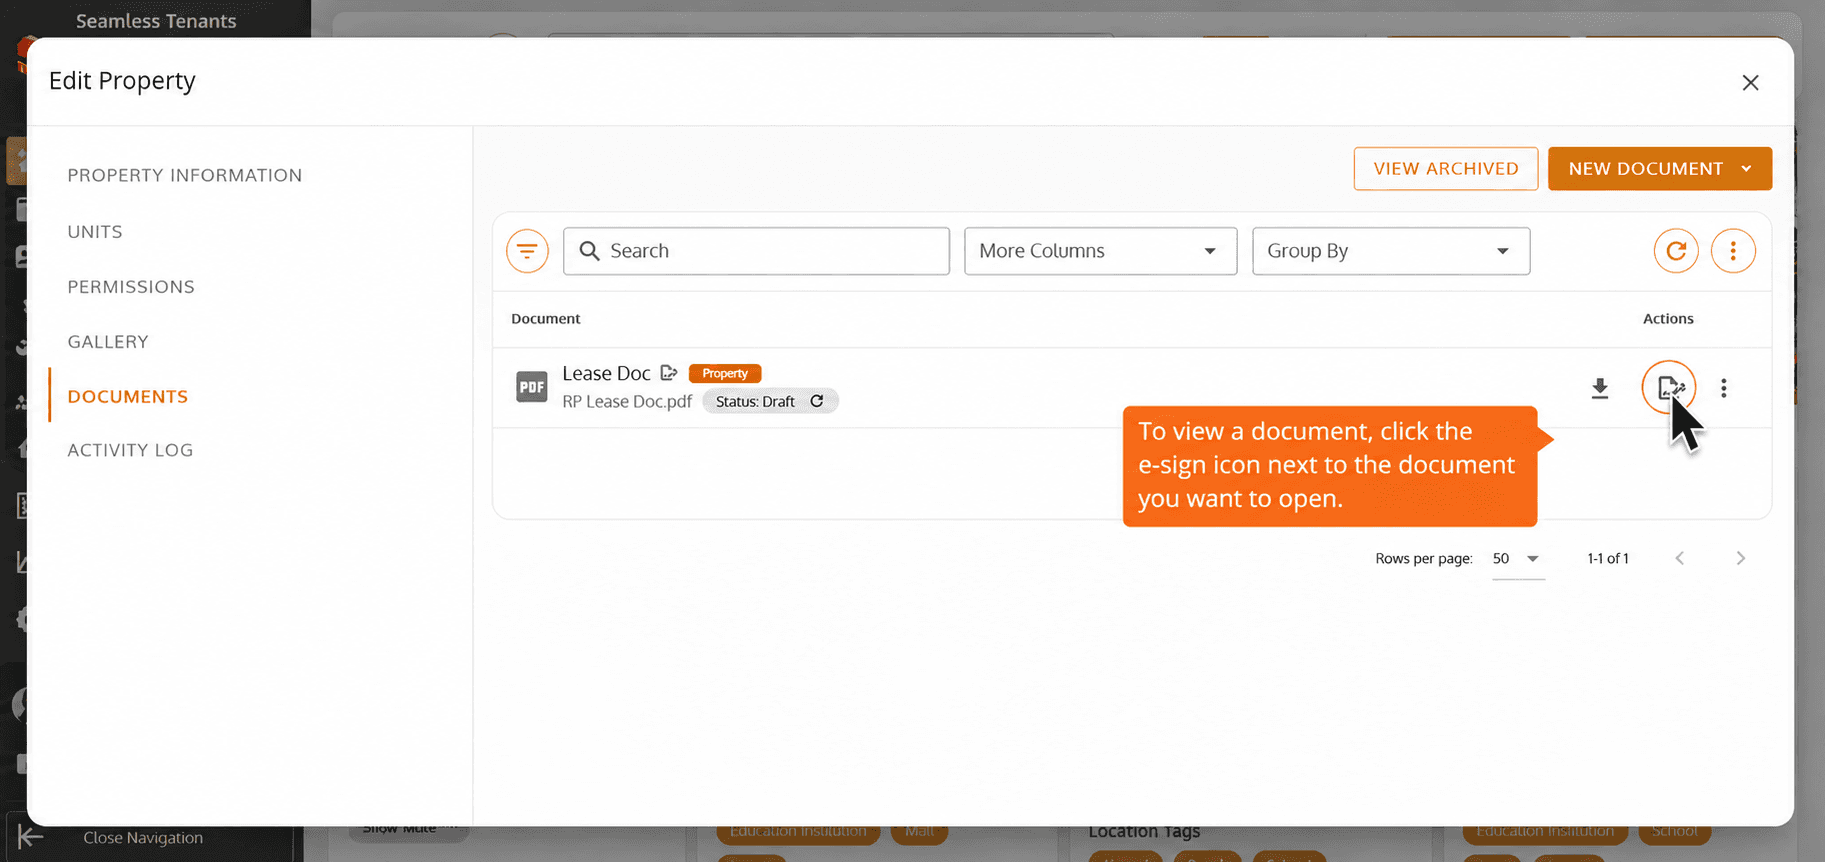
To View an uploaded document from the property document section, simply click the E-Sign Icon on the targeted document.
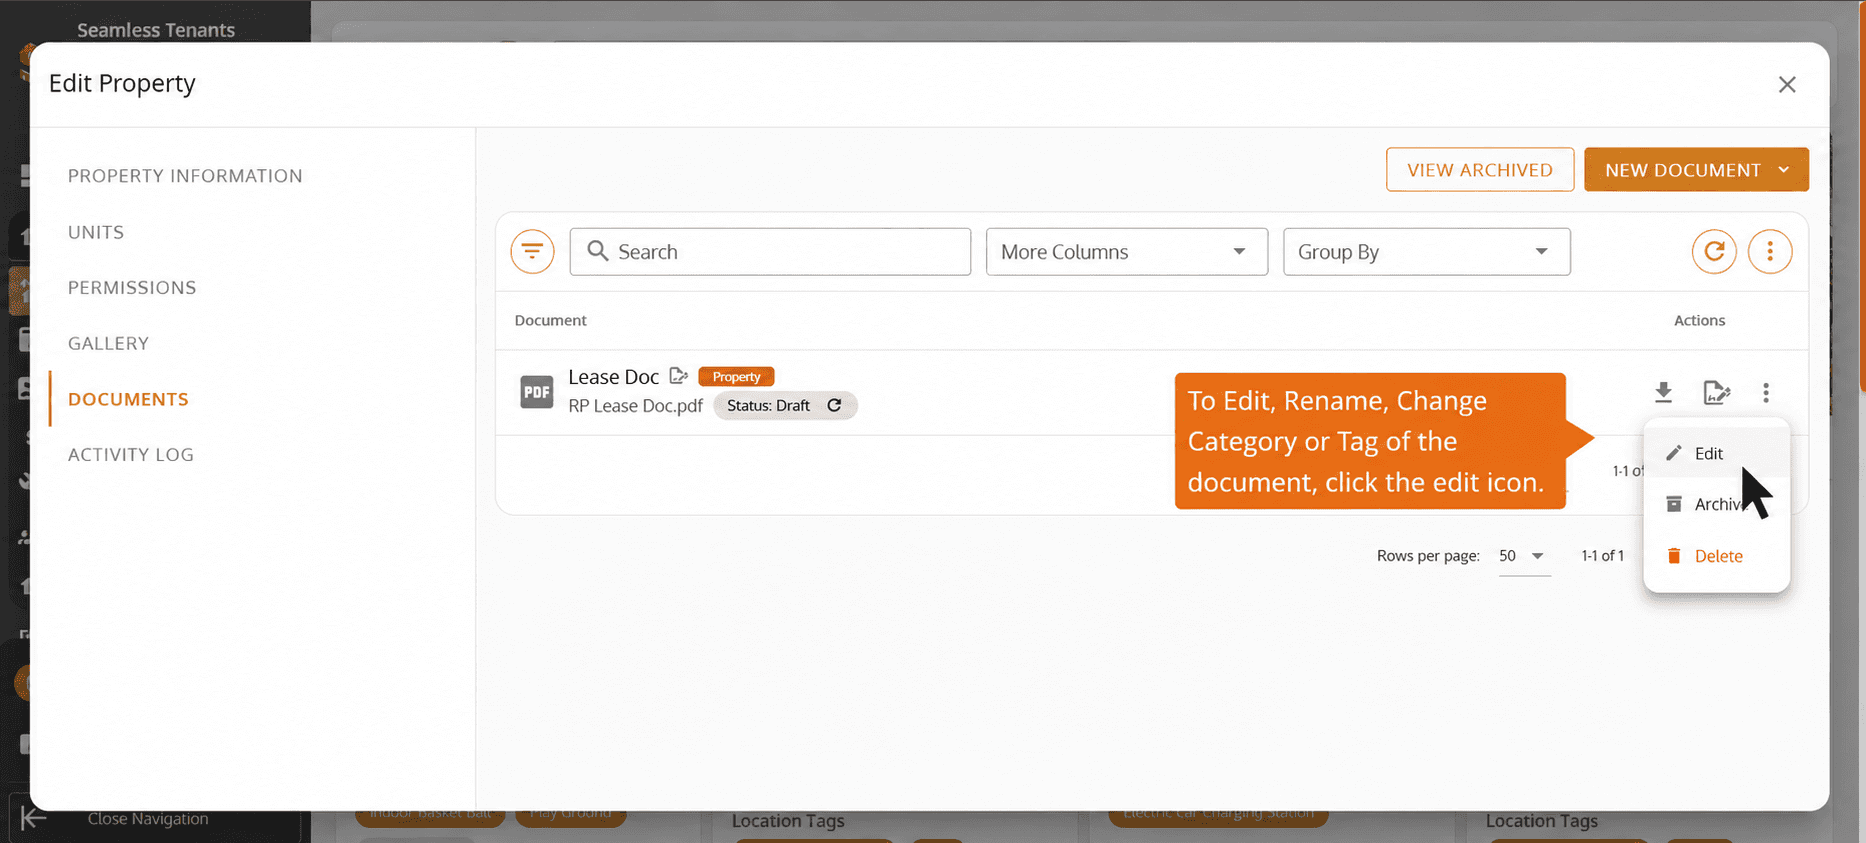
To Edit, Rename, Change Category or Tag of the document click the Edit Option.
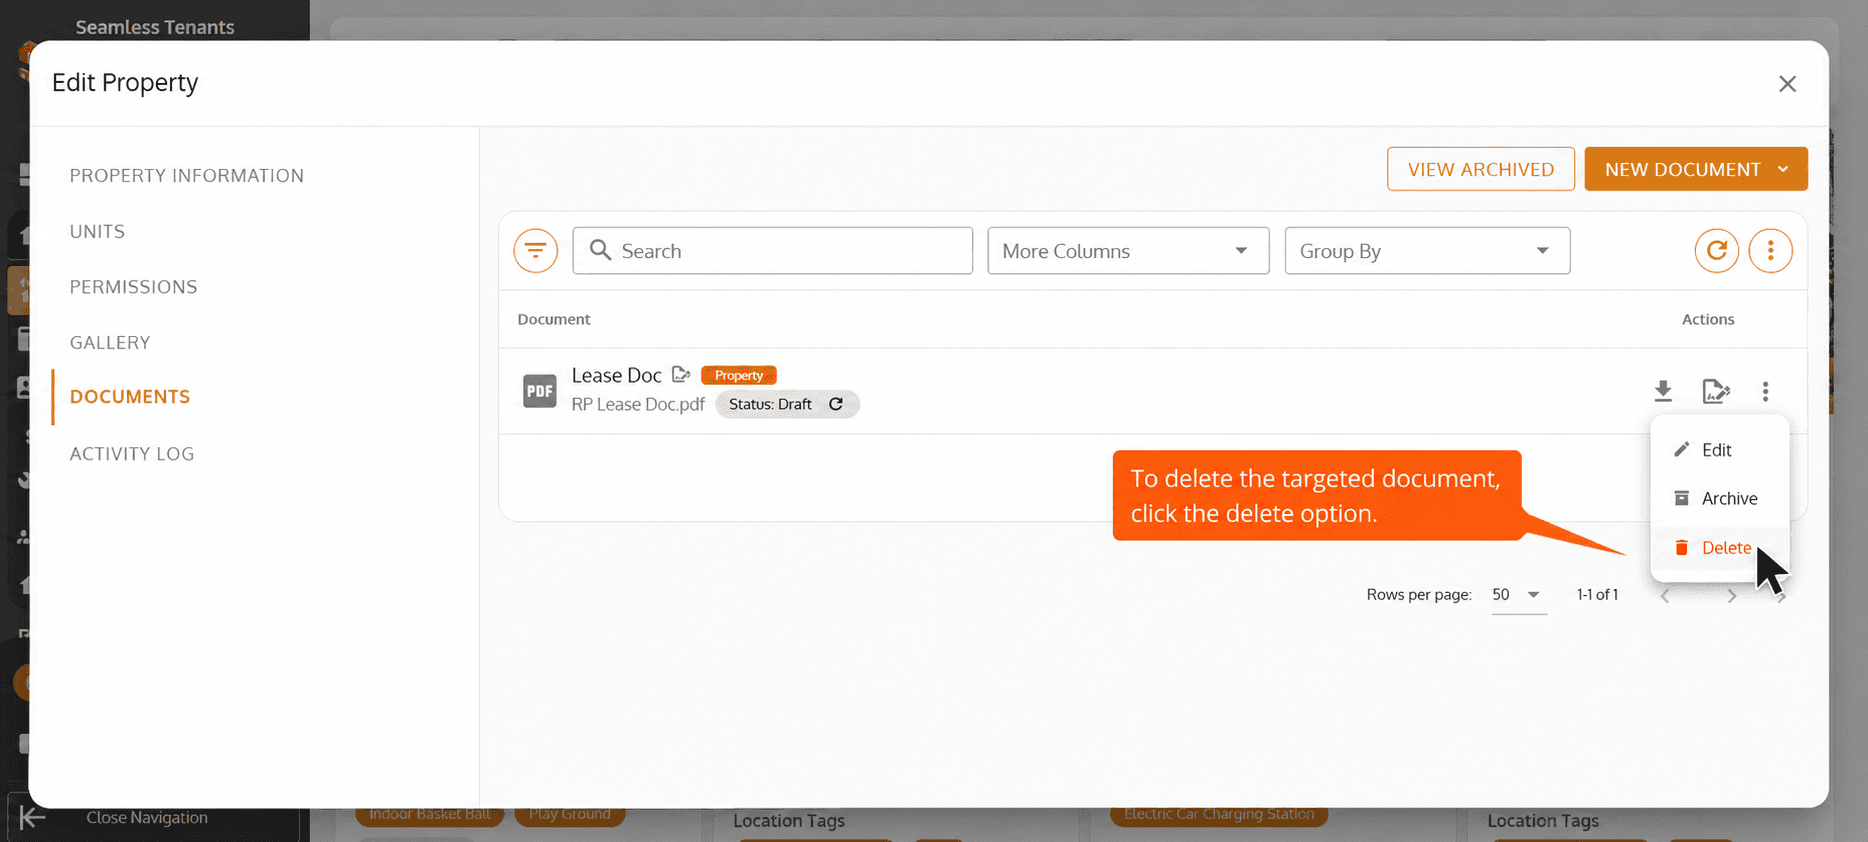
To Delete a document click the Delete Option under the Three Dot Icon of the Targeted Document.
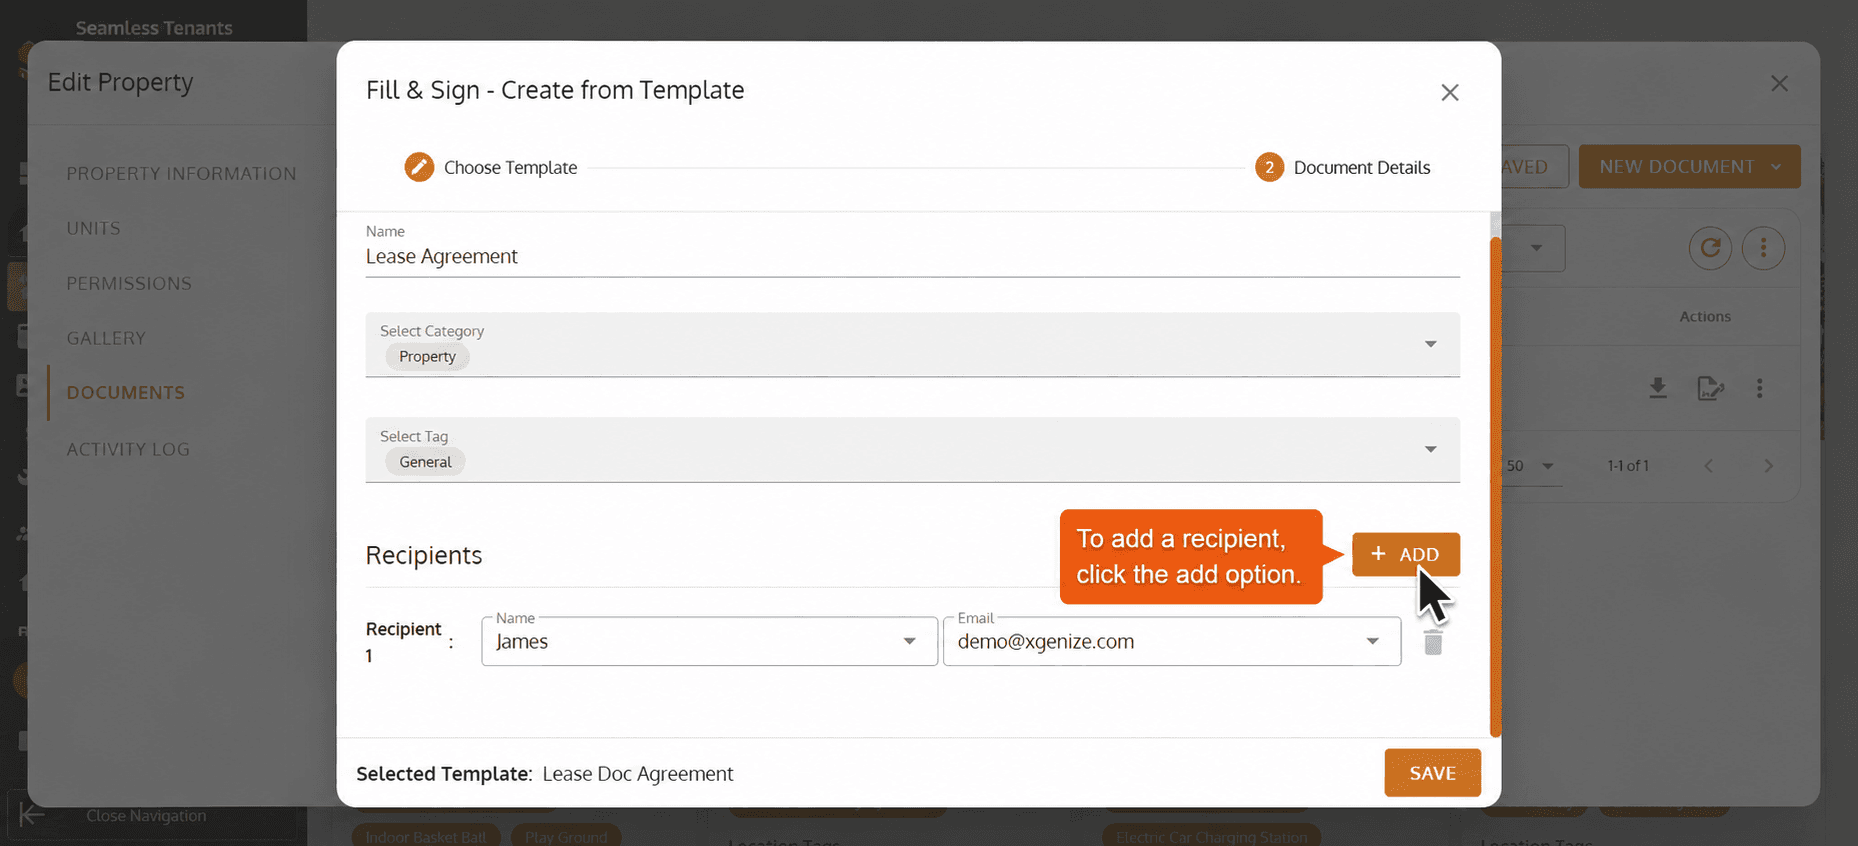
Click +Add to Add recipients in Document Details while creating a Fill & Sign document after choosing a template.
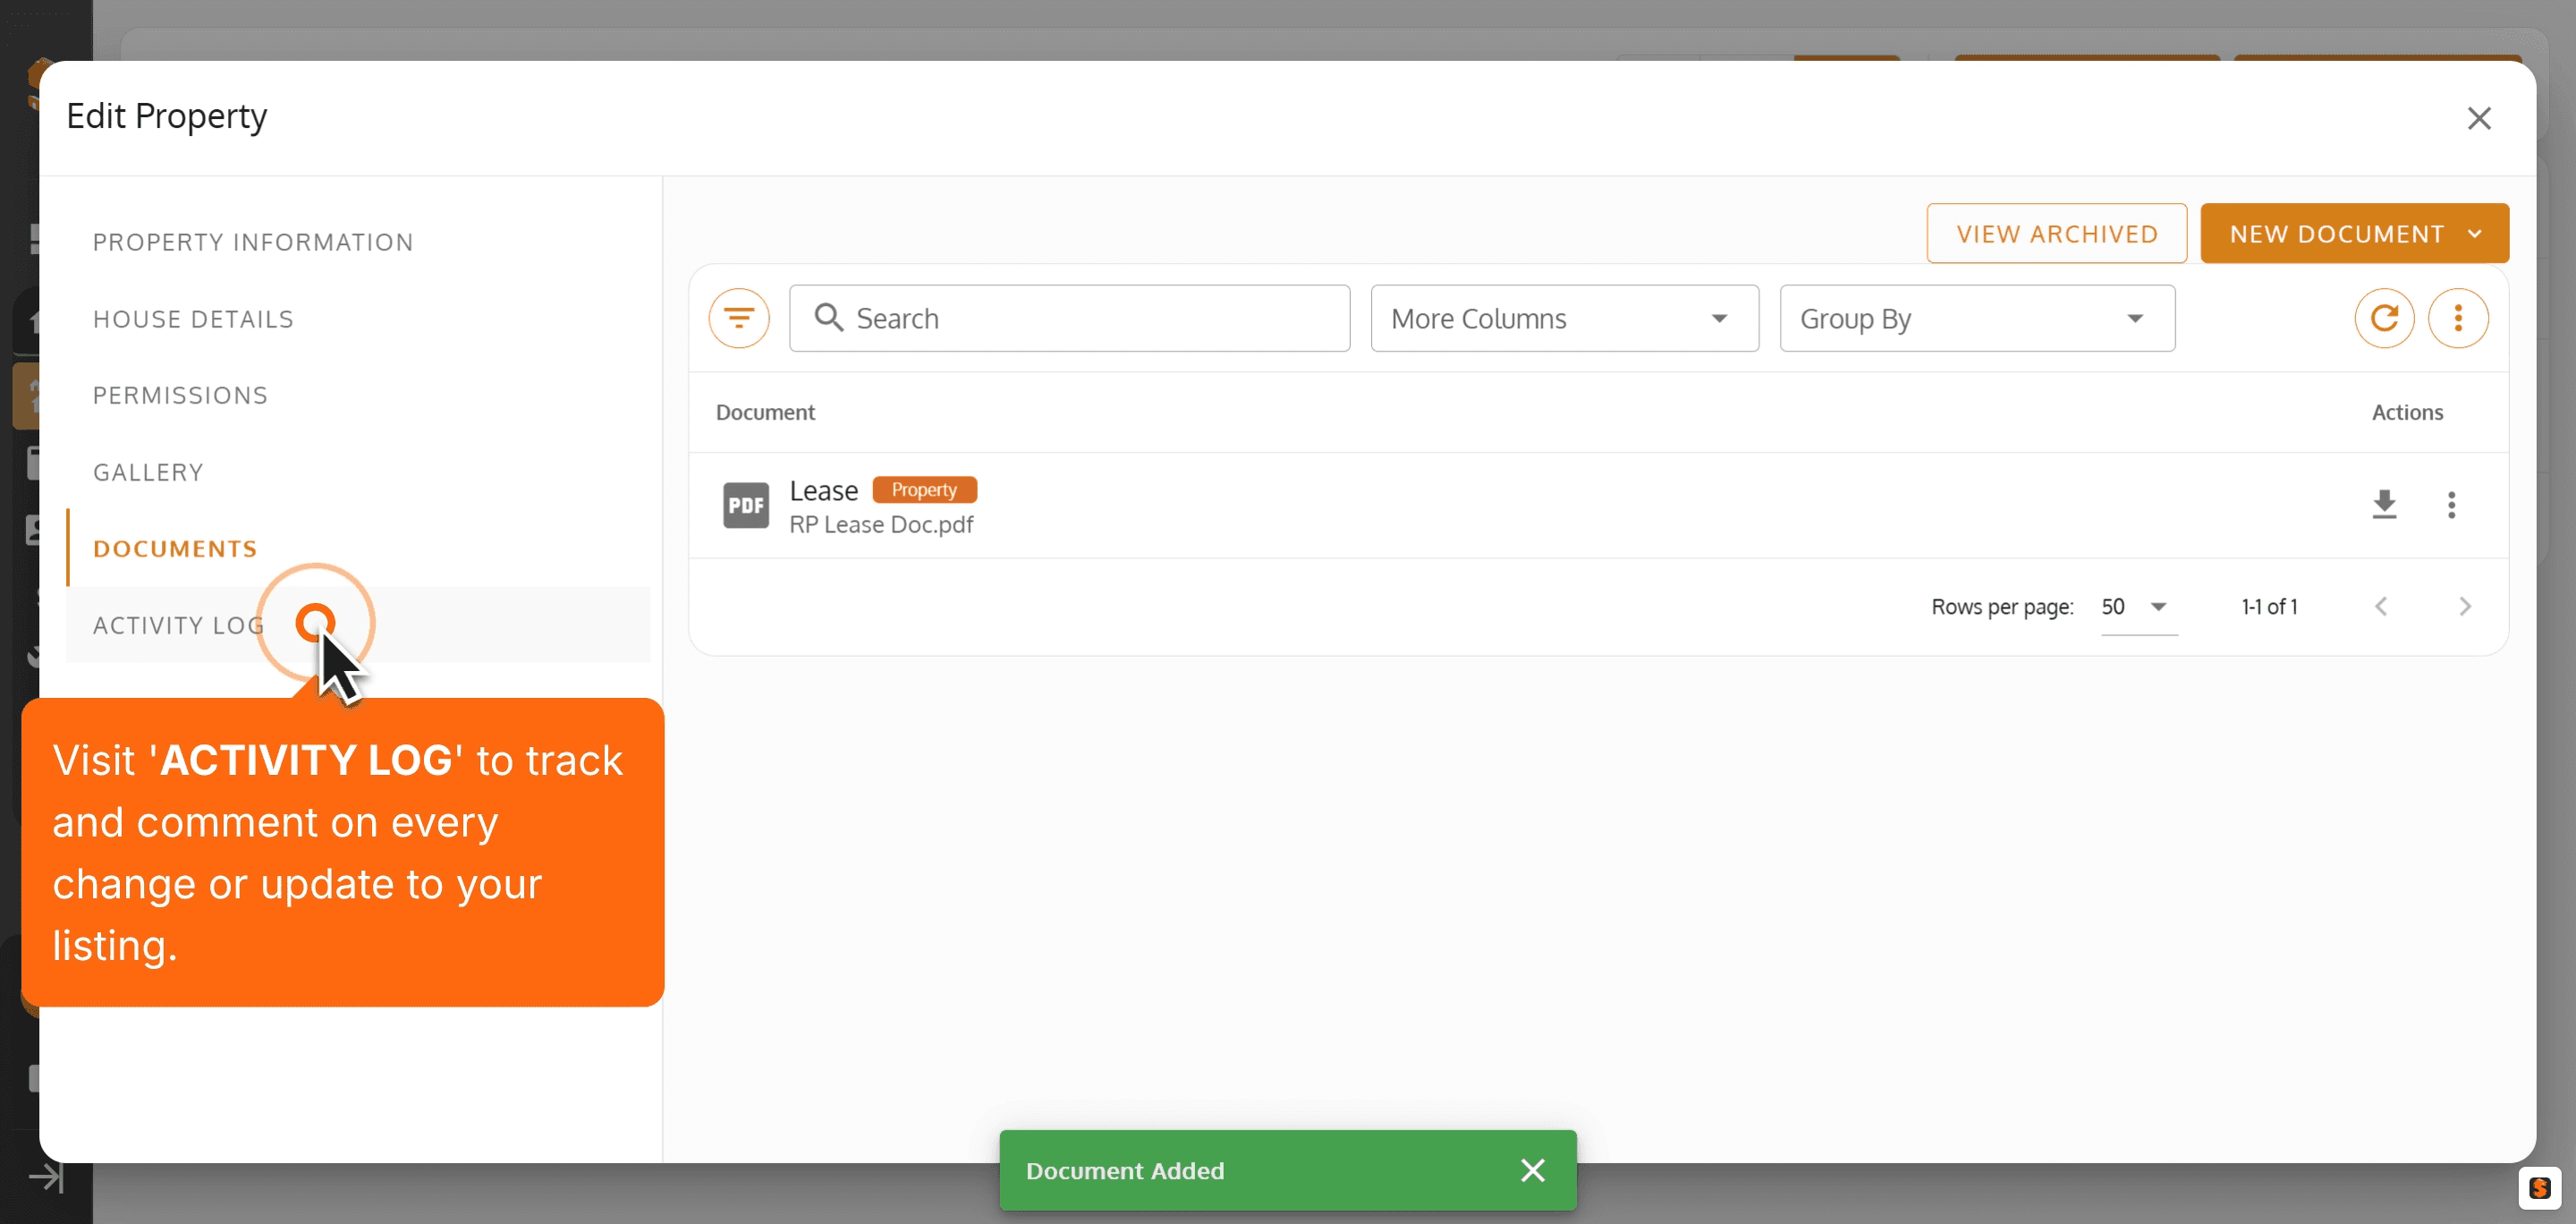
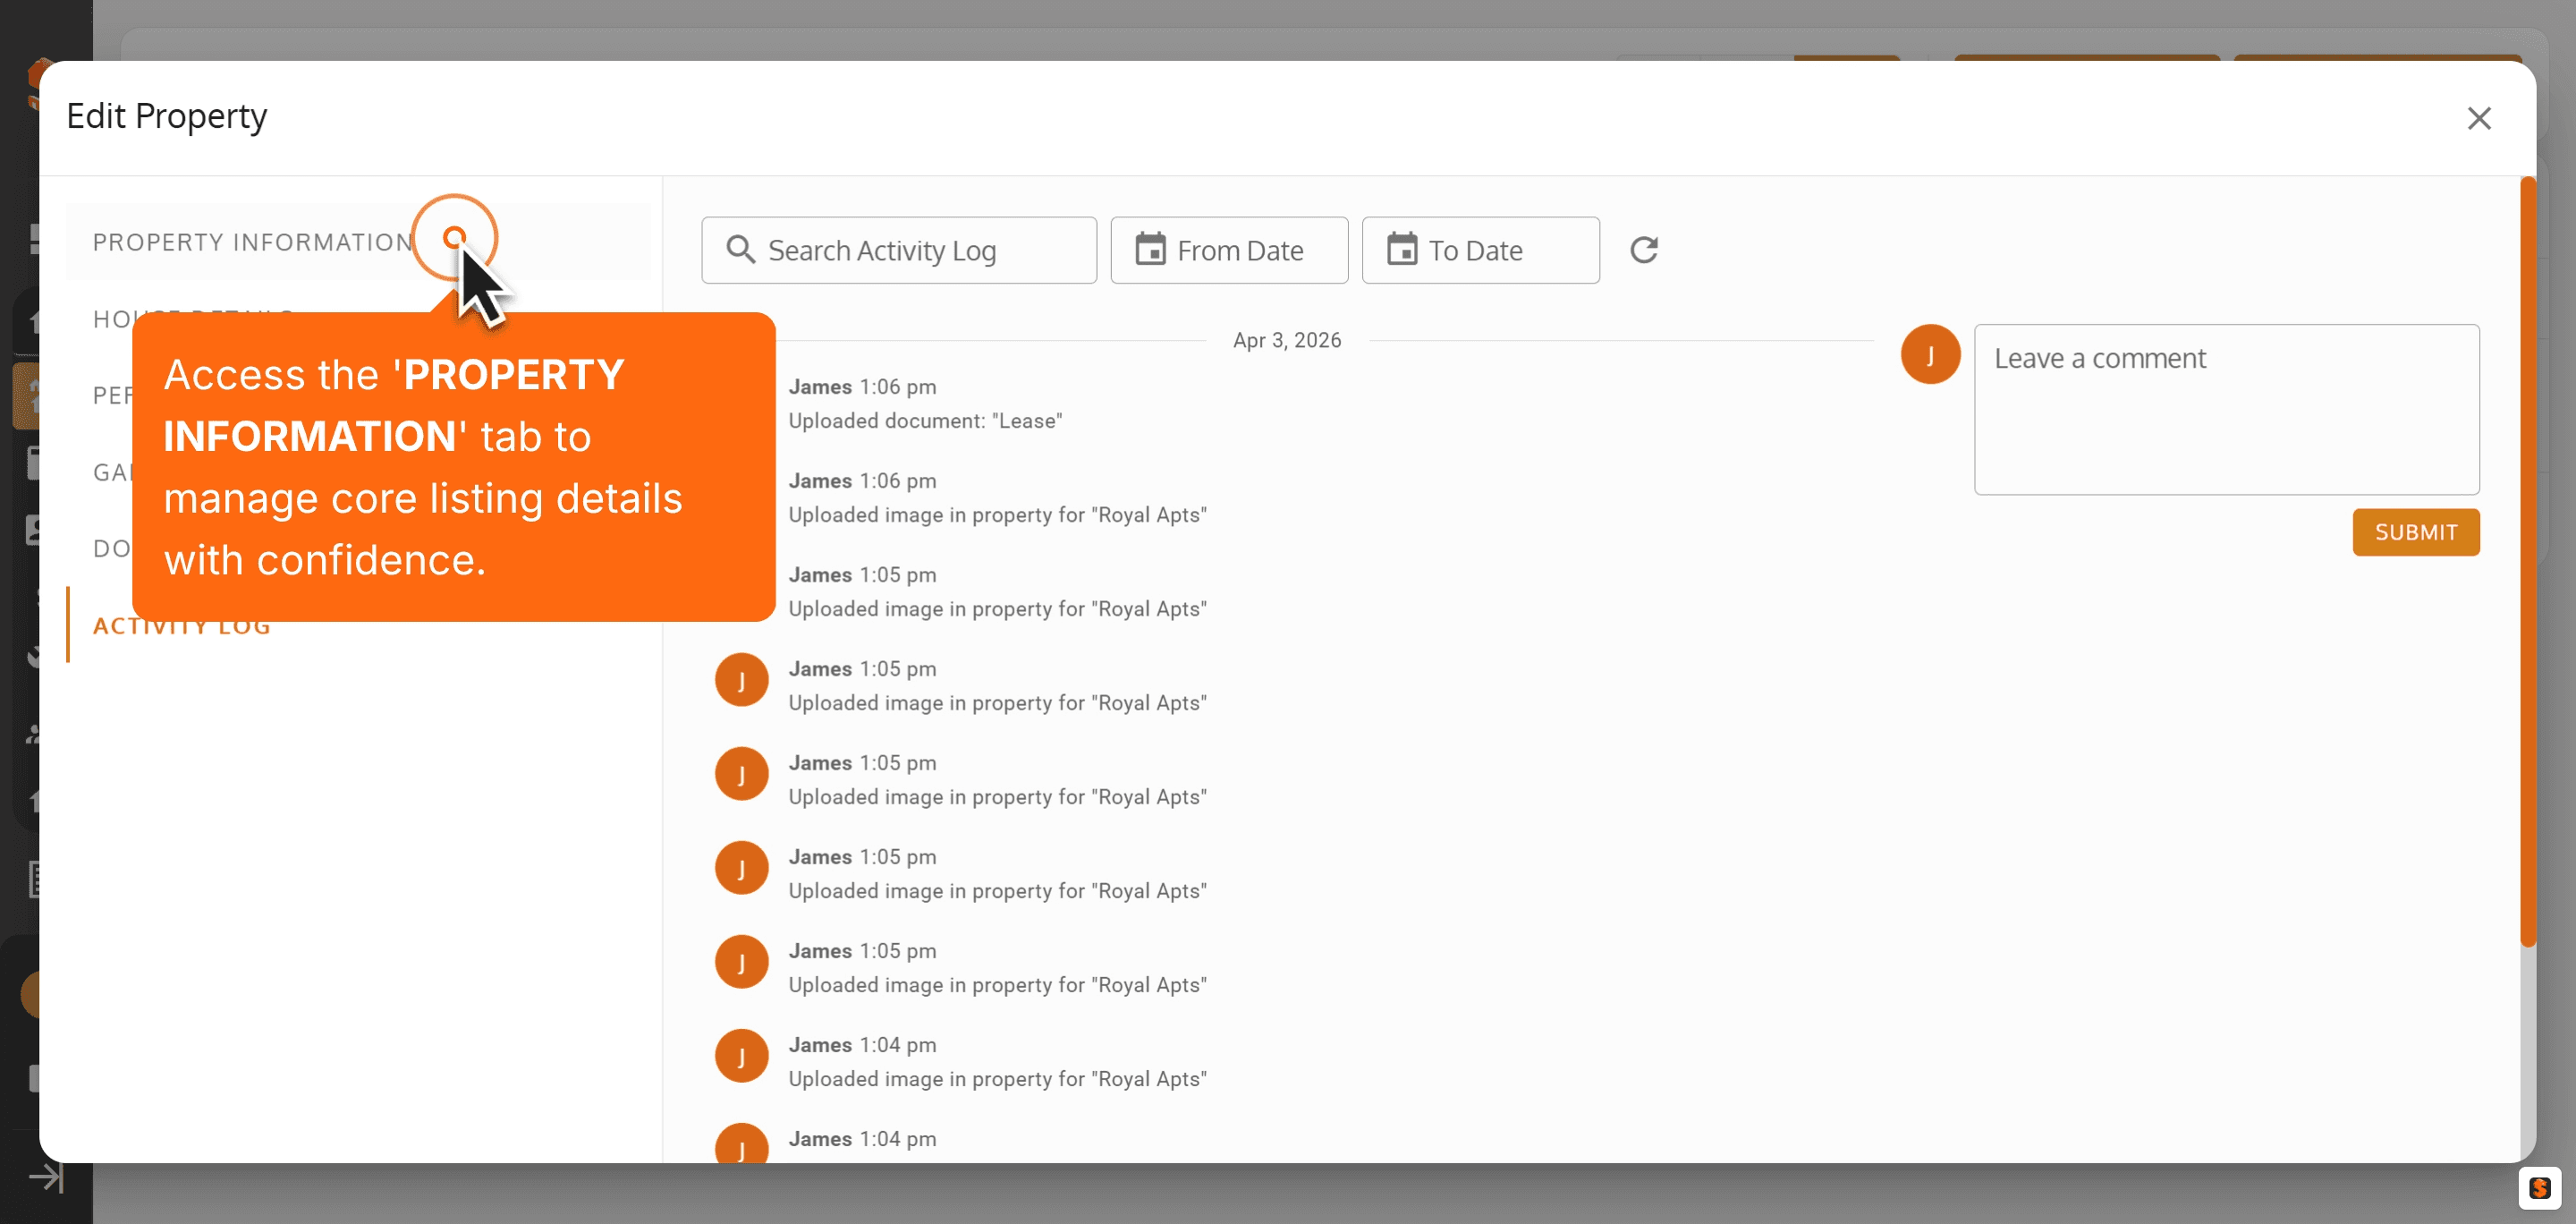
23. Visit 'ACTIVITY LOG' to view activity records/activity history, Changes or updates by whom, track activity for property and it's units and comment on every change or update to your listing.
24. Access the 'PROPERTY INFORMATION' tab to manage core listing details with confidence.
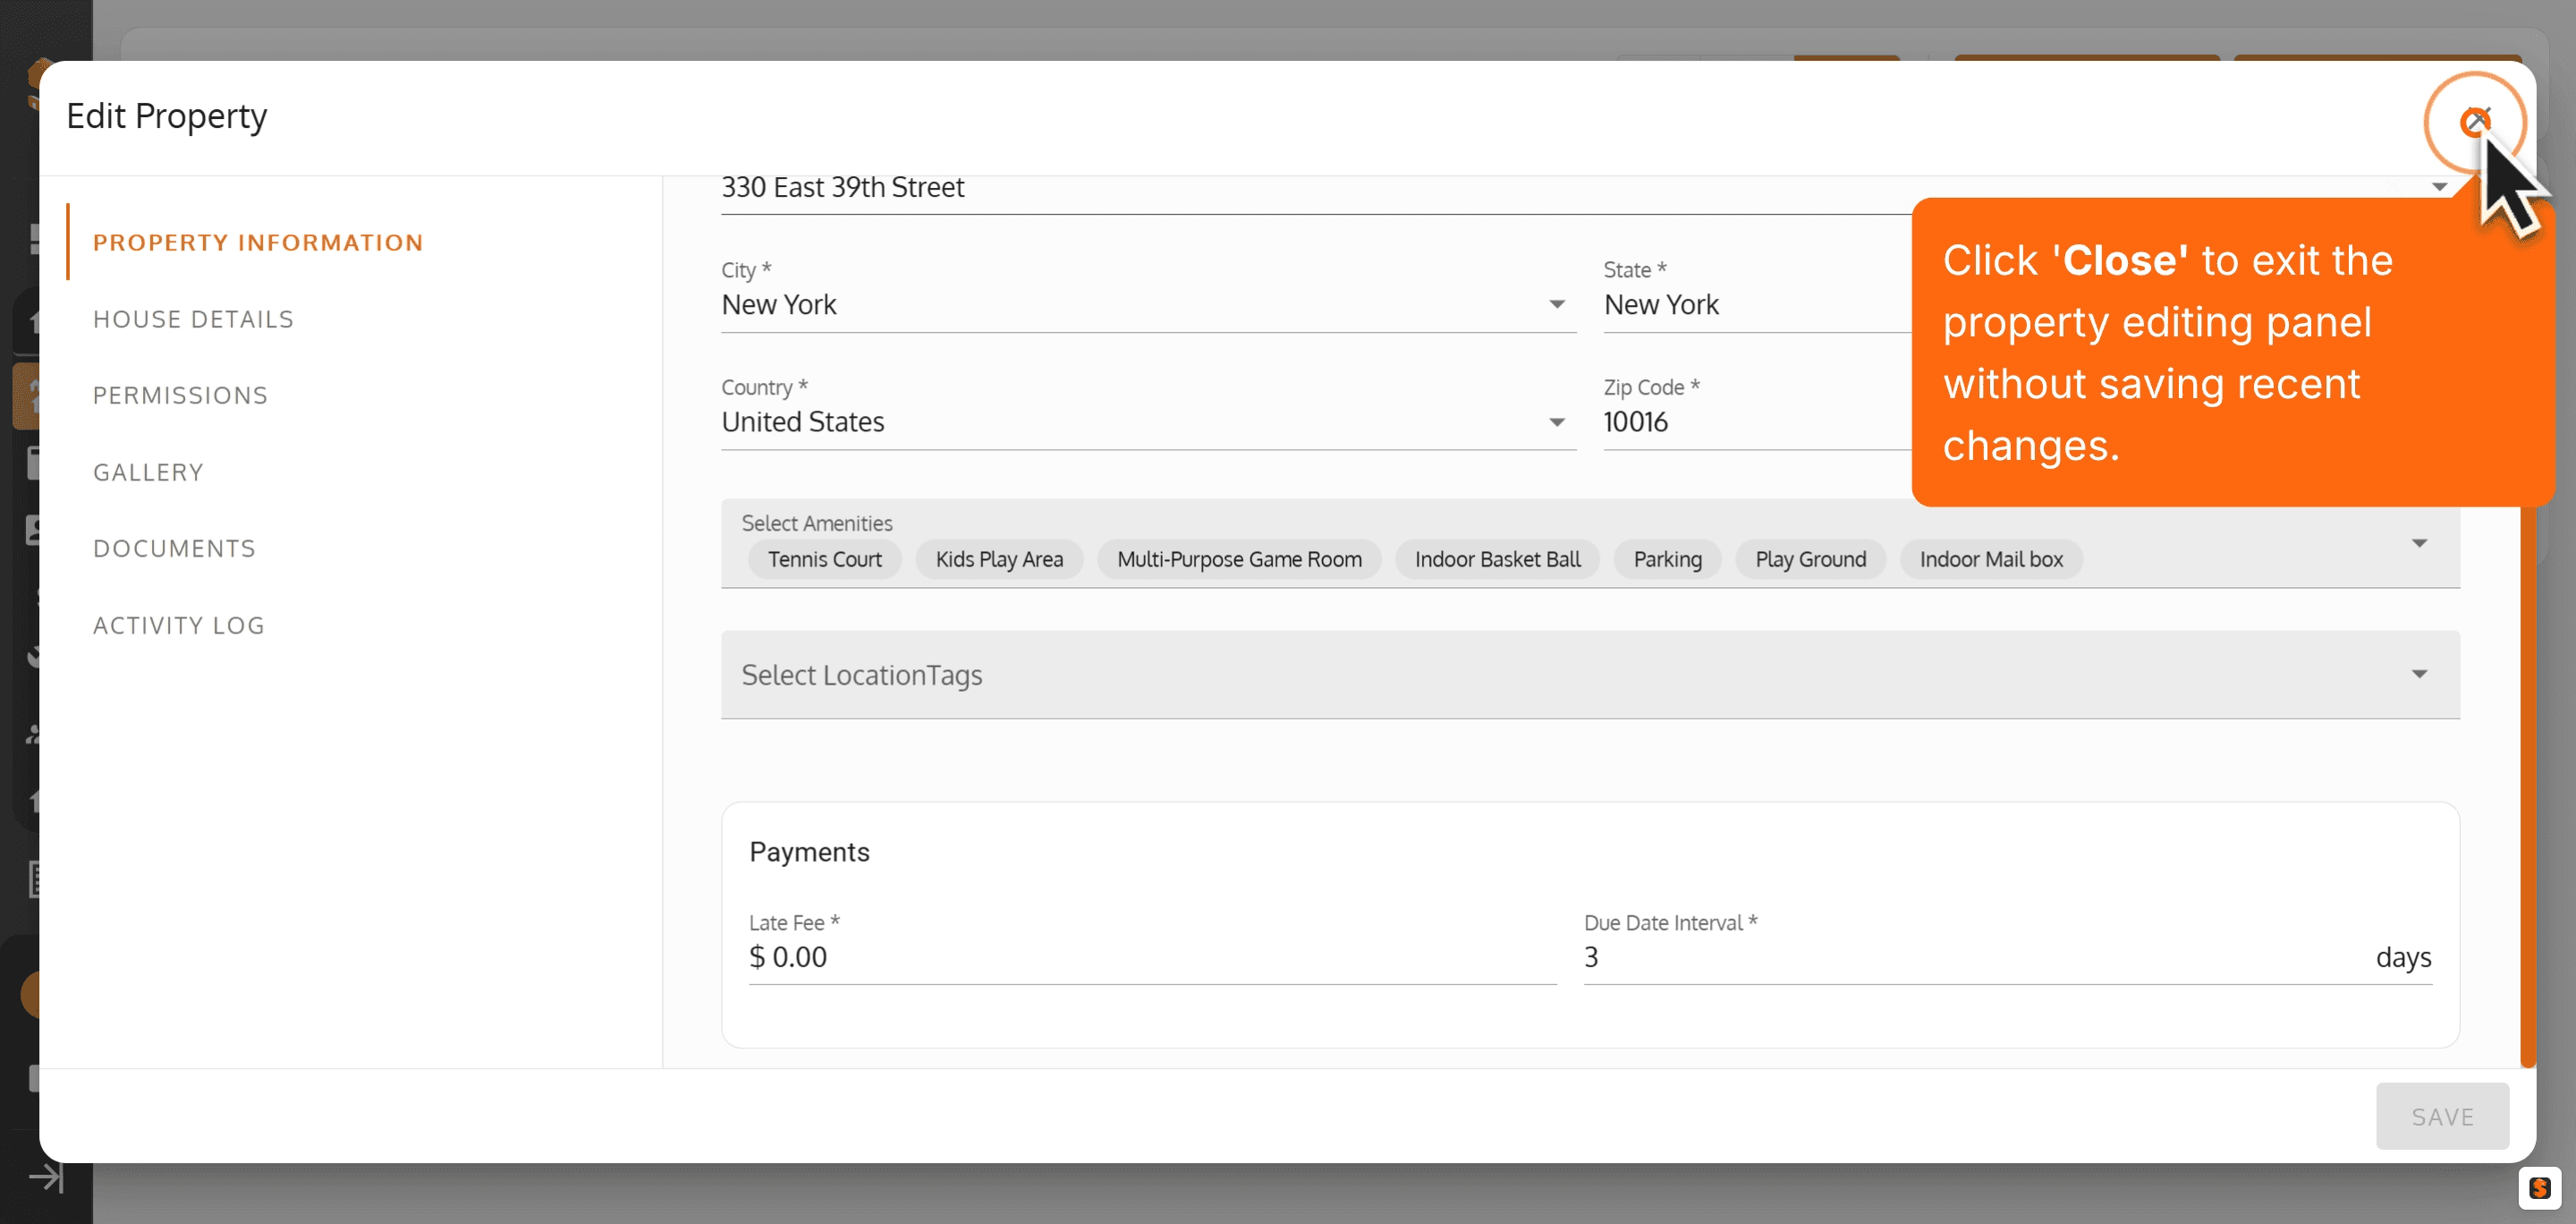
25. Click 'Close' to exit the property editing panel without saving recent changes.
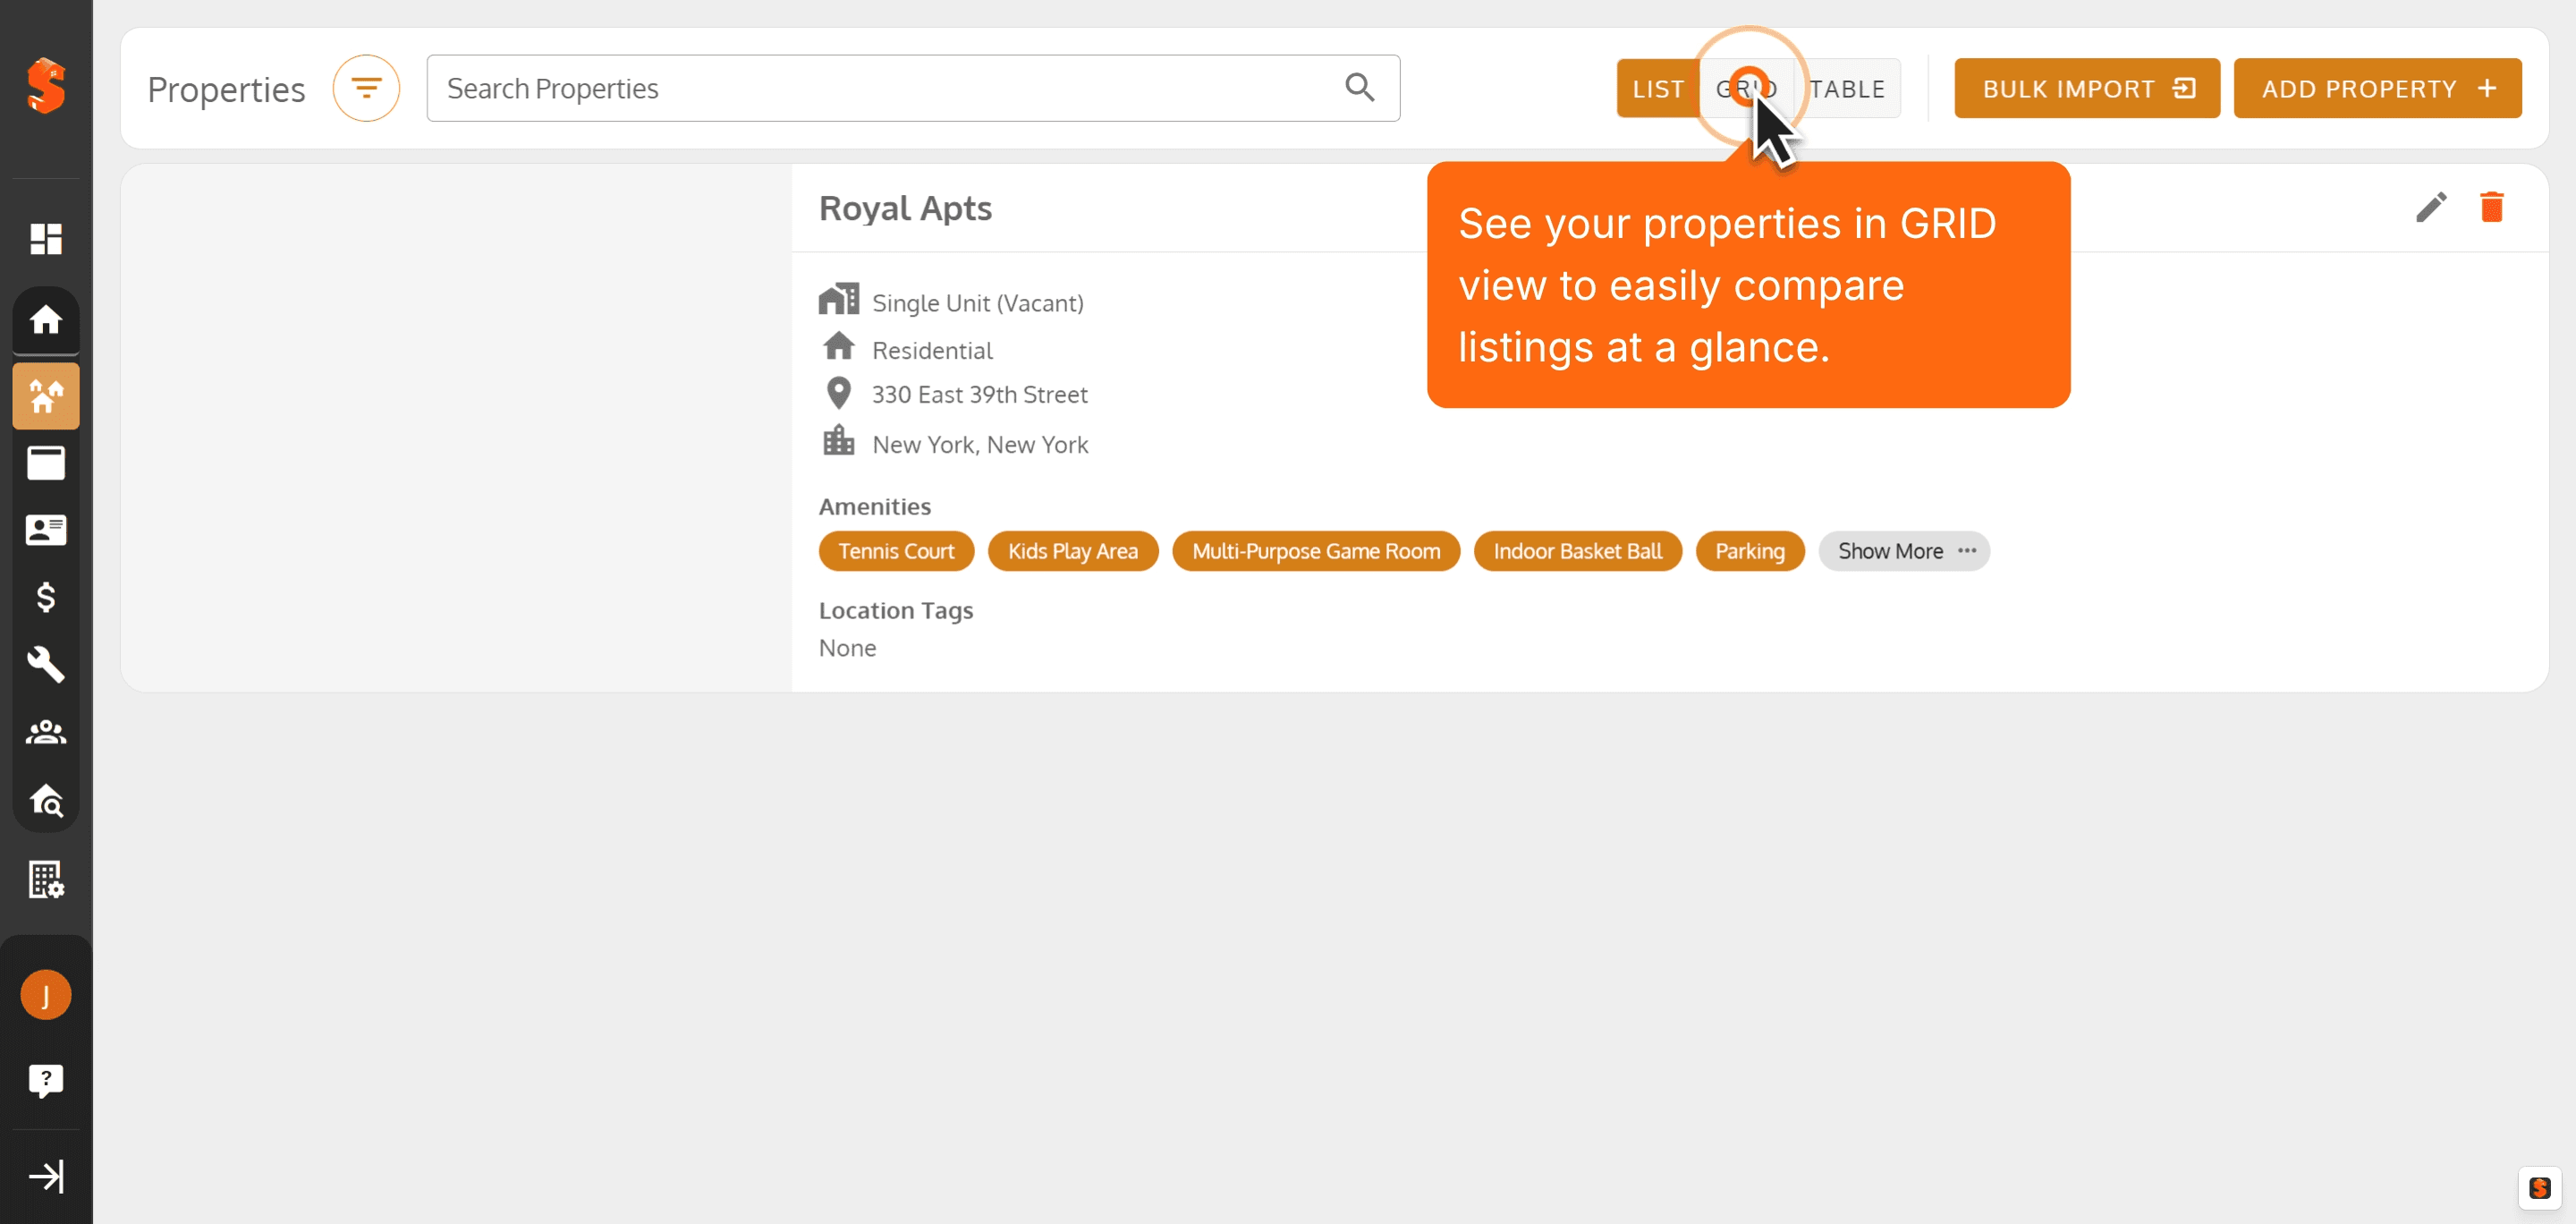
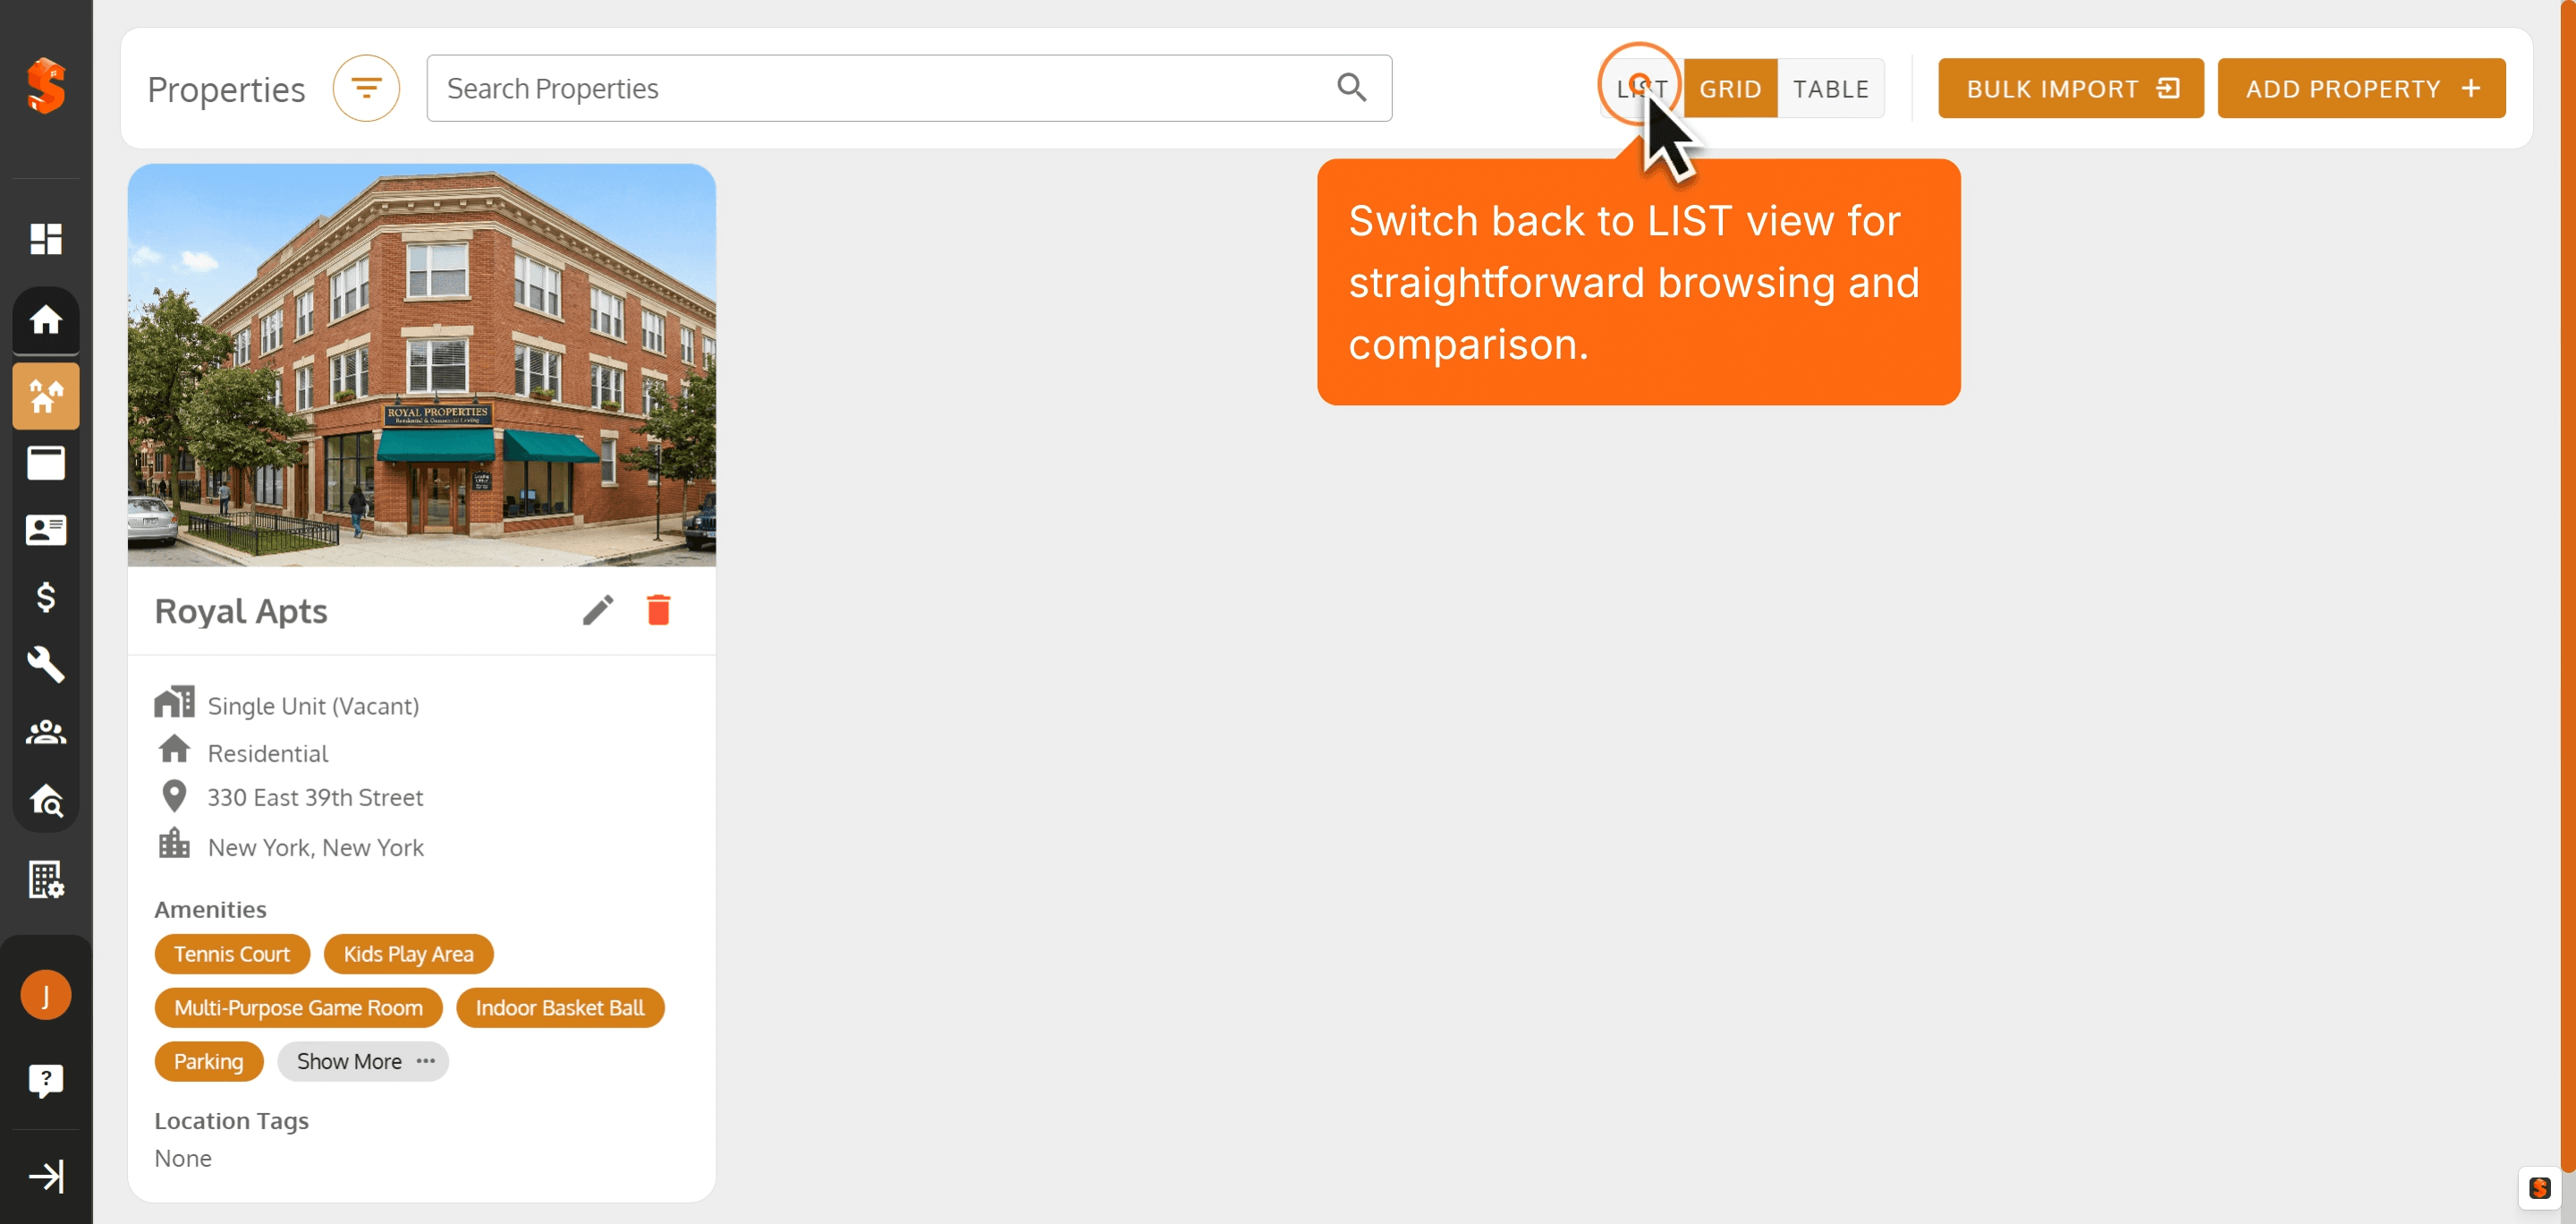
26. See your properties in GRID view to easily compare listings at a glance.
27. Switch back to LIST view for straightforward browsing and comparison.
28.
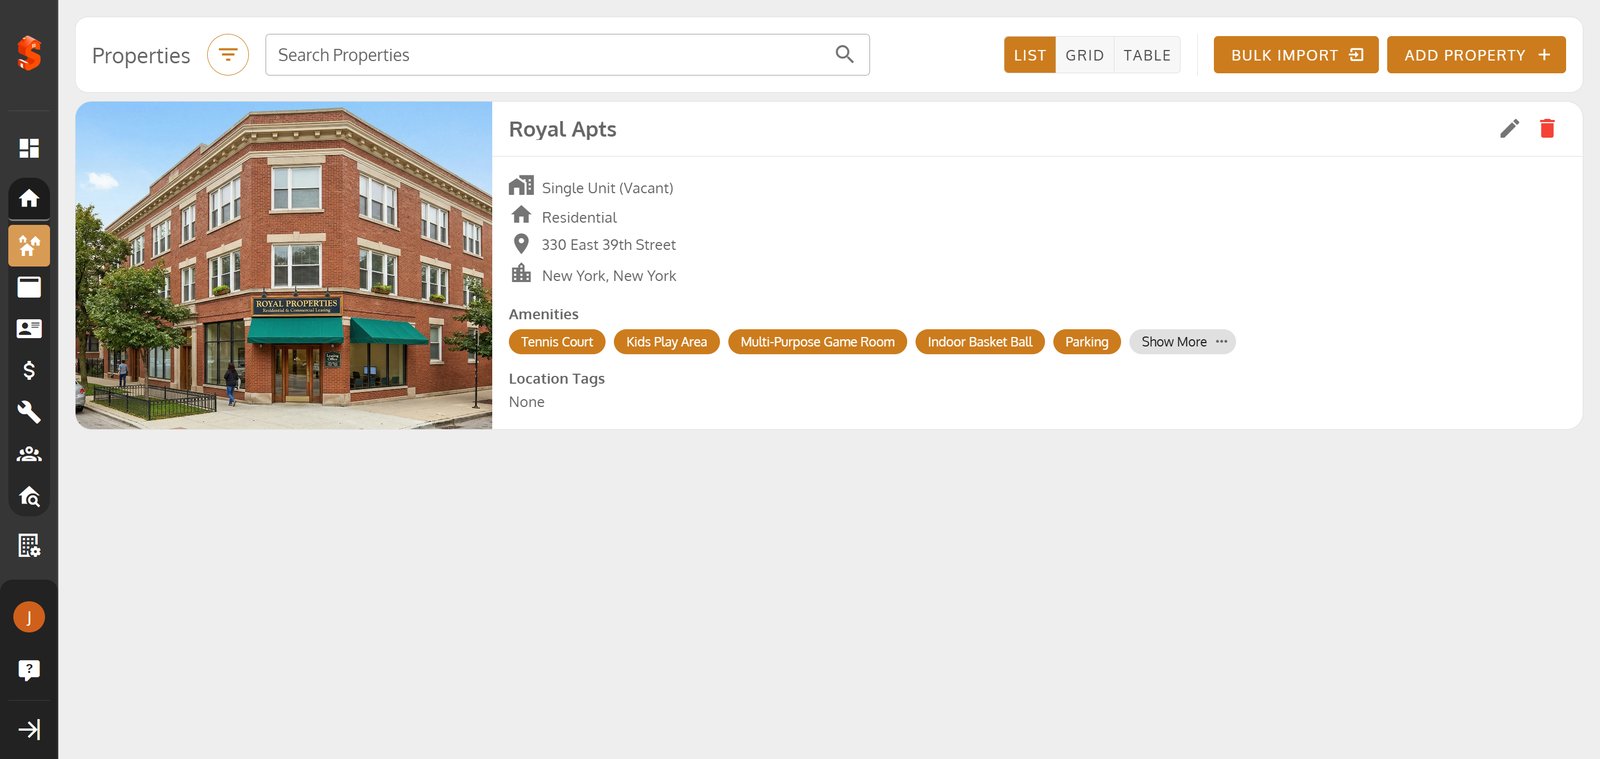
Property added successfully!
You can now add units, tenants, and start managing your operations.
Was this article helpful?
Help us improve our documentation