View, Add/ Import, Edit, Search/Filter, Share, Delete Property

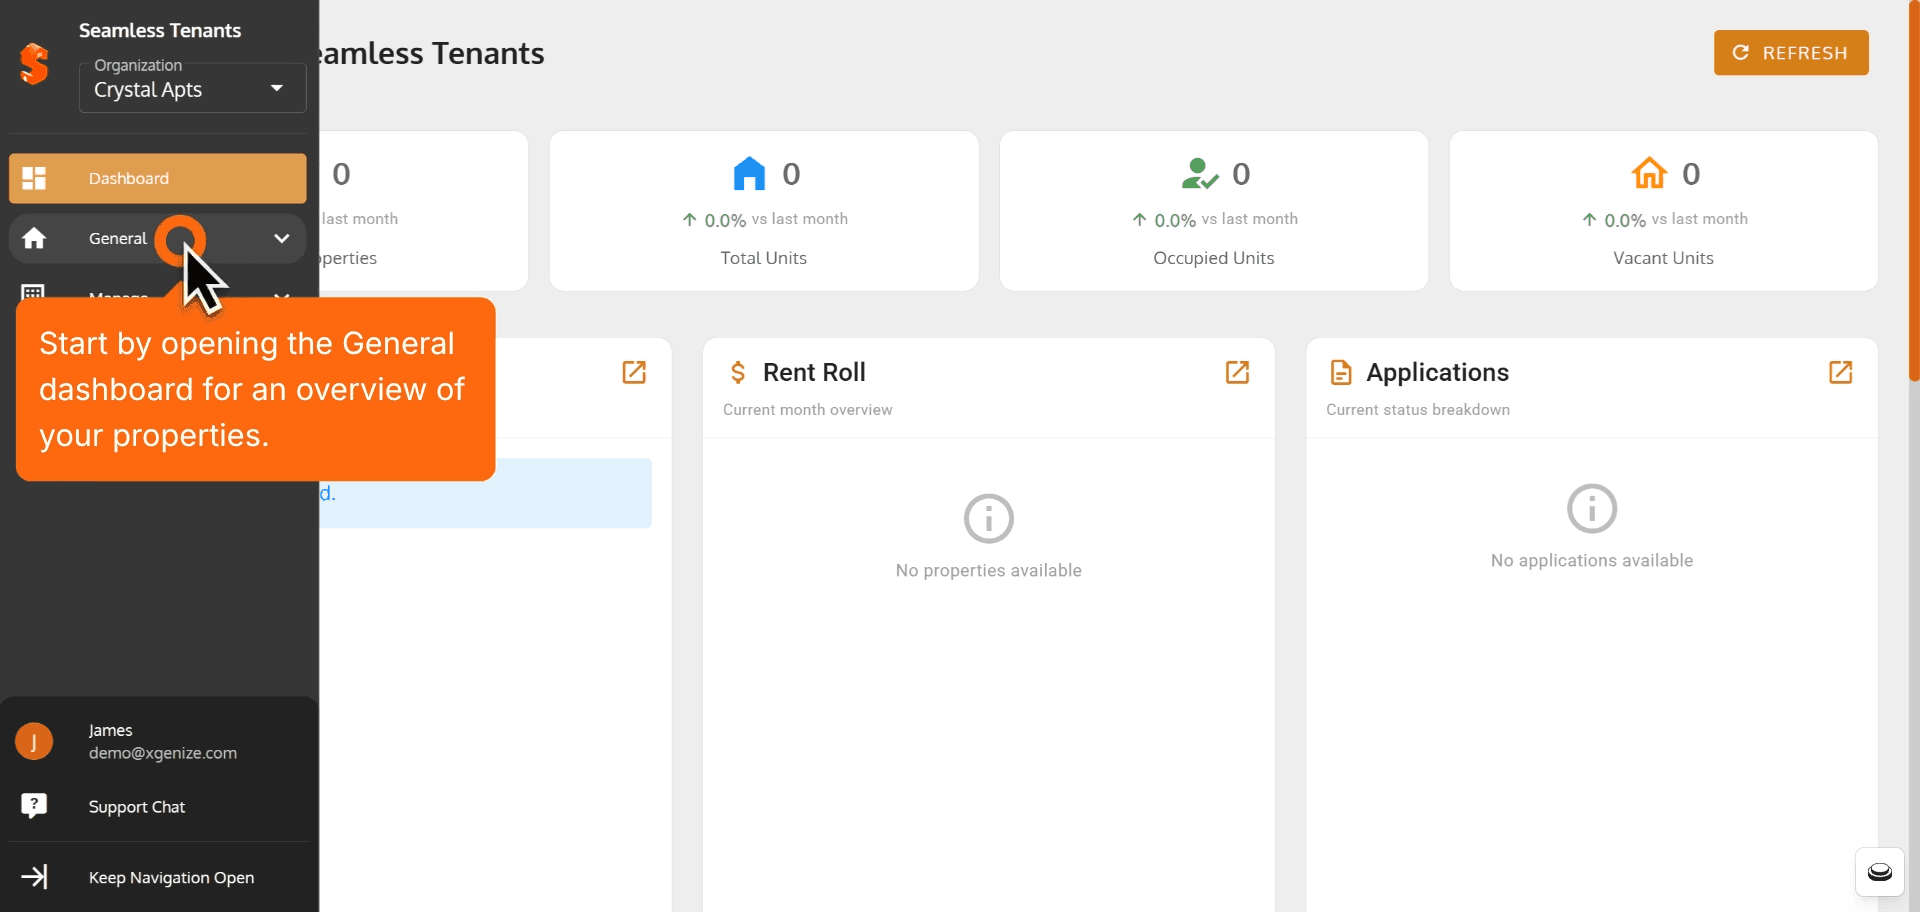
1. Start by opening the General dashboard for an overview of your properties.
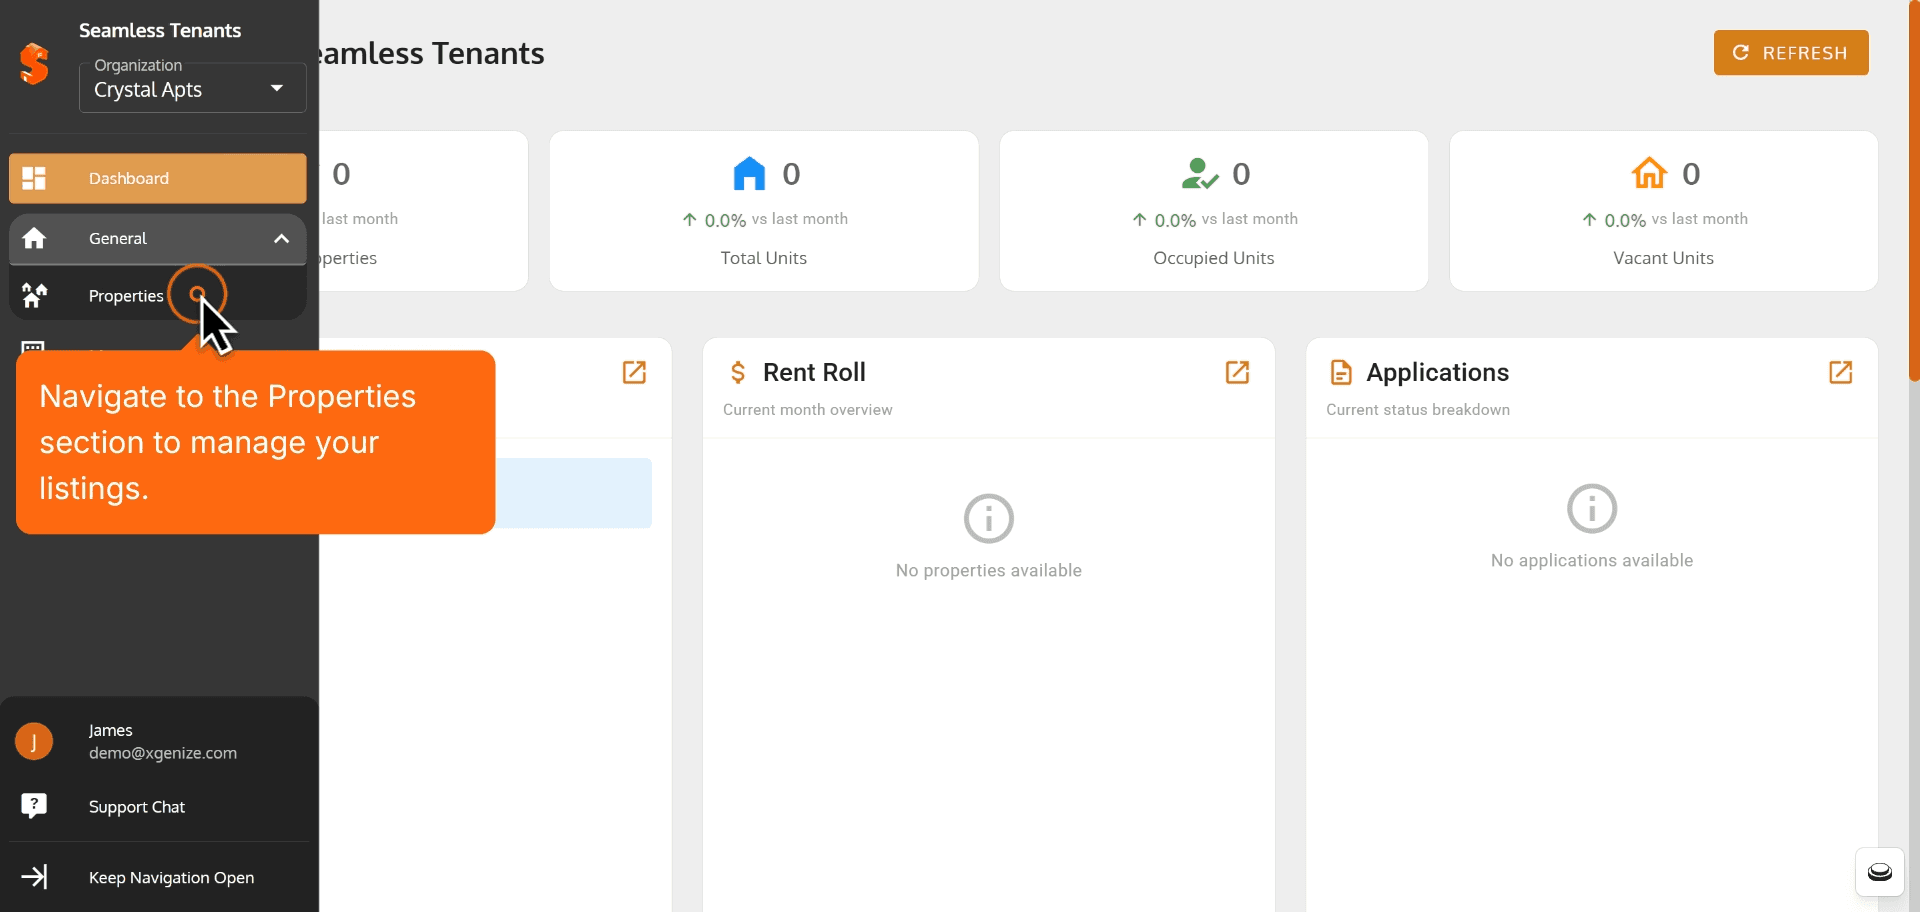
2. Navigate to the properties section to manage your listings.
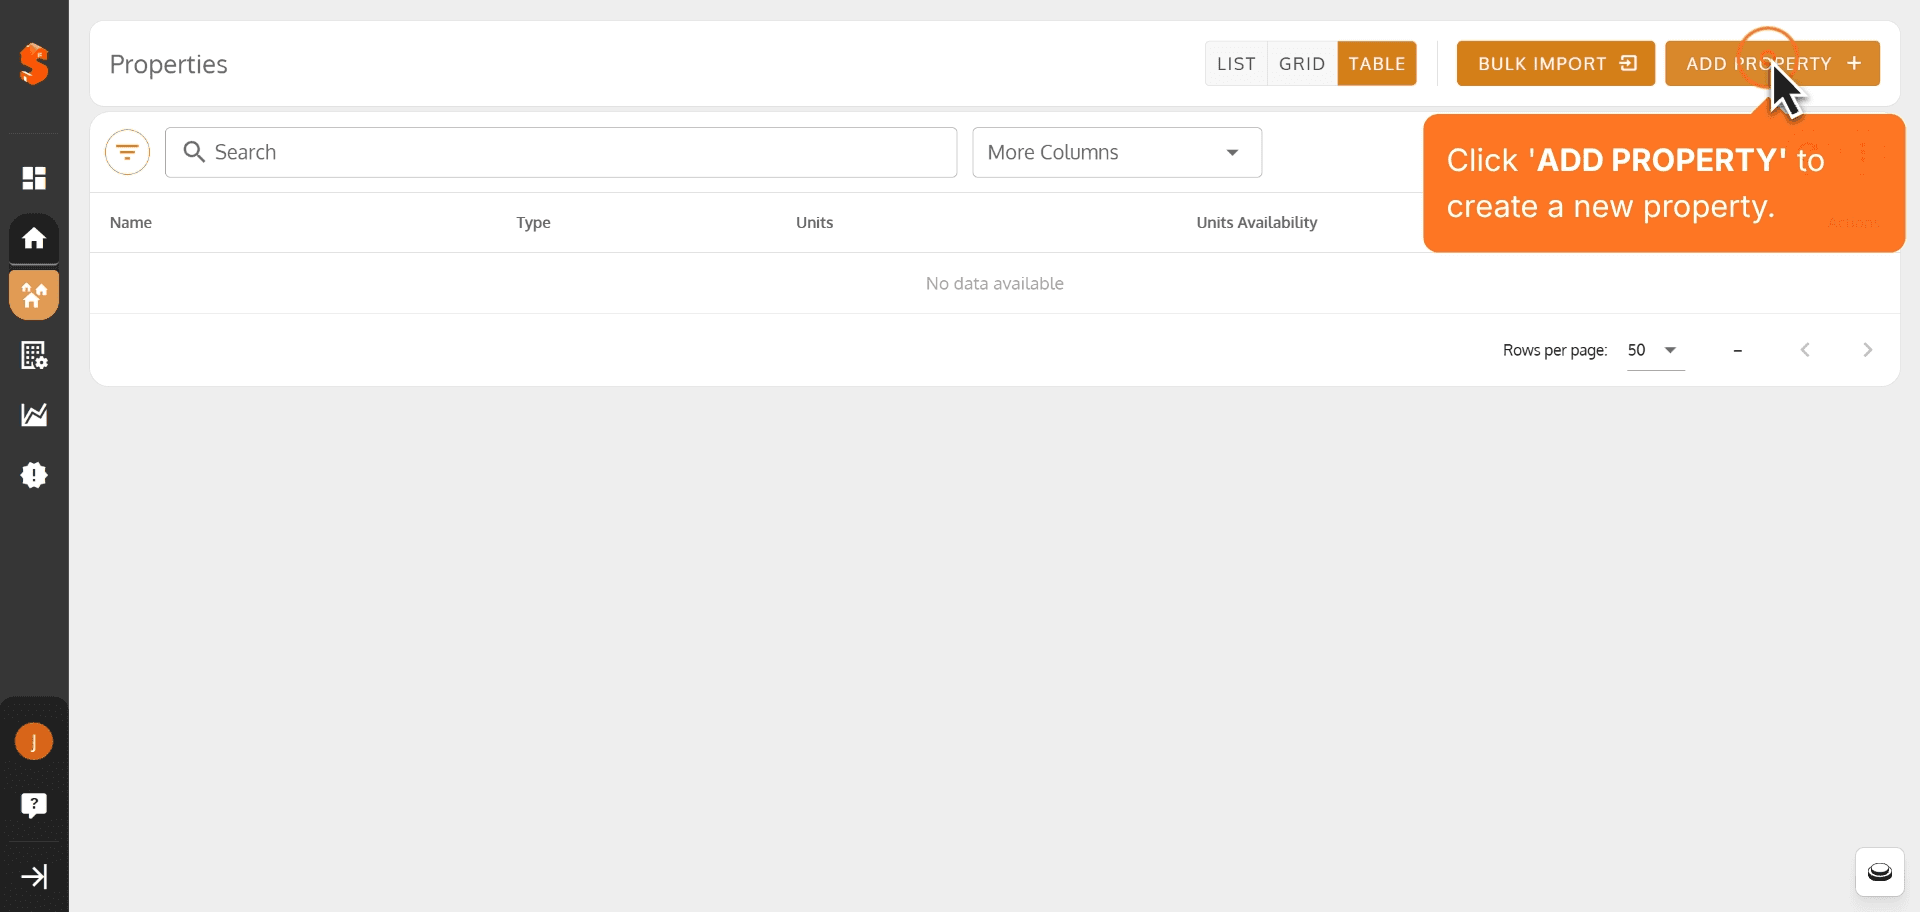
3. Click 'Add Property' to create a new property.
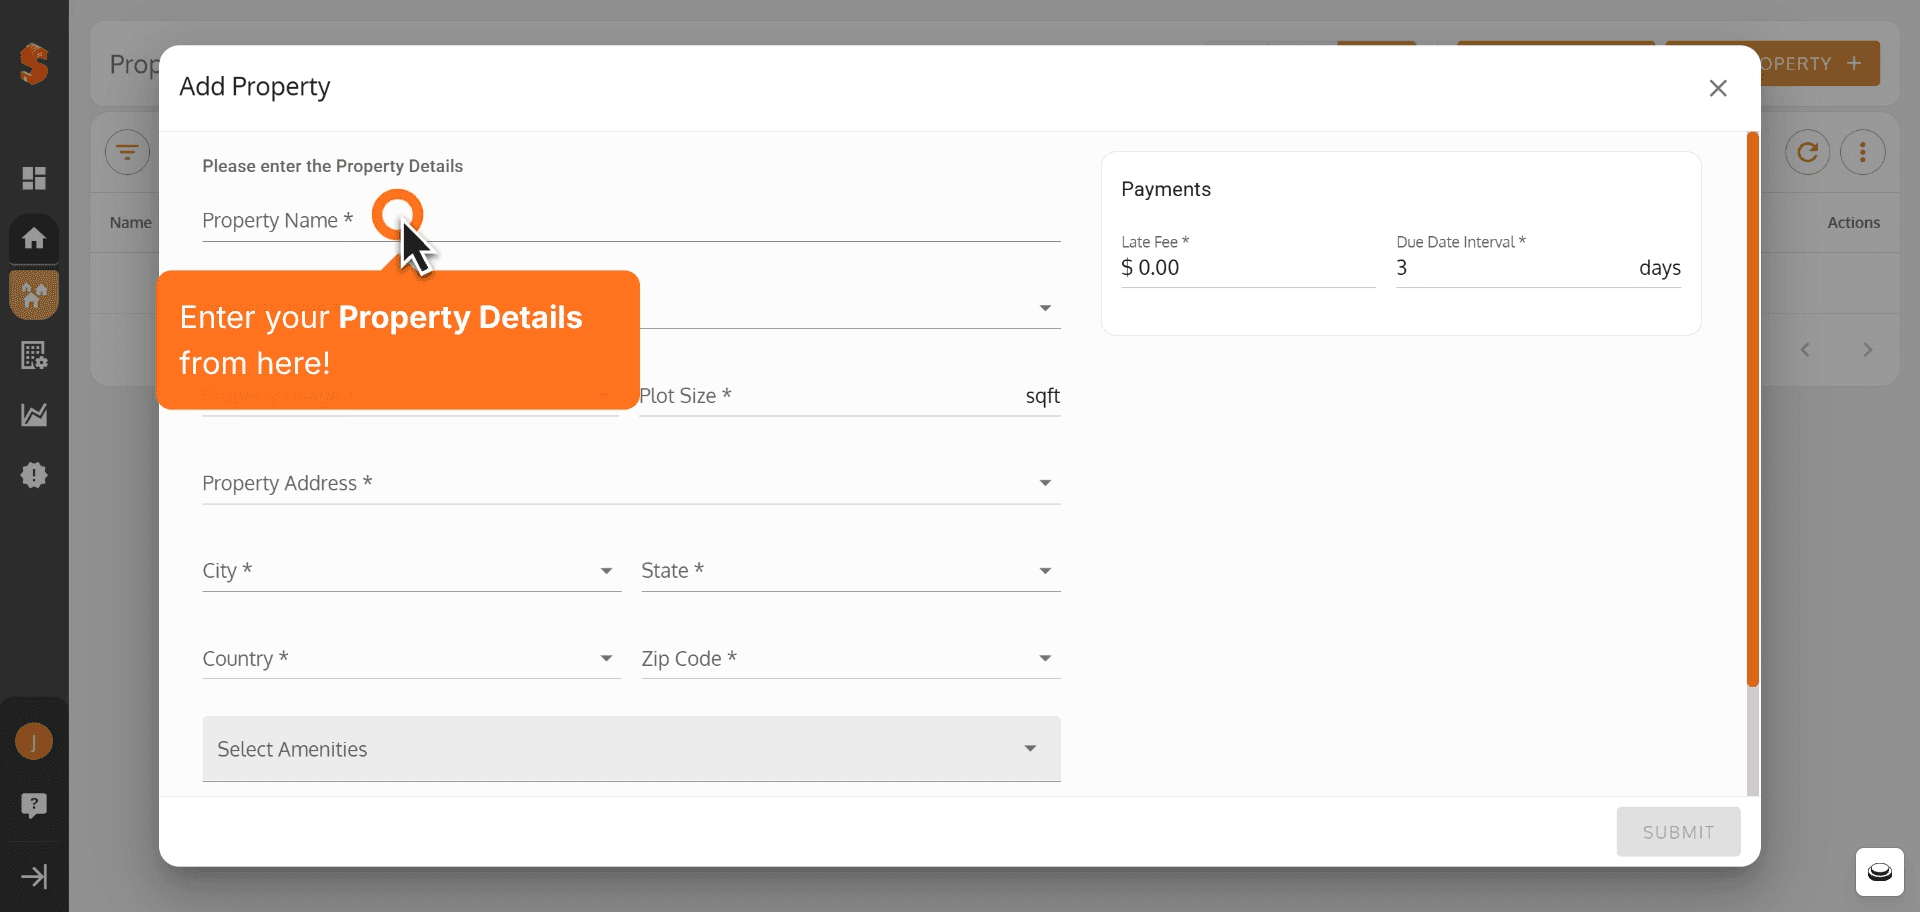
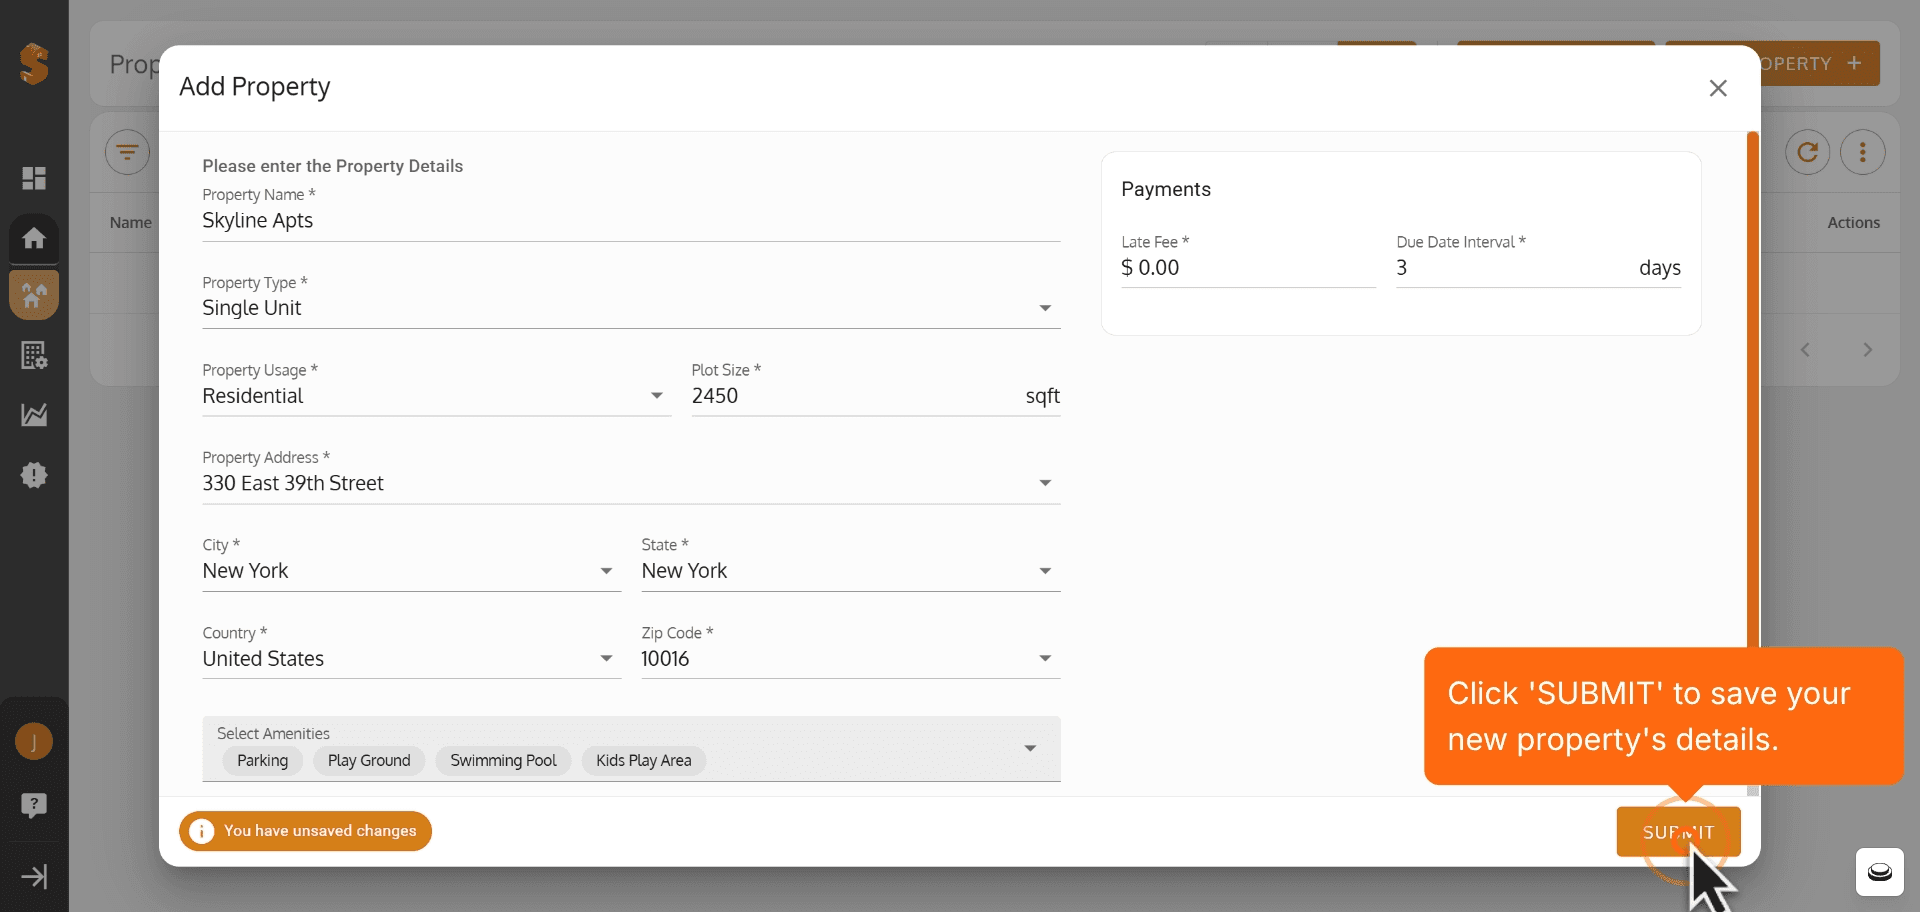
4. Enter your Property Details from here.
5. Click 'Submit' to save your now property's details.
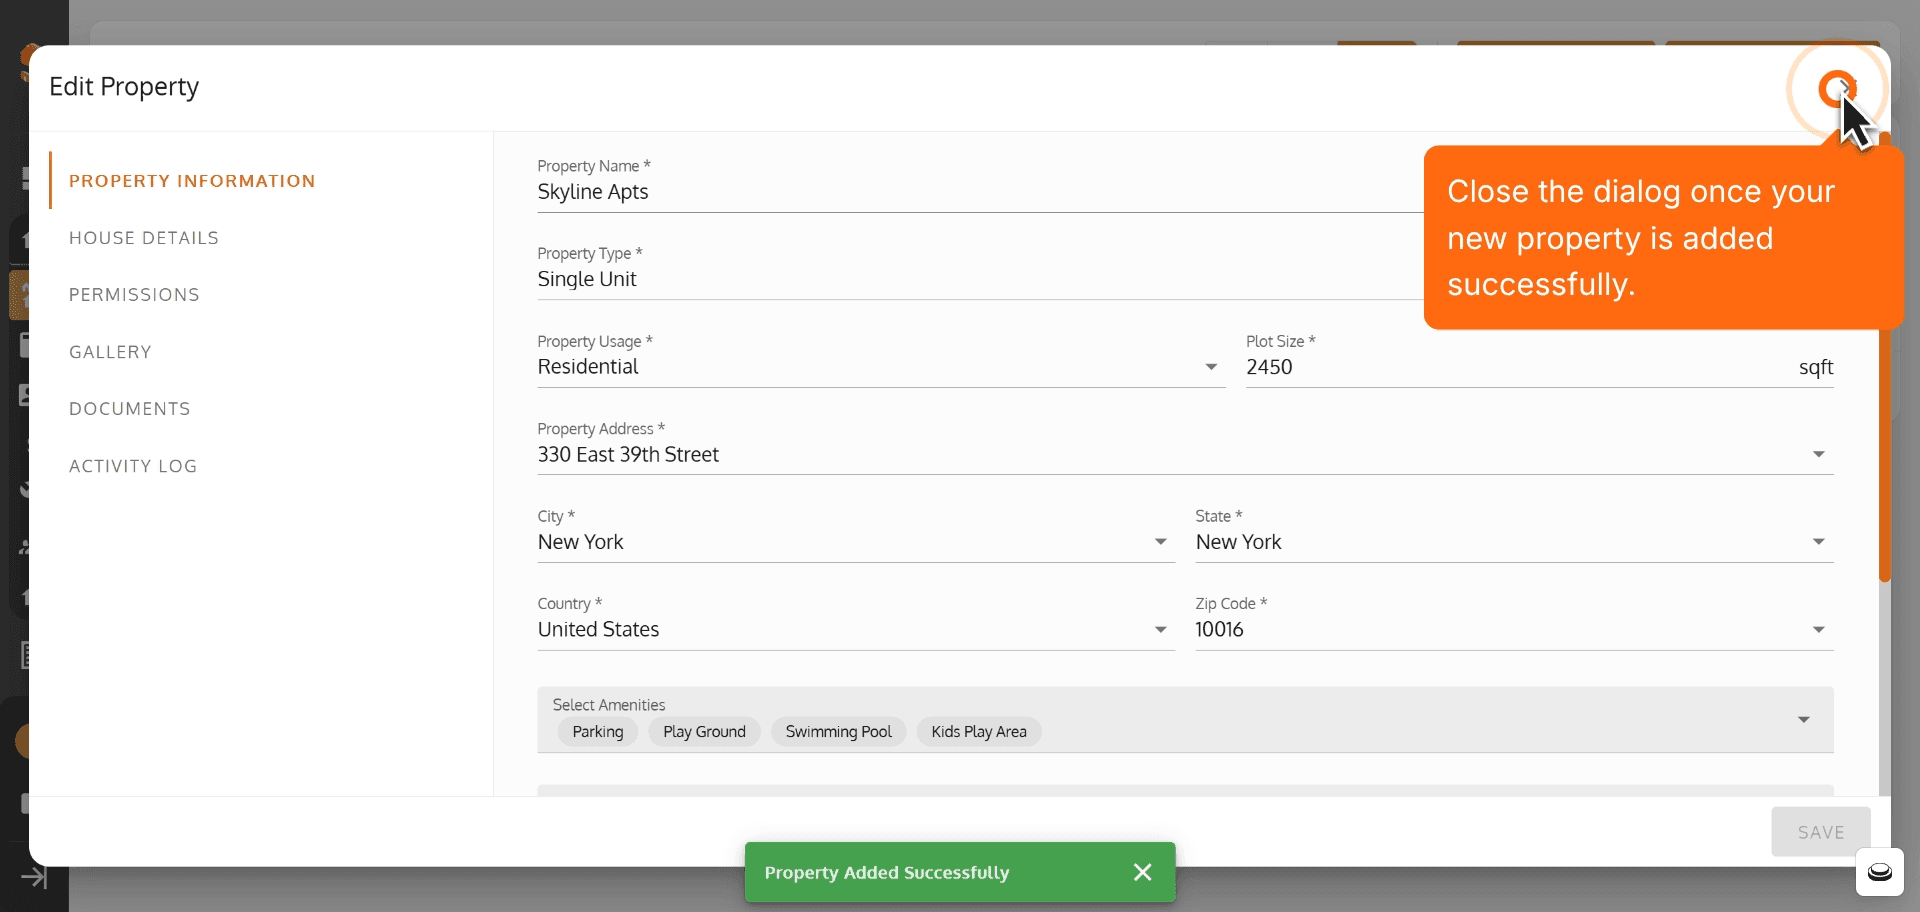
6. Close the dialog once your new property is added successfully.
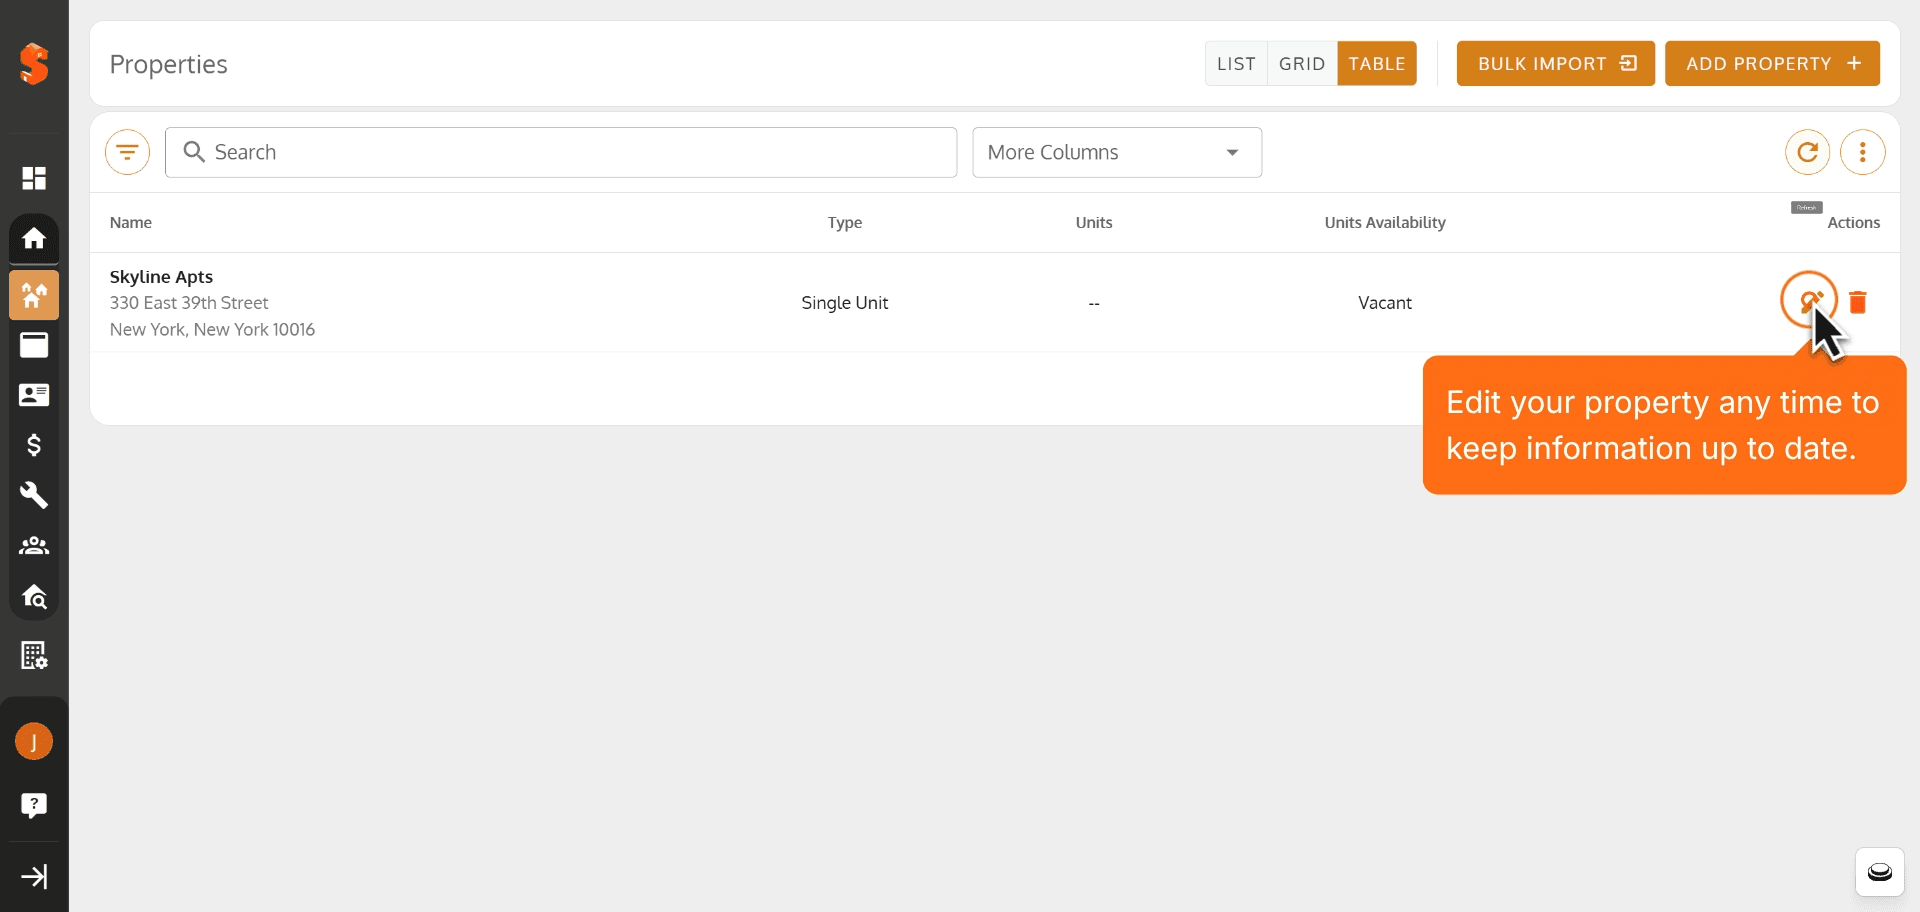
7. Edit your property any time to keep information up to date.
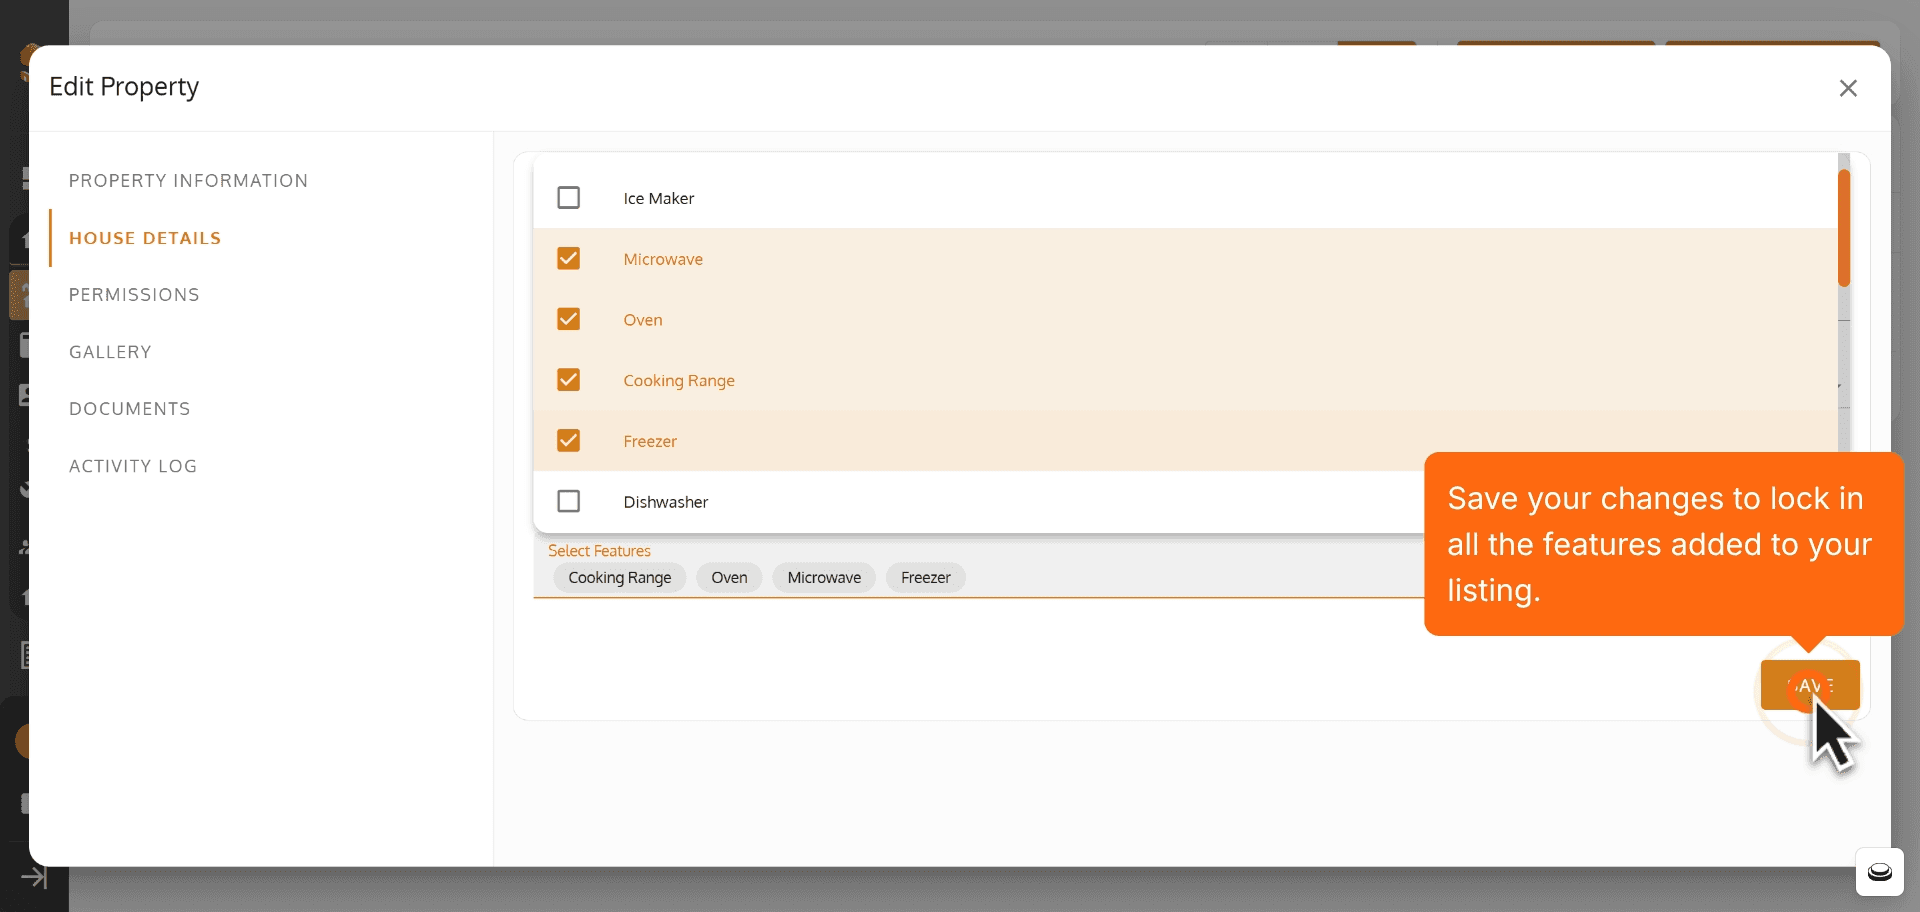
8. Save your changes to lock in all the features added to your listing.
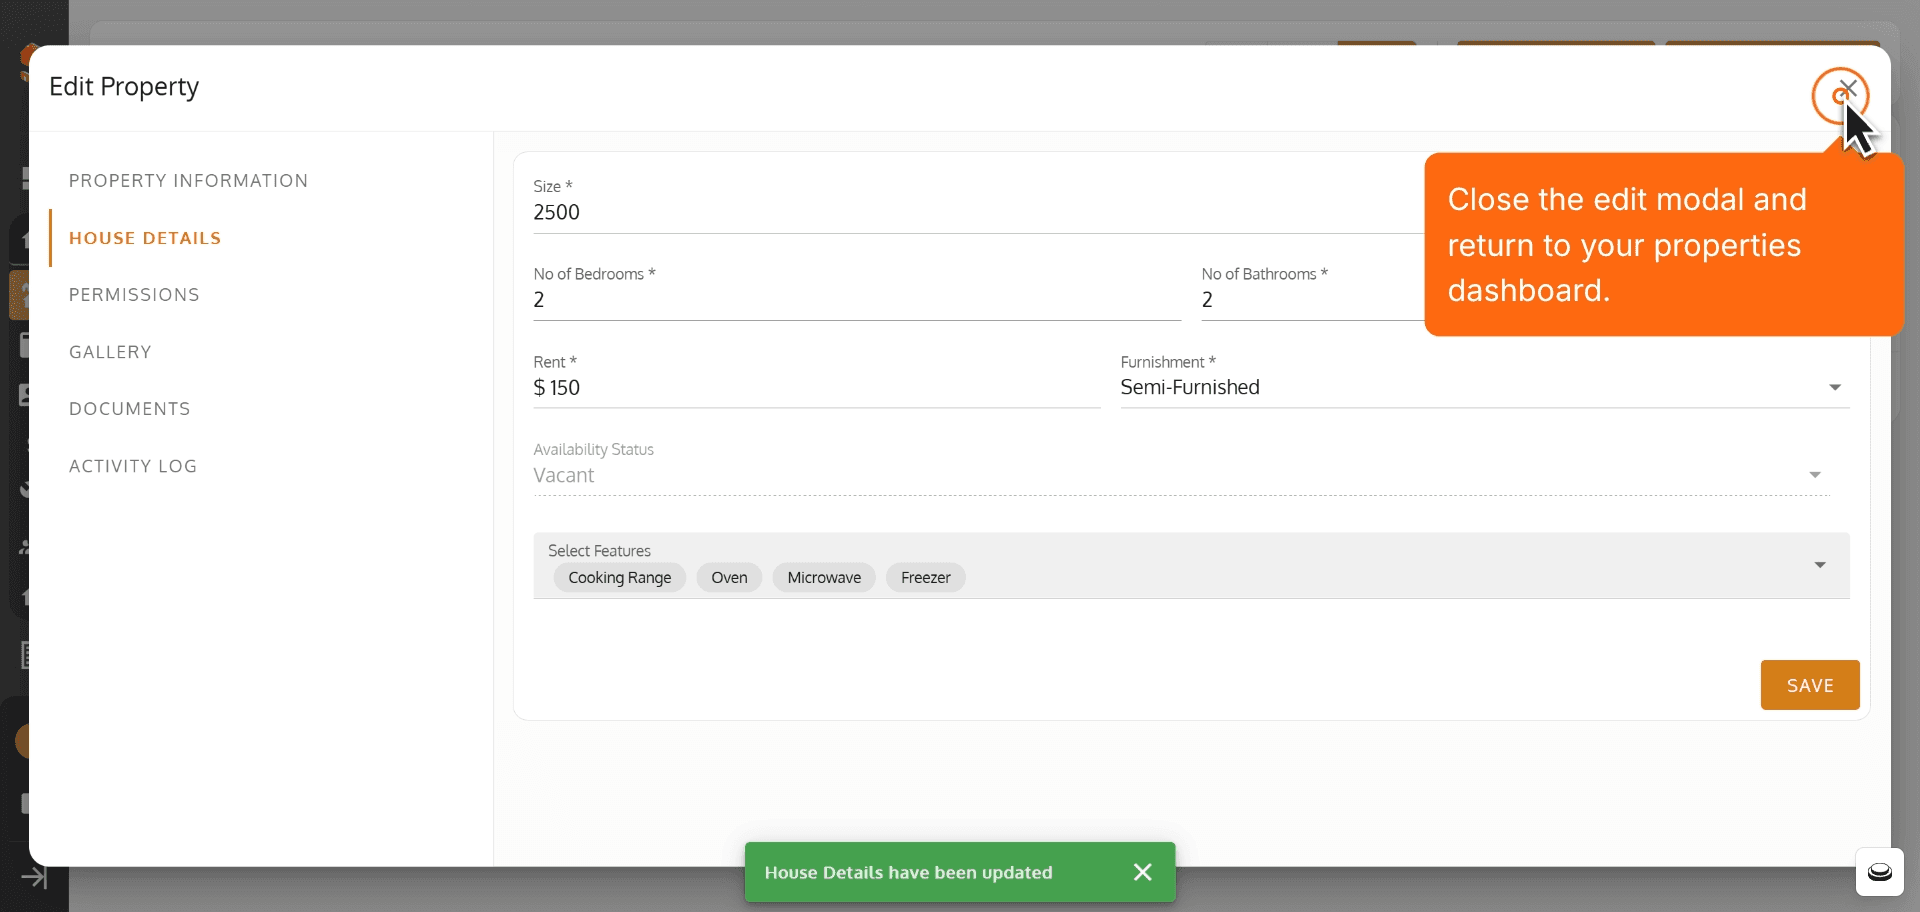
9. Close the edit modal and return to your properties dashboard.
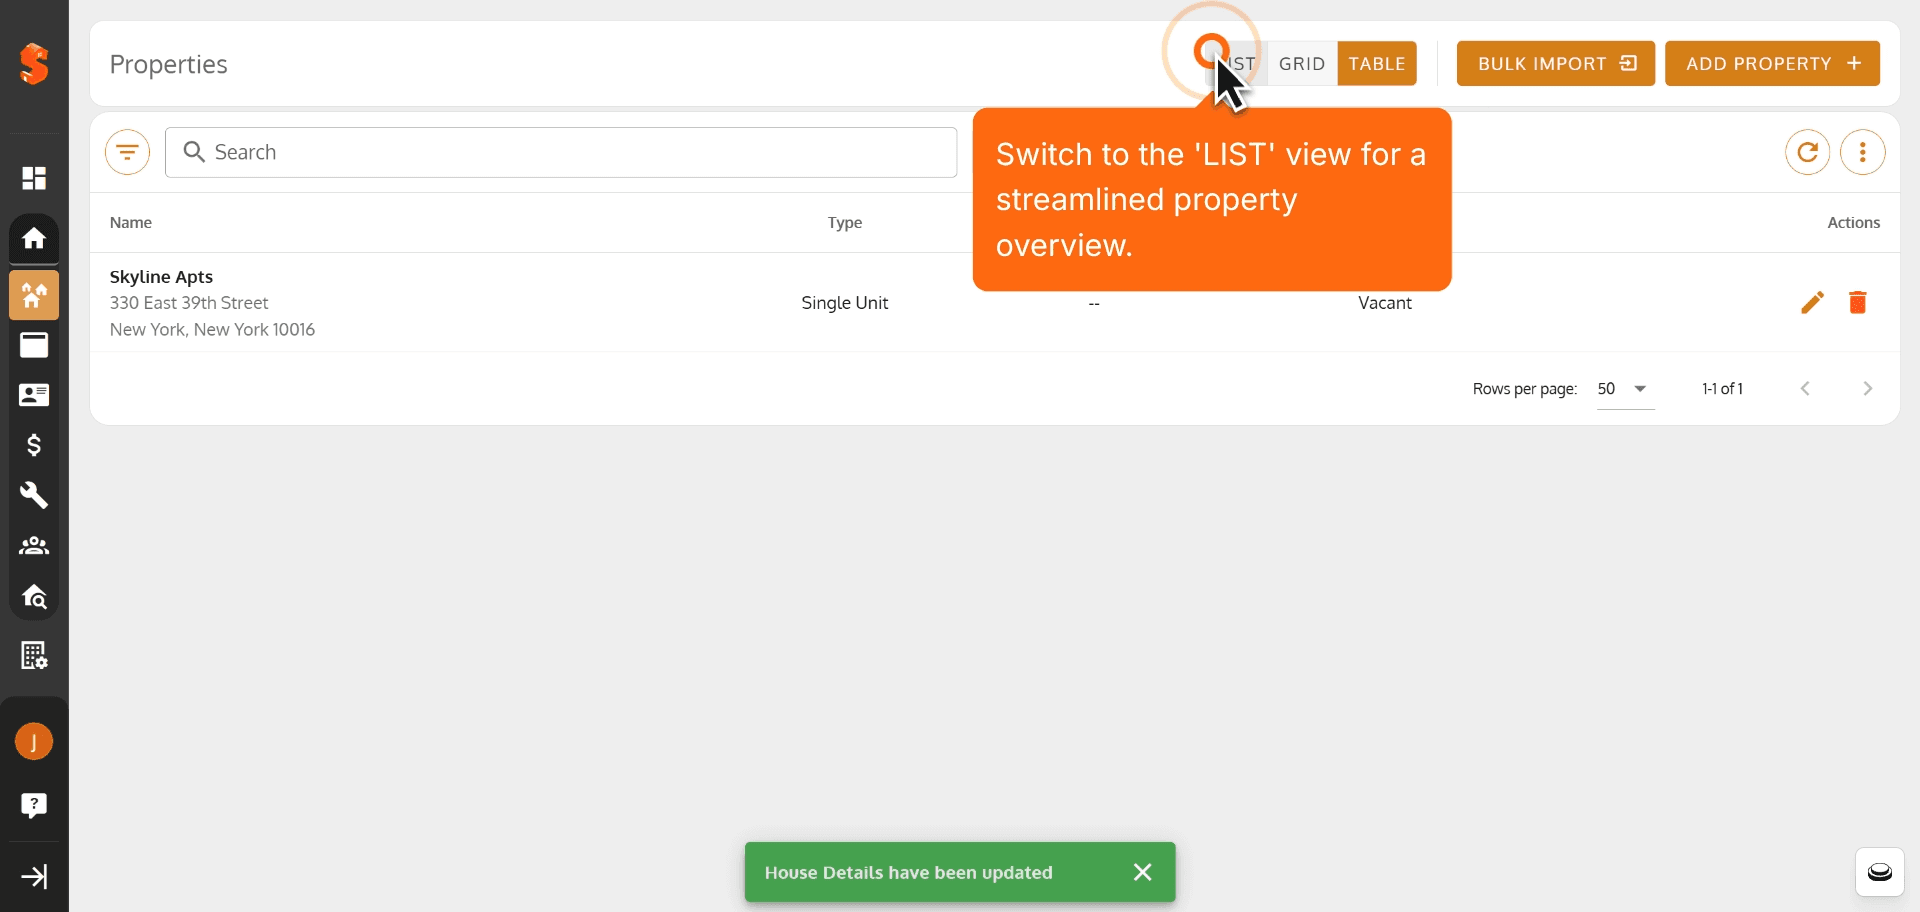
10. Switch to the 'List' view for a streamlined property overview.
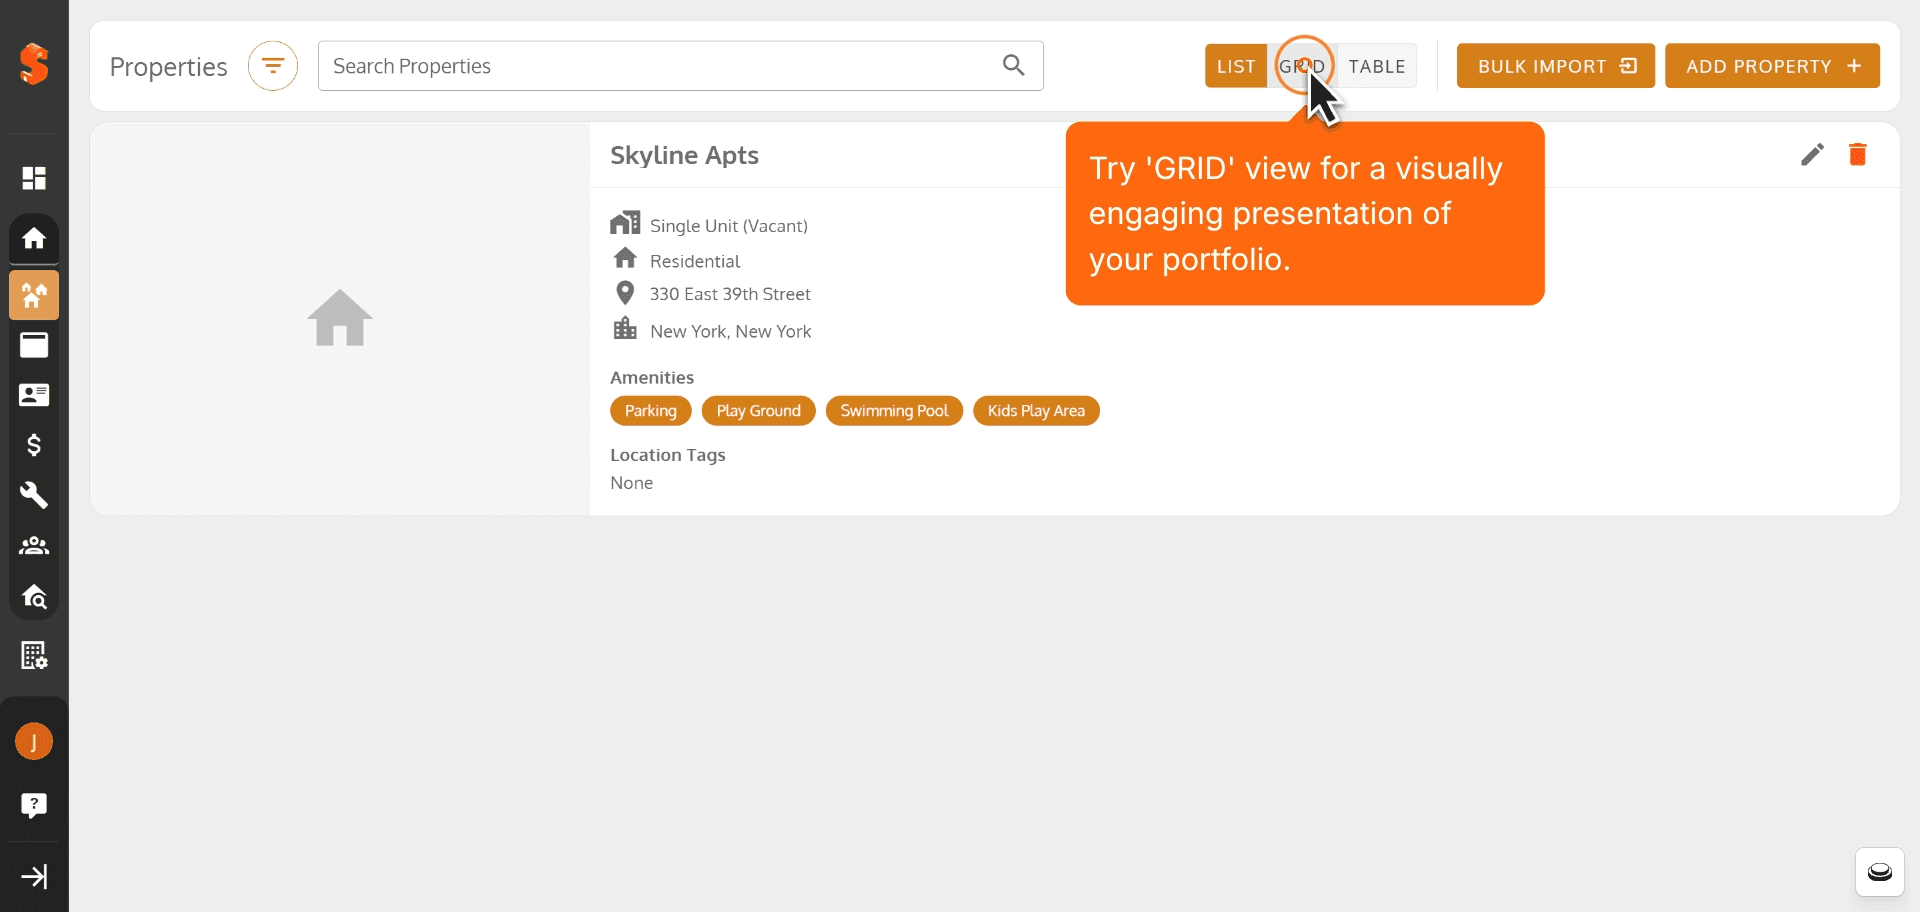
11. Try 'Grid' view for a visually engaging presentation of your portfolio.
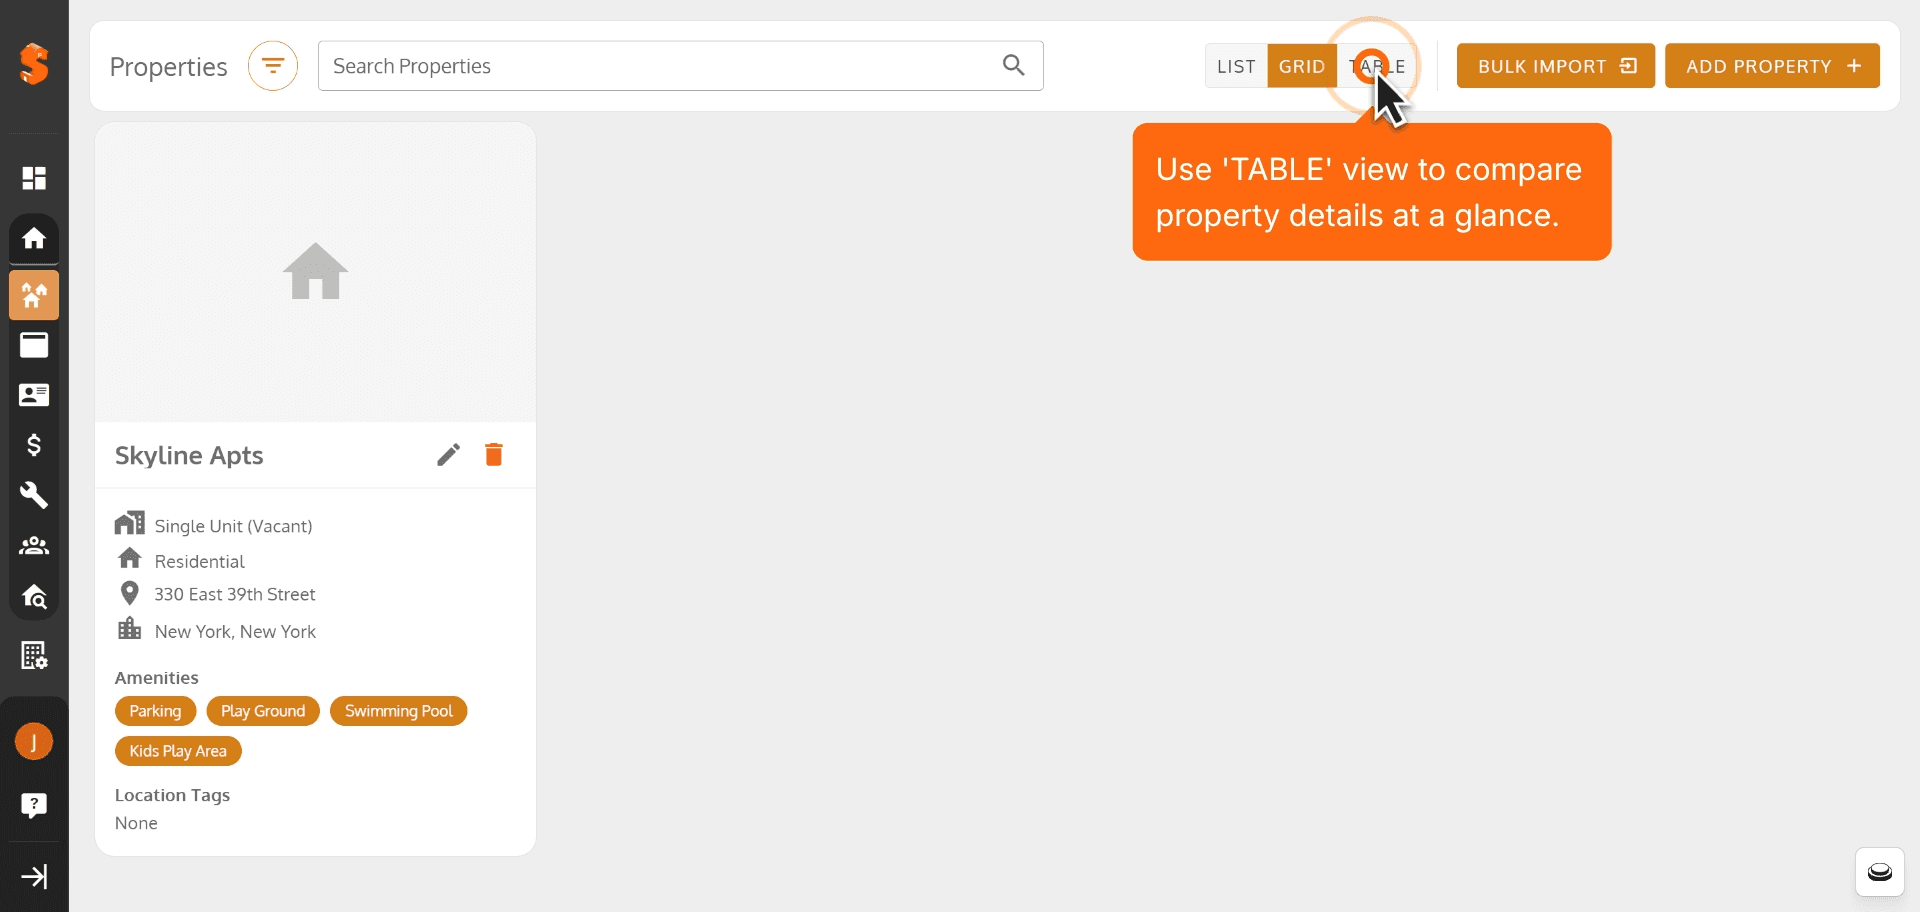
12. Use 'Table' view to compare property details at a glance.
13. Bulk import saves time by uploading several properties at once.
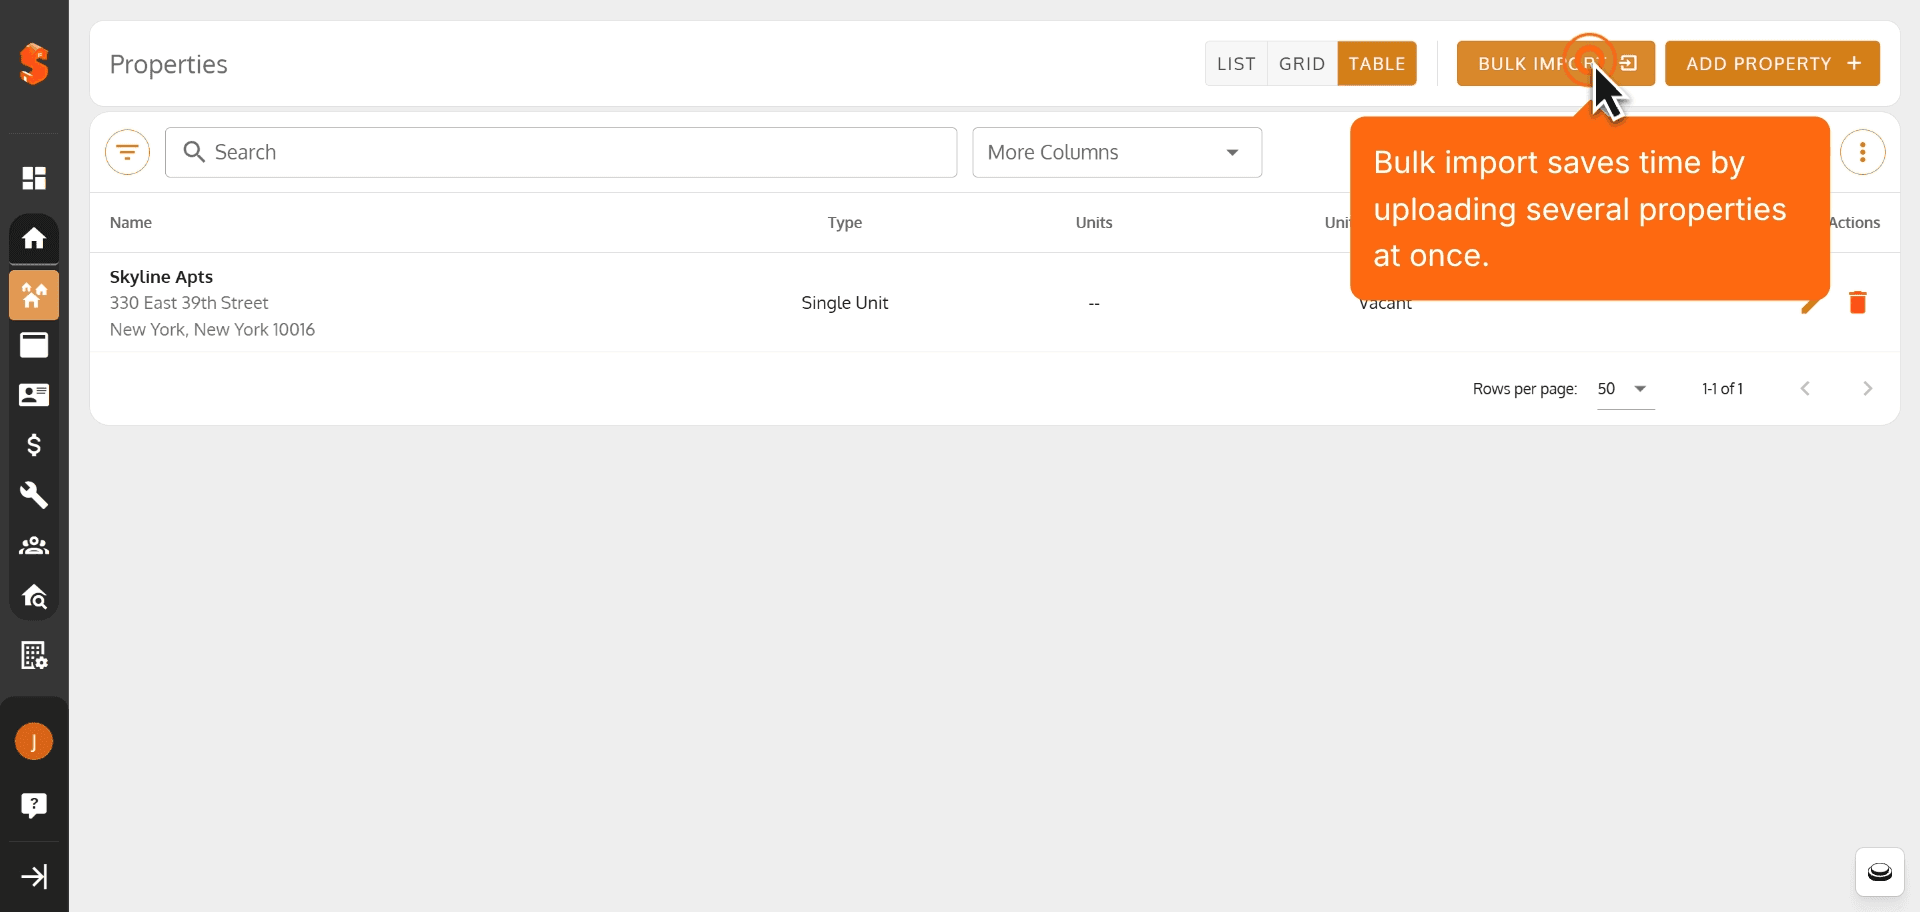
14. After uploading your property details, click 'Save' to lock in your changes.
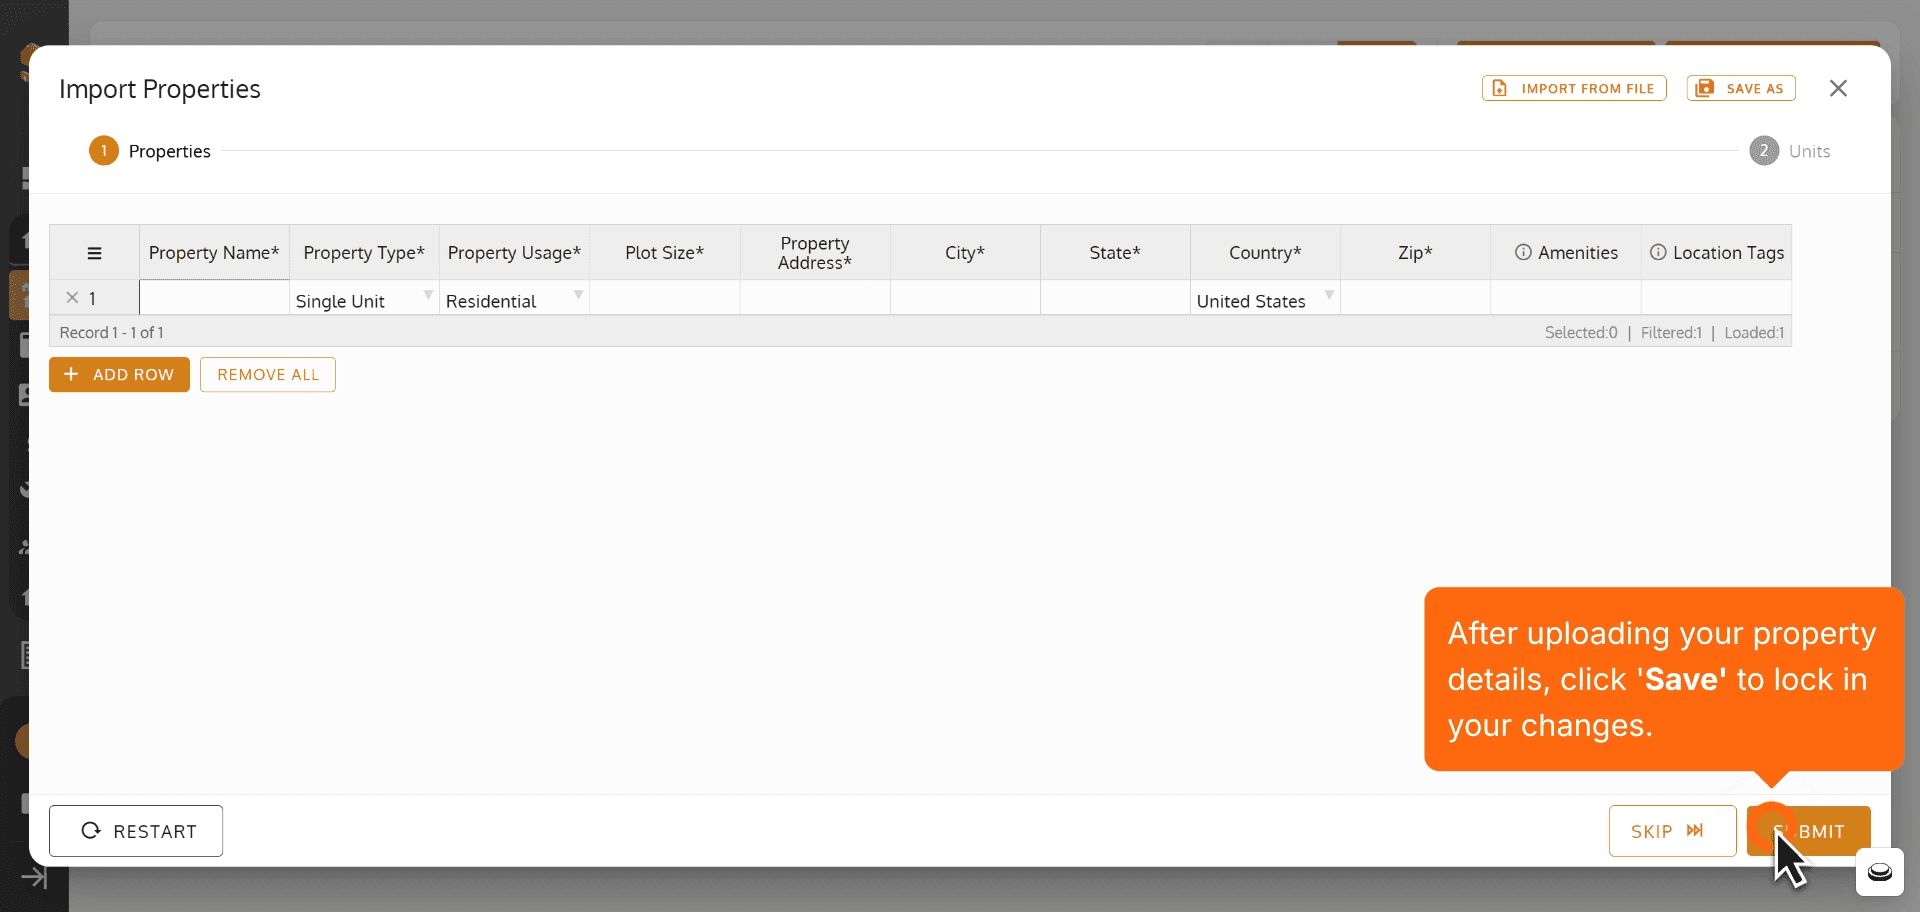
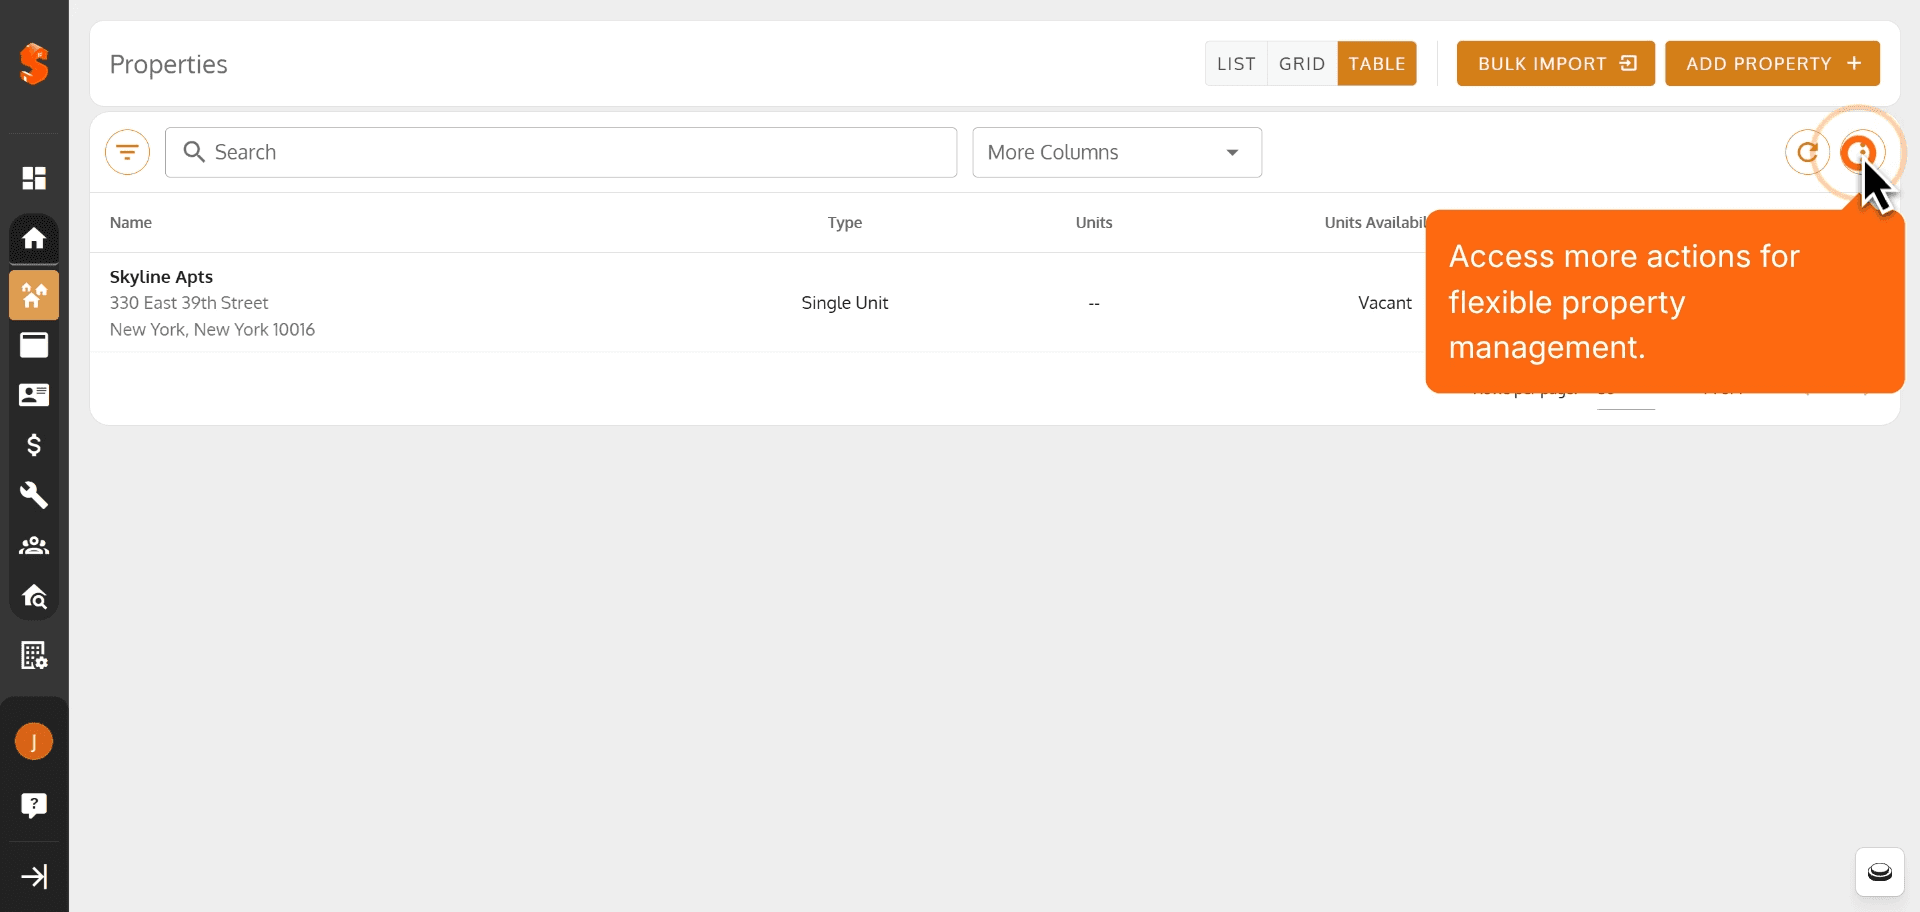
15. Access more actions for flexible property management.
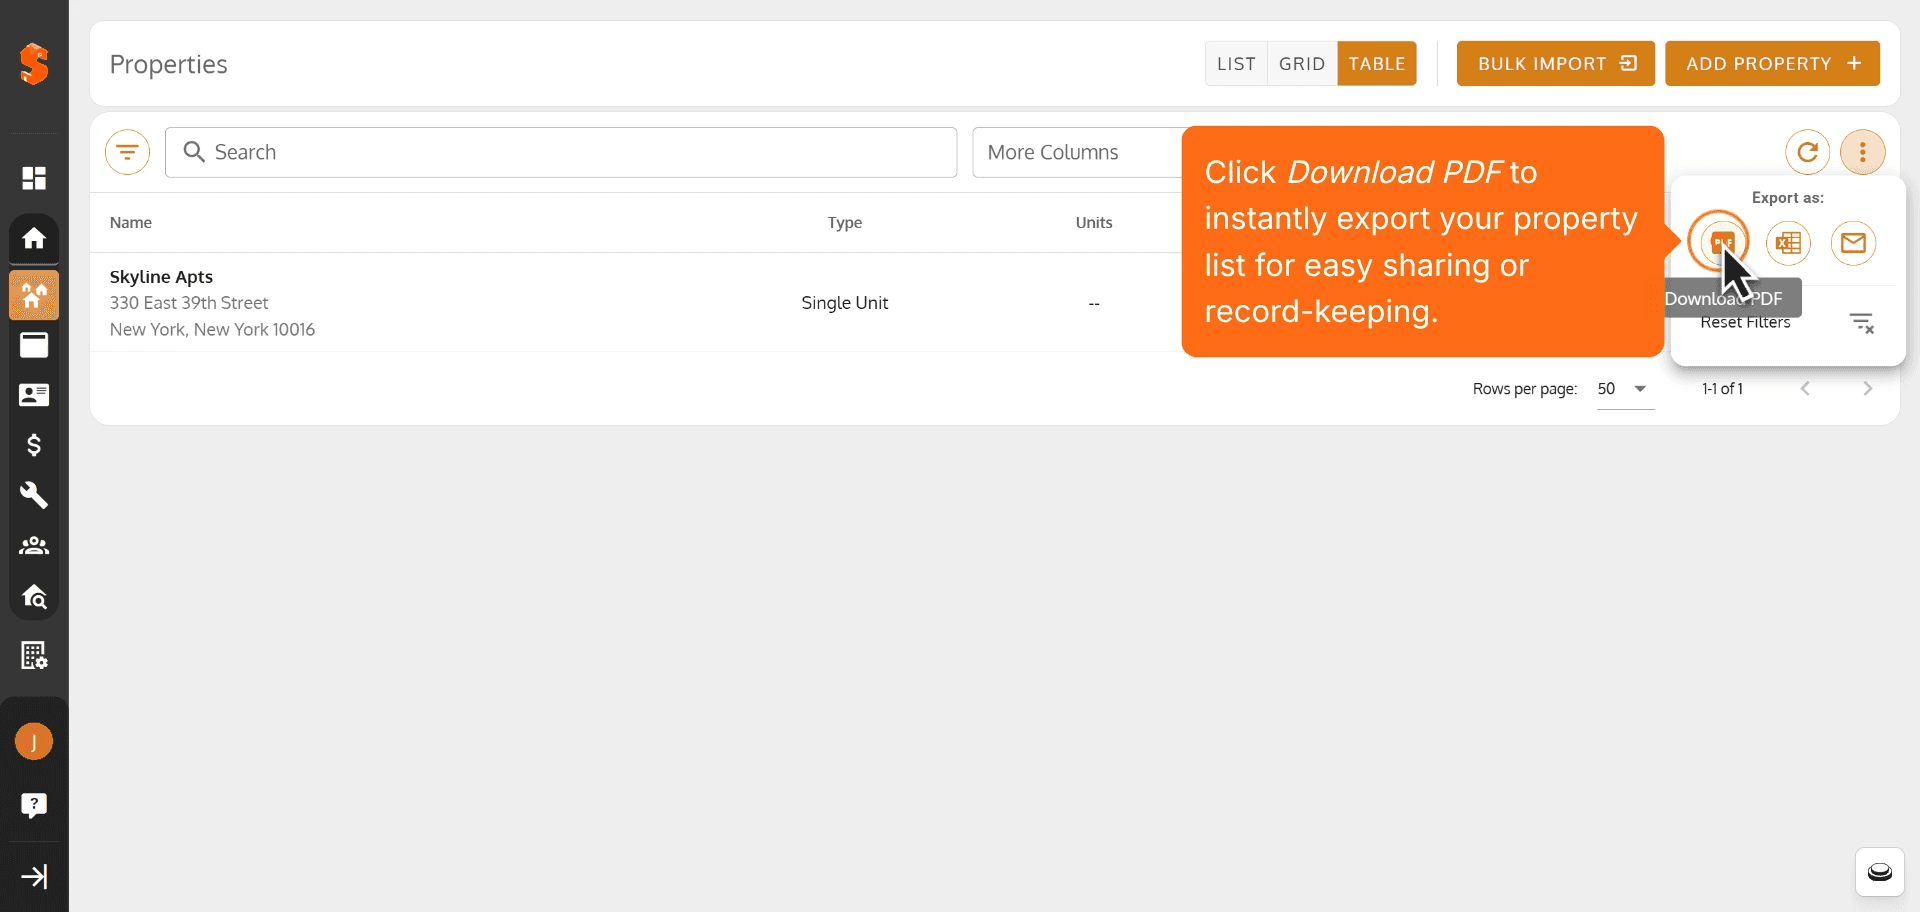
16. Click Download PDF to instantly export your property list for easy sharing or record keeping.
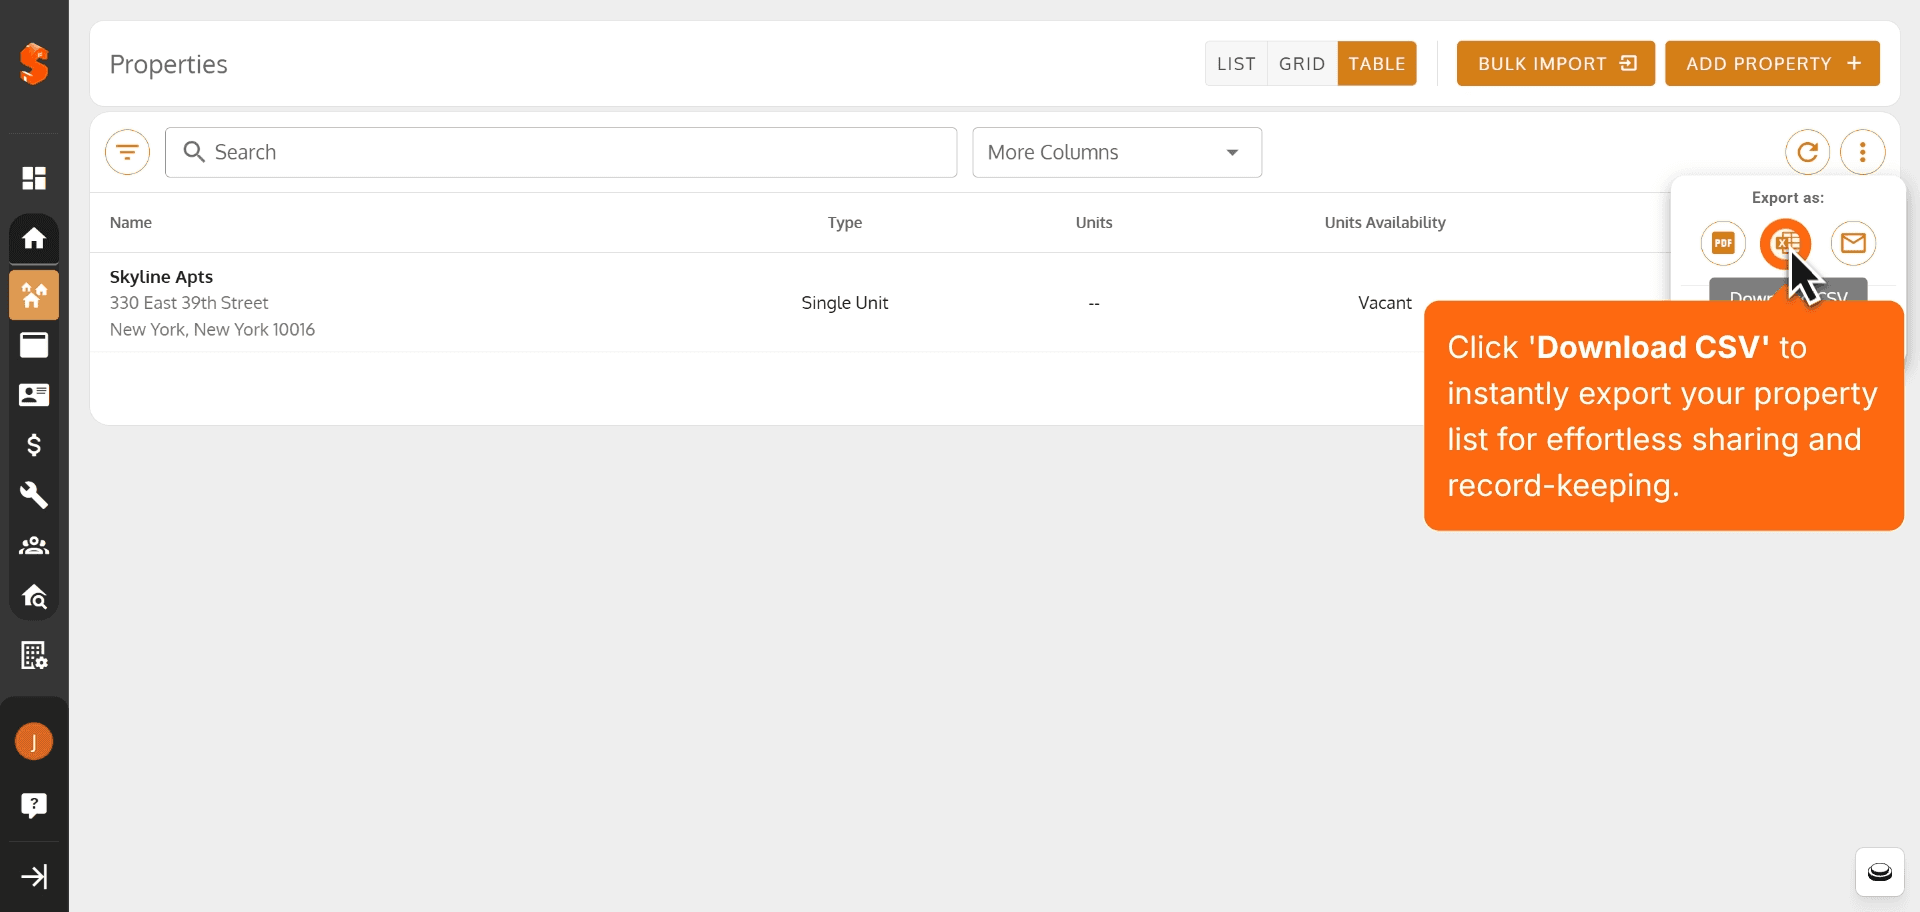
17. Click 'Download CSV' to instantly export your property list for effortless sharing and record-keeping.
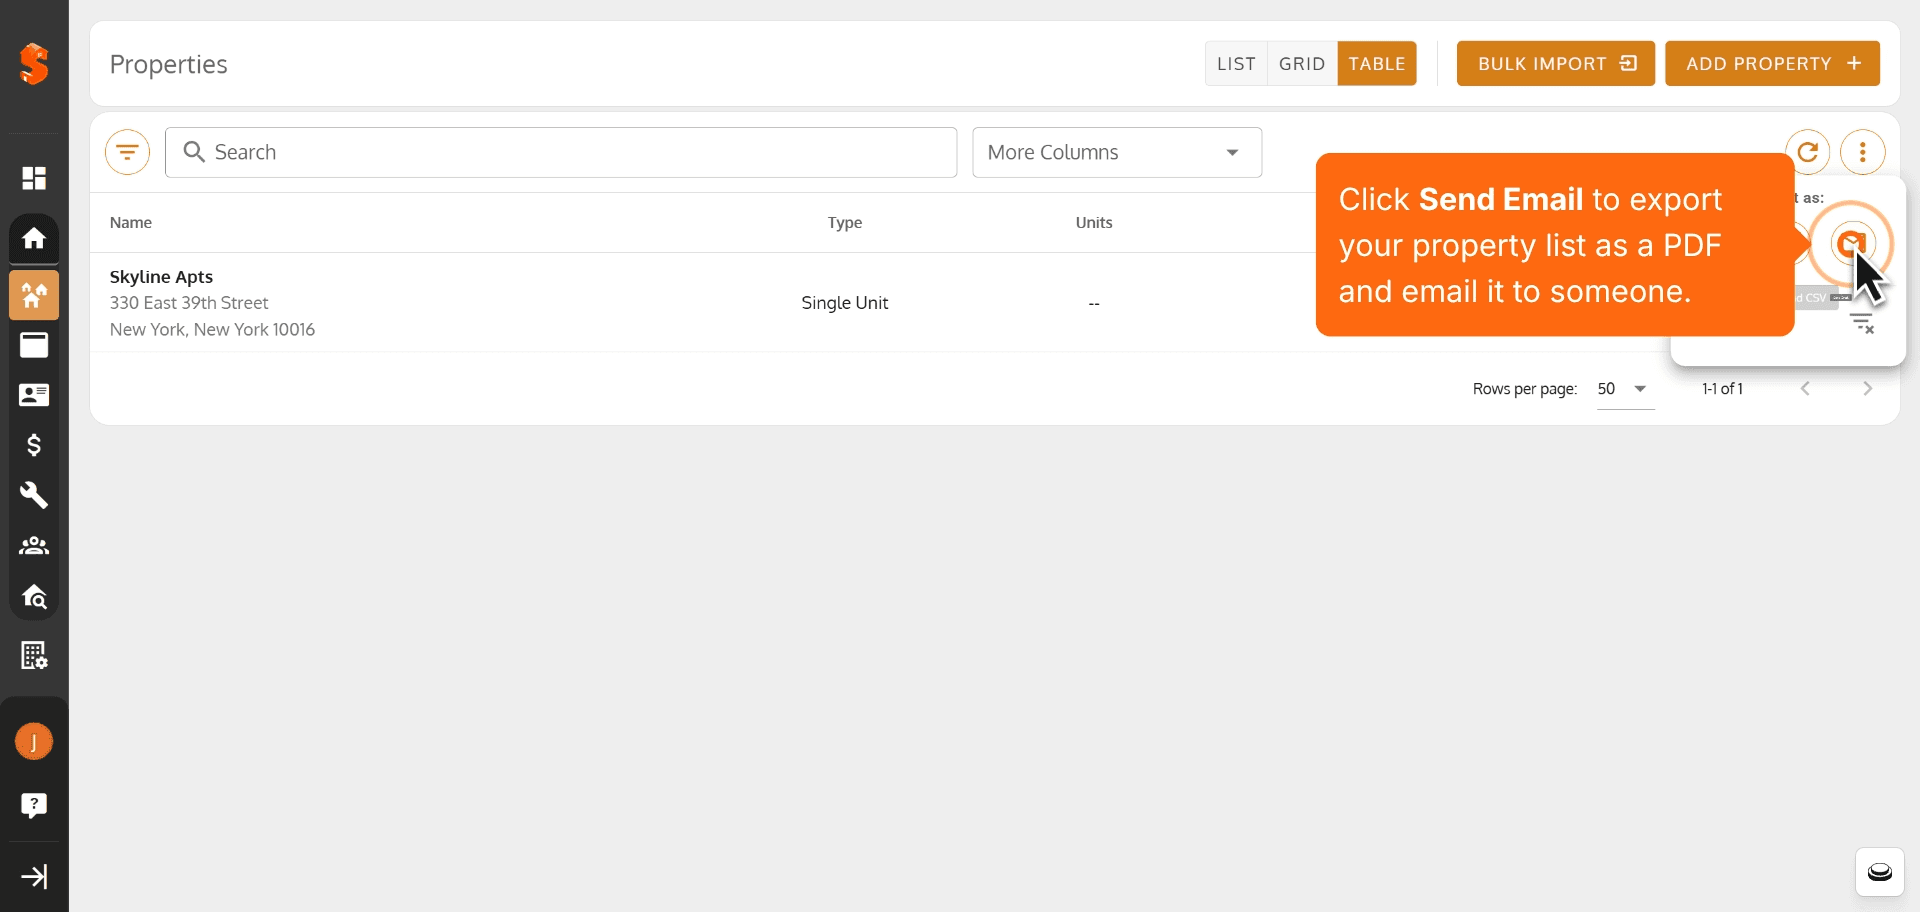
18. Click Send Email to export your property list as a PDF and email it to someone.
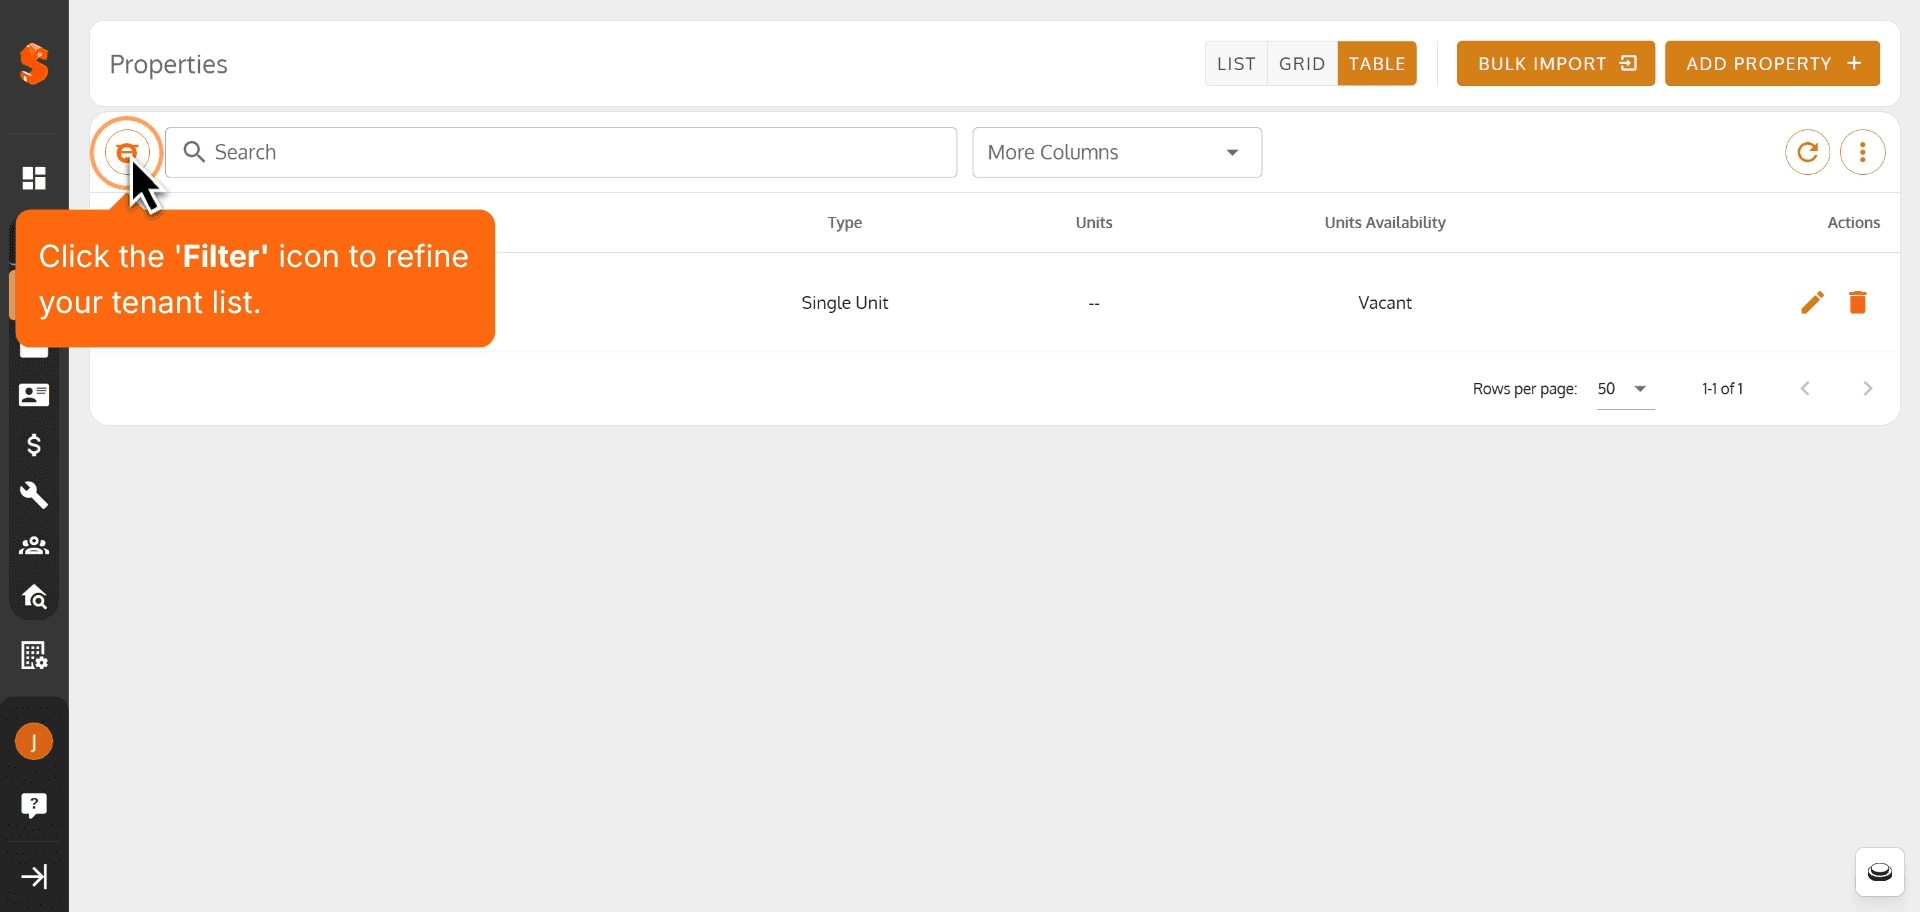
19. Click the 'Filter' icon to refine your tenant list.
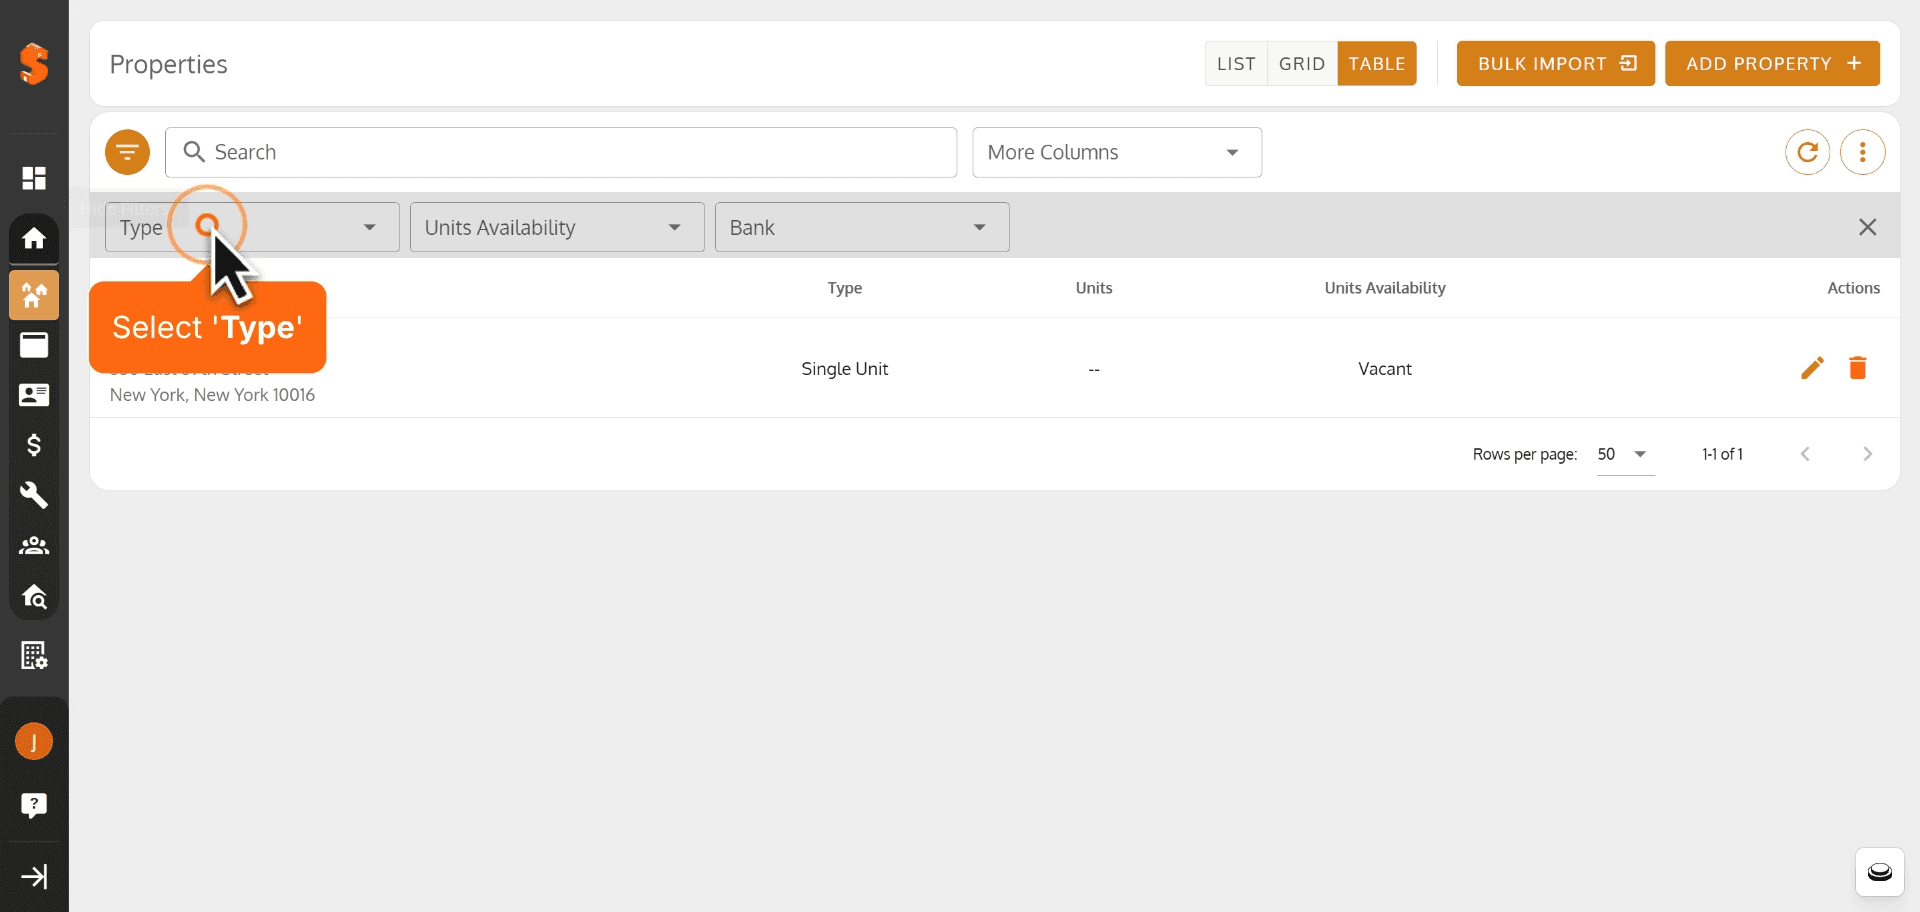
20. Select 'Type'
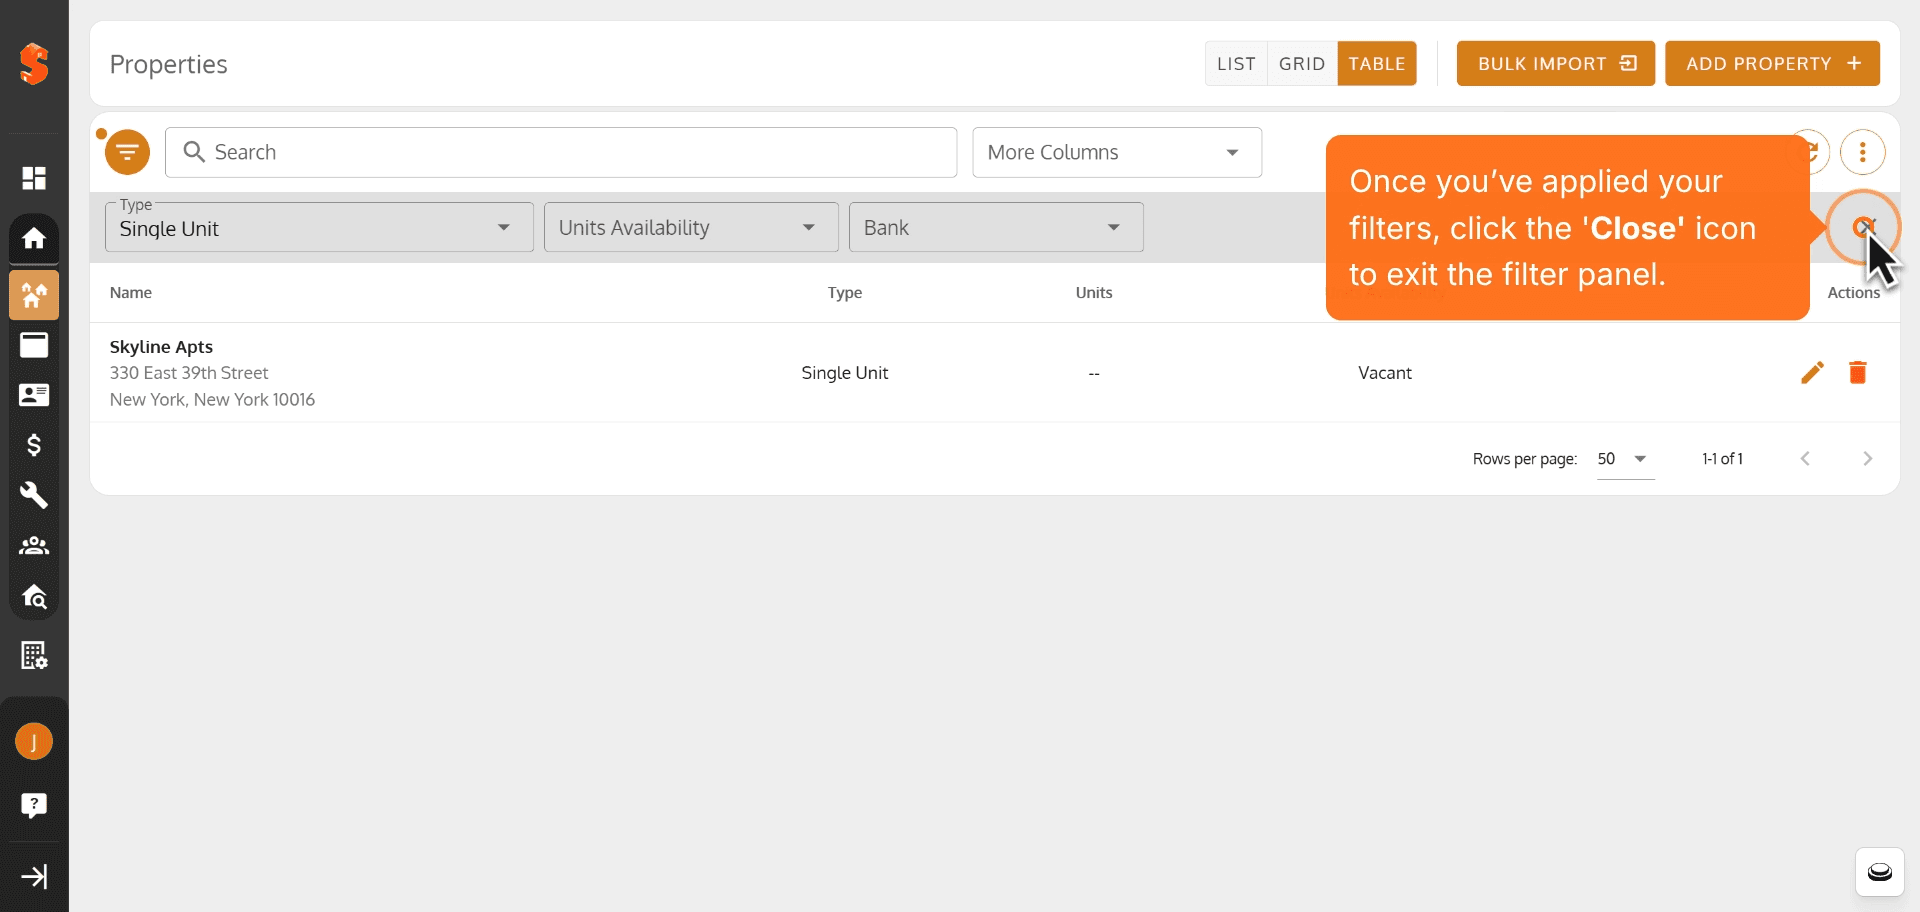
21. Once you've applied your filters, click the 'Close' icon to exit the filter panel.
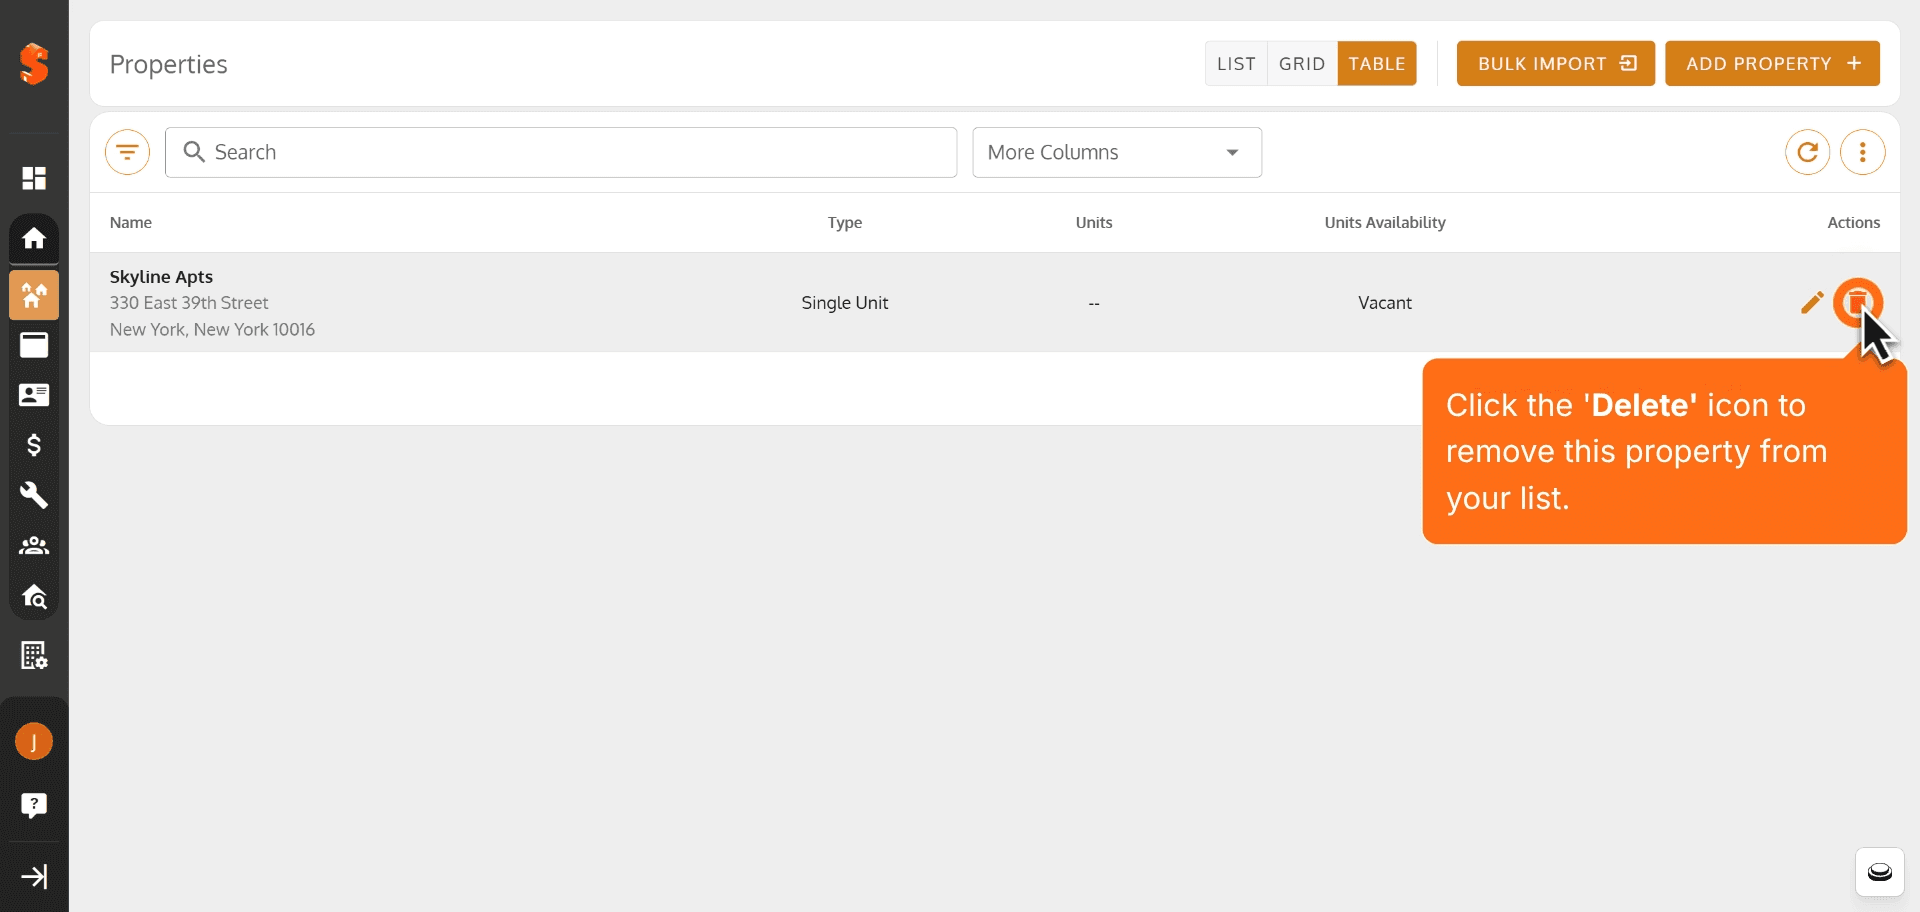
22. Click the 'Delete' icon to remove this property from your list.
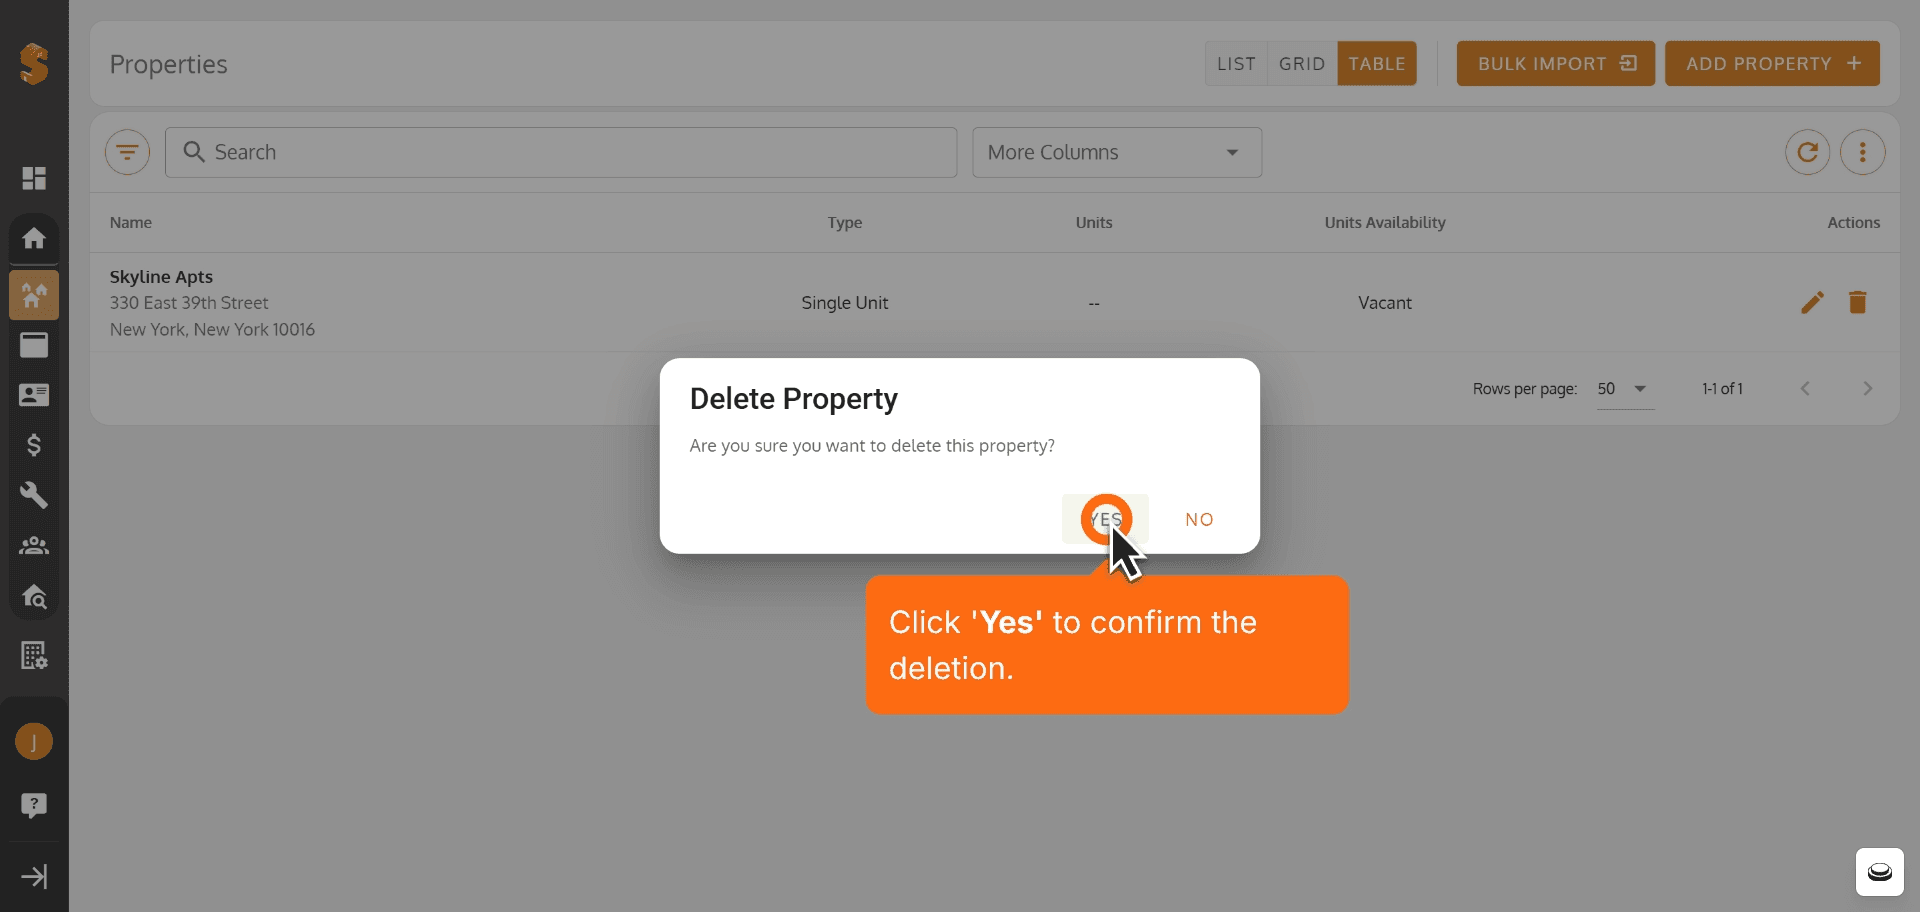
23. Click 'Yes' to confirm the deletion.
Property added successfully!
You can now add units, tenants, and start managing your operations.
Previous
Add New Property in Property Dashboard
Next
Property - House Details, Gallery, Documents & Activity Logs
Was this article helpful?
Help us improve our documentation