Learn how to manage Calendar, Create, Customize and Deliver a Notice, directly to a tenant including email delivery.

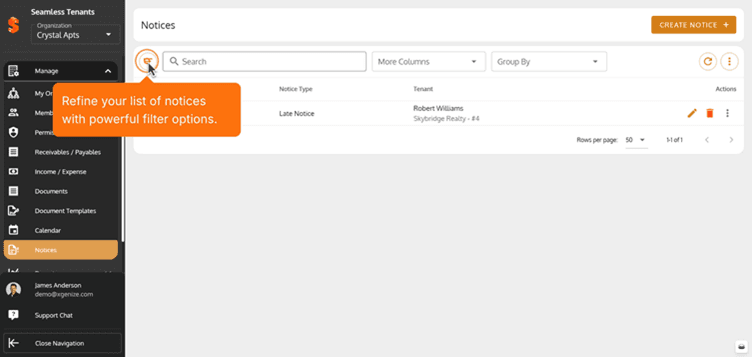
1. Refine your list of notices with powerful filter options.
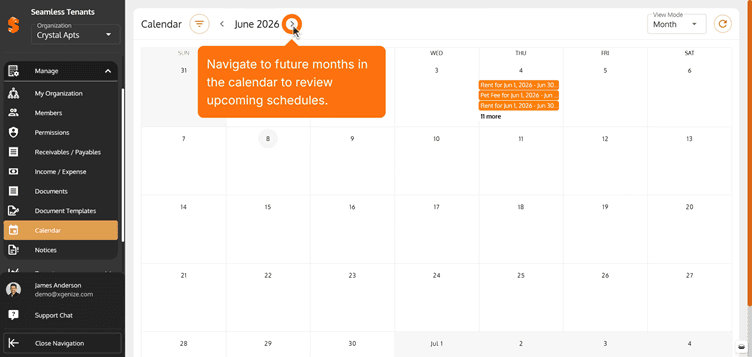
2. Navigate to future months in the calendar to review upcoming schedules.
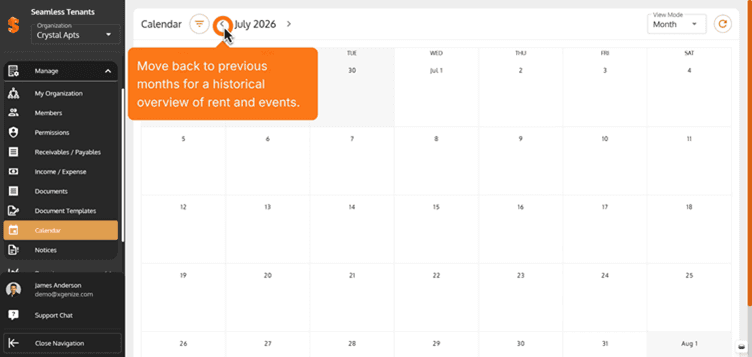
3. Move back to previous months for a historical overview of rent and events.
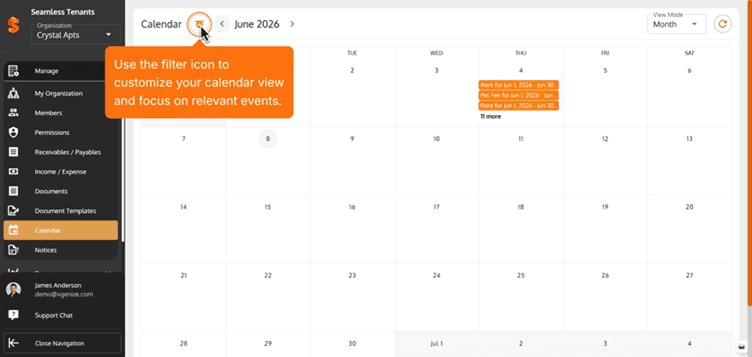
3. Use the filter icon to customize your calendar view and focus on relevant events.
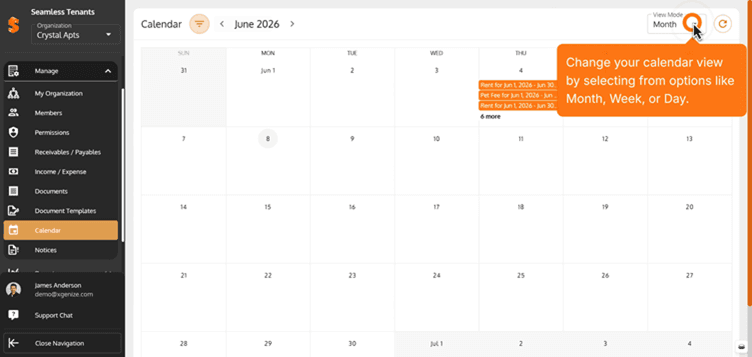
4. Change your calendar view by selecting from options like month, week, or day.
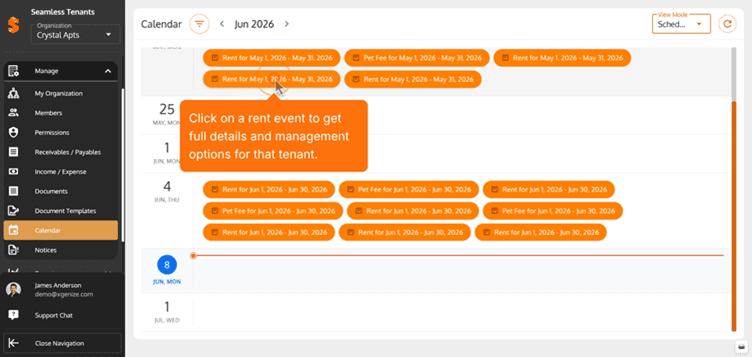
5. Click on a rent event to get full details and management options for that tenant.
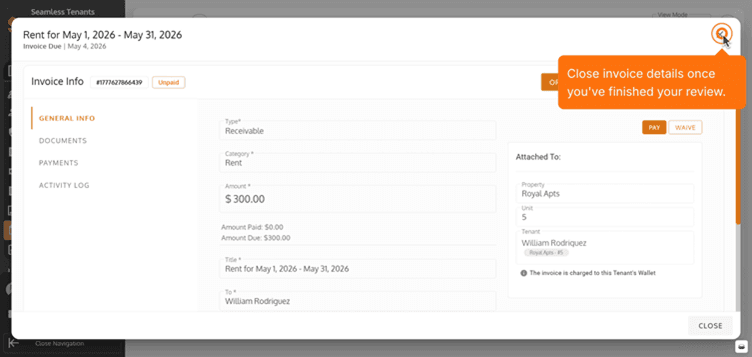
6. Close invoice details once you're finished your review.
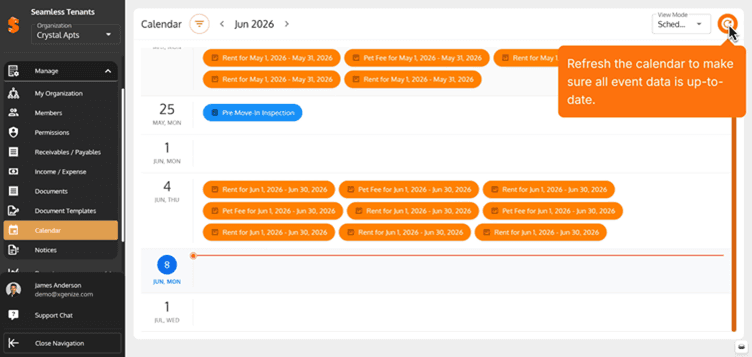
7. Refresh the calendar to make sure all event data is up-to-date.
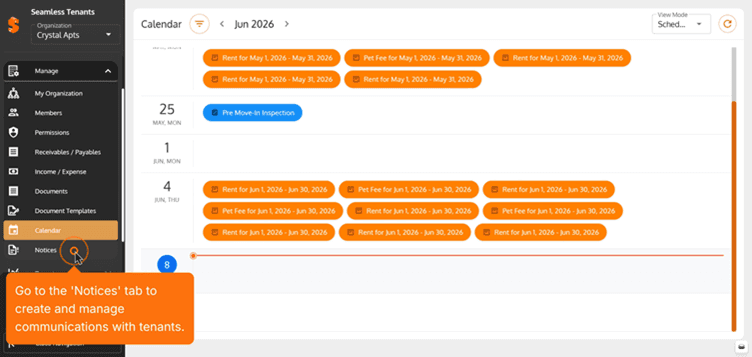
8. Go to the 'Native' tab to create and manage communication with tenants.
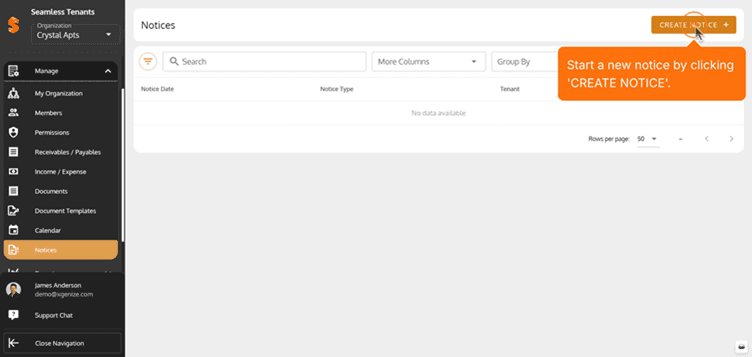
9. Start a new notice by clicking 'Create Notice'.
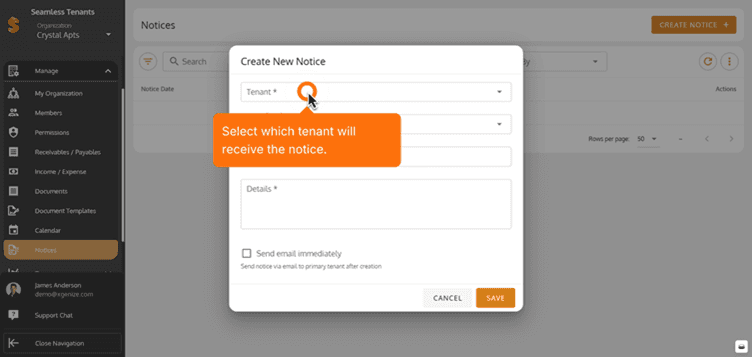
10. Select which tenant will receive the notice.
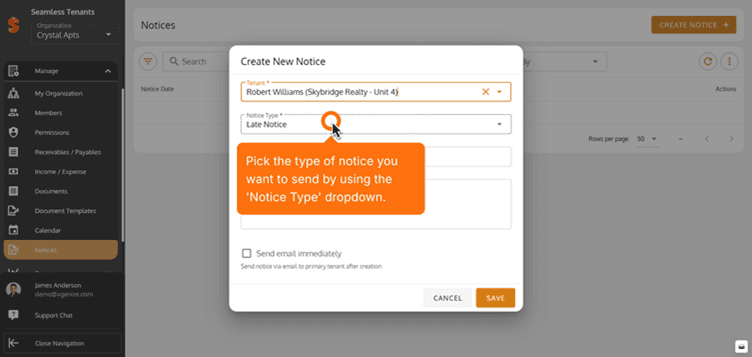
11. Pick the Type of notice you want to send by using the 'Notice Type' dropdown.
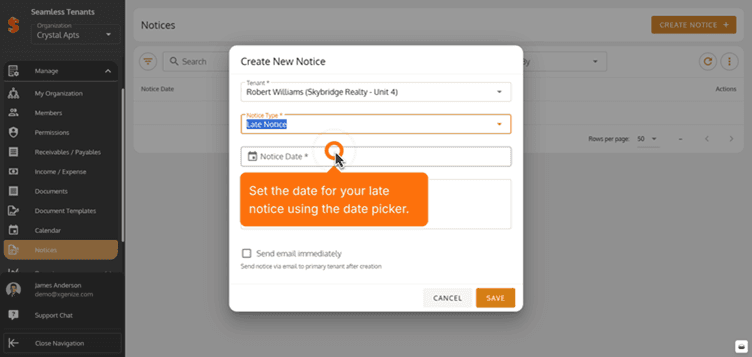
12. Set the data for your late notice using the data picker.
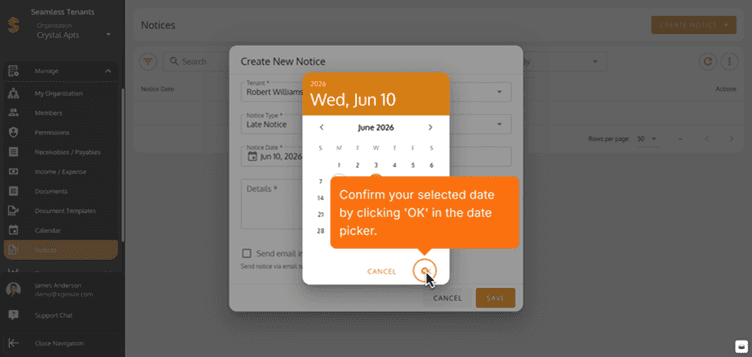
13. Confirm your selected date by clicking 'OK' in the date picker.
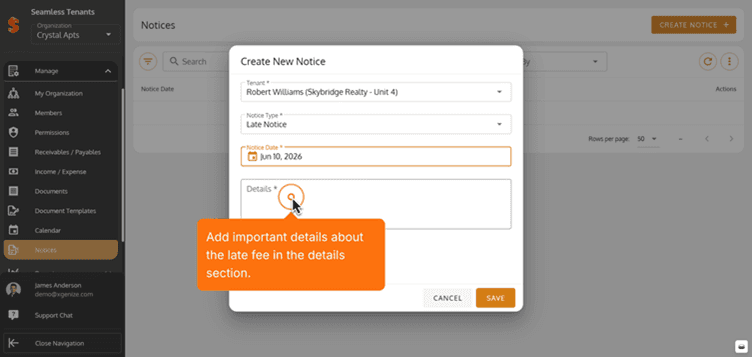
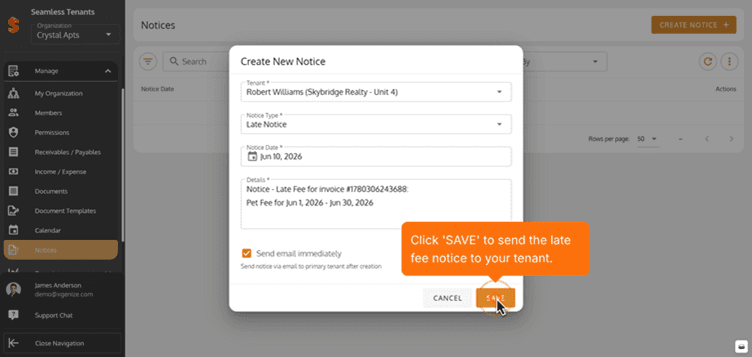
14. Add important details about the late fee in the details section.
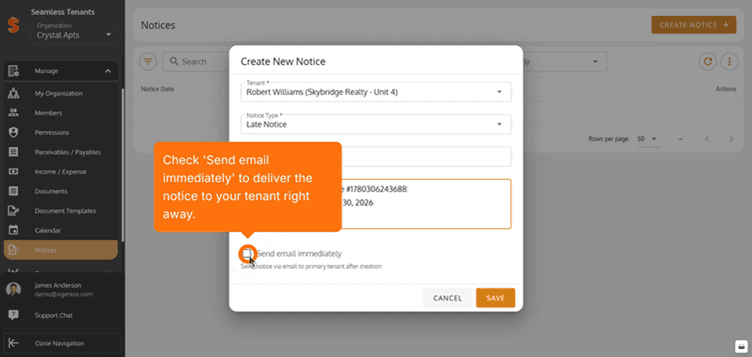
15. Check 'Send Email Immediately' to deliver the notice to your tenant right away.
16. Click 'Save' to send the late fee notice to your account.
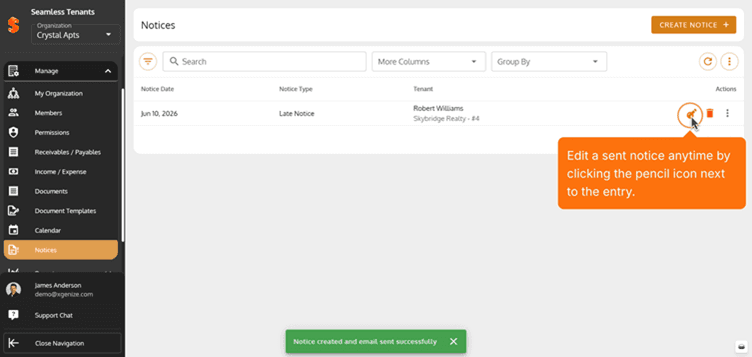
17. Edit a sent notice anytime by clicking the pencil icon next to the entry.
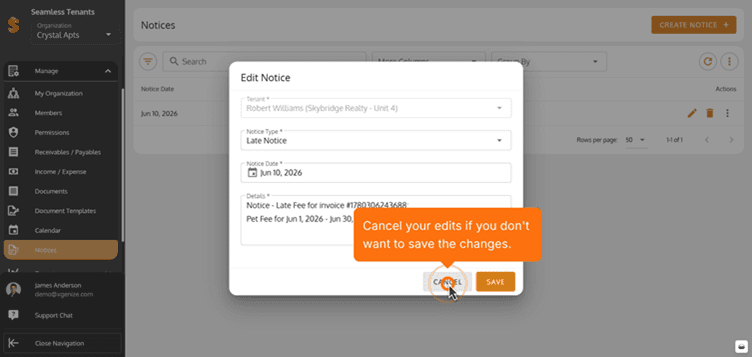
18. Cancel your edits if you don't want to save the changes.
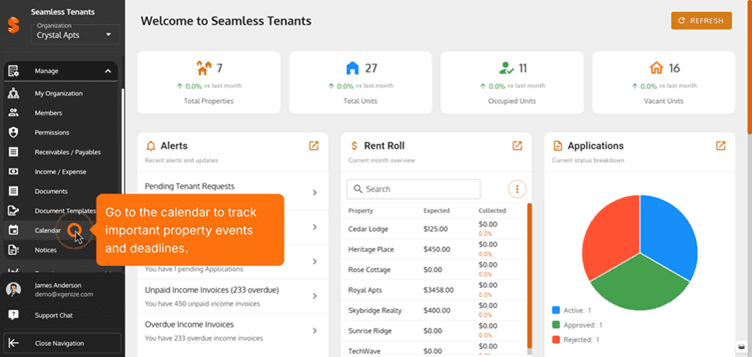
19. Go to the Calendar to track important property events and deadlines.
Property added successfully!
You can now add units, tenants, and start managing your operations.
Previous
Schedule a Property Showing and Add Visitors
Next
Assign, Update Members(Hosts), User Roles and Permissions
Was this article helpful?
Help us improve our documentation