Maintenence
Create Tenant Request & Work Order
Discover how to log tenant issues, assign workers, and document maintenance progress with photos for your properties.
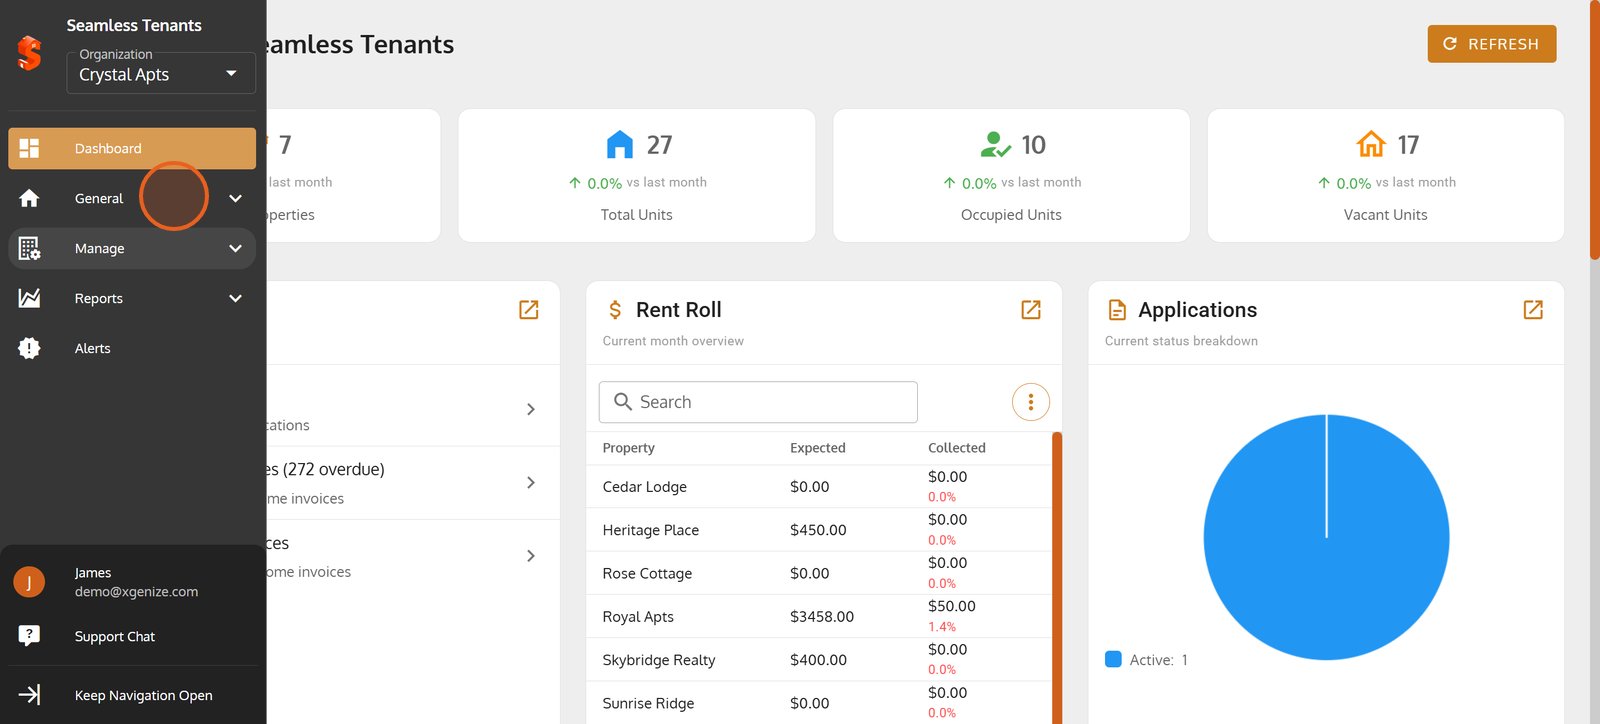
1. Start by navigating to the 'General' section to access your property management dashboard.
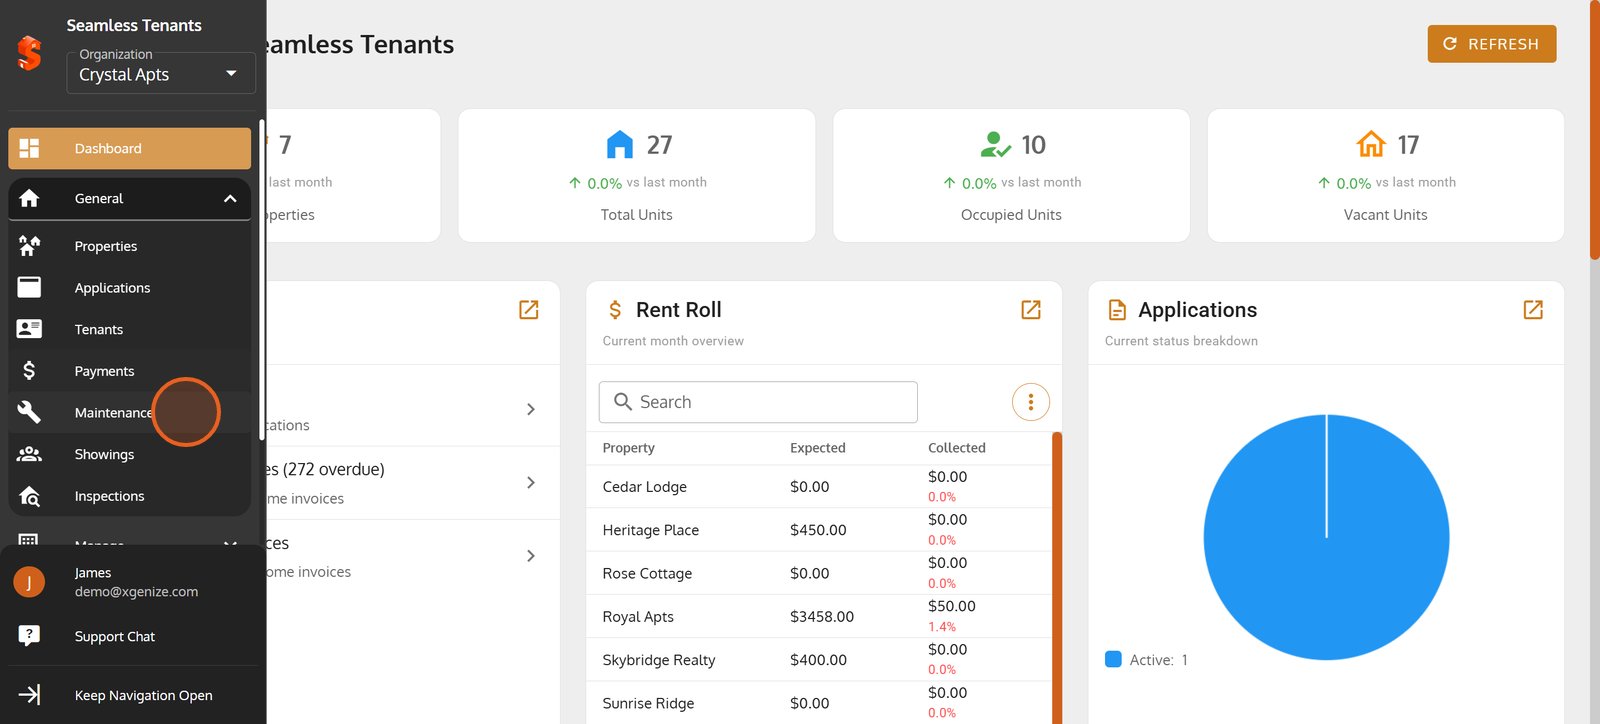
2. Switch to the 'Maintenance' area to view and manage property upkeep and repairs.
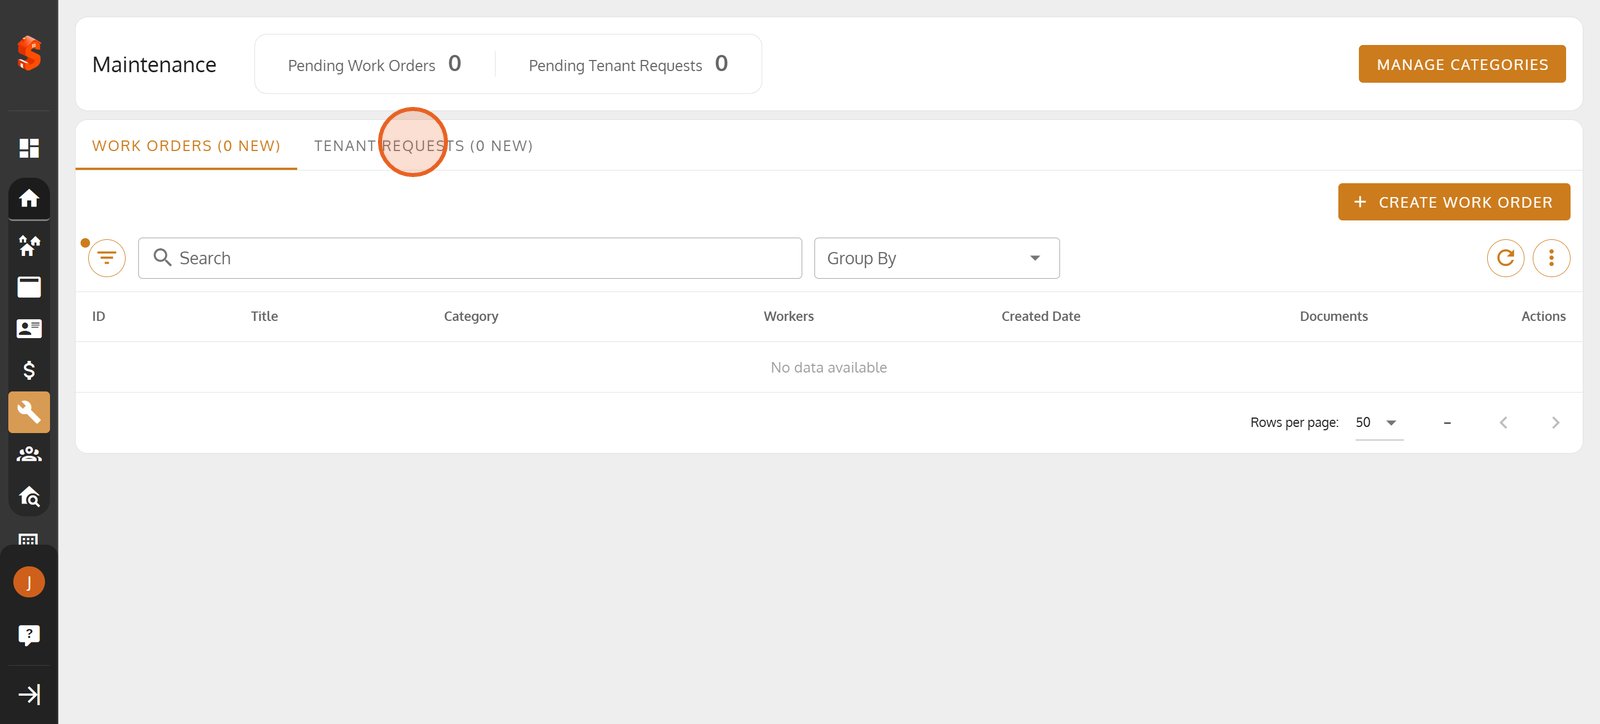
3. Go to the 'Tenant Requests' tab to monitor and handle all tenant-reported issues.
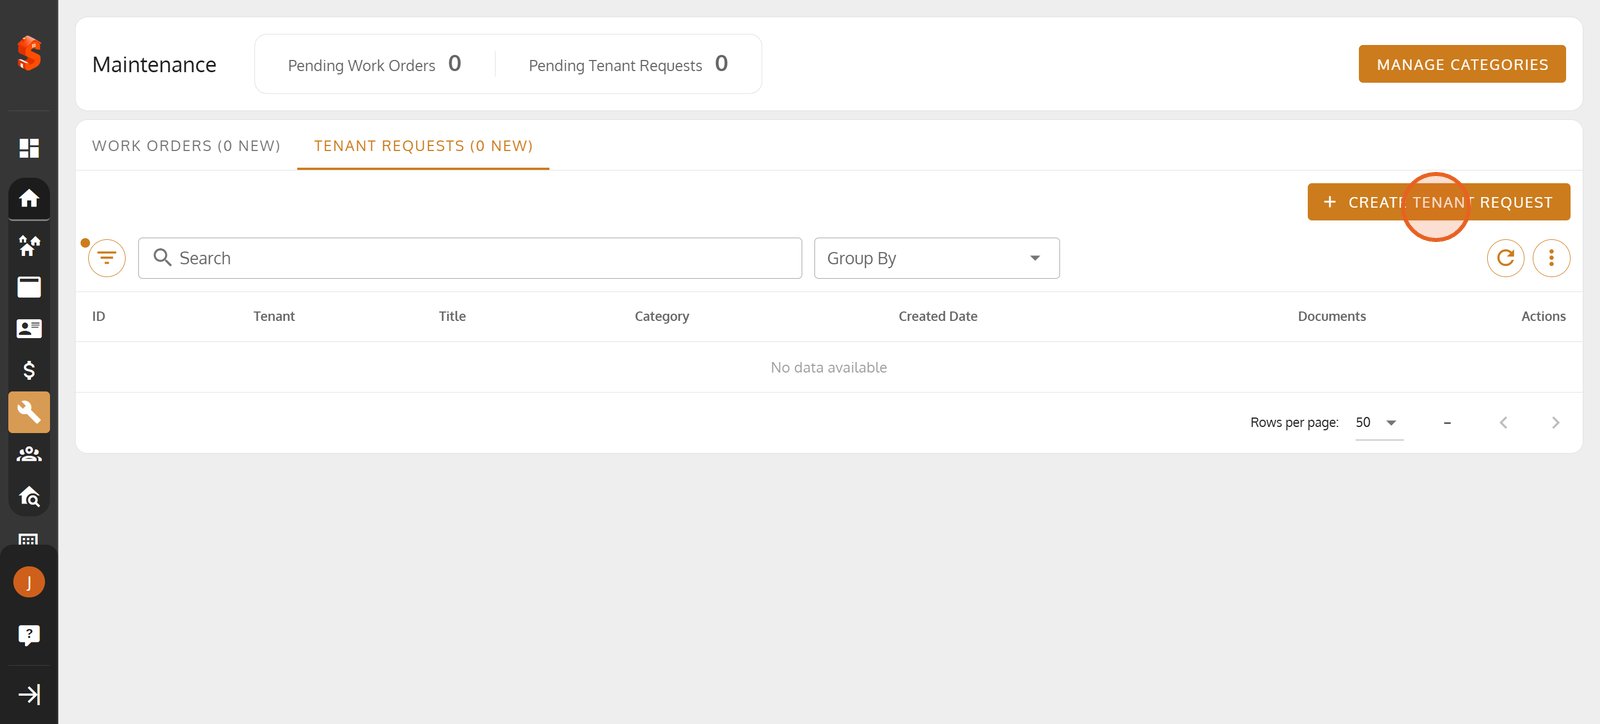
4. Click '+ Create Tenant Request' to begin logging a new maintenance need reported by a tenant.
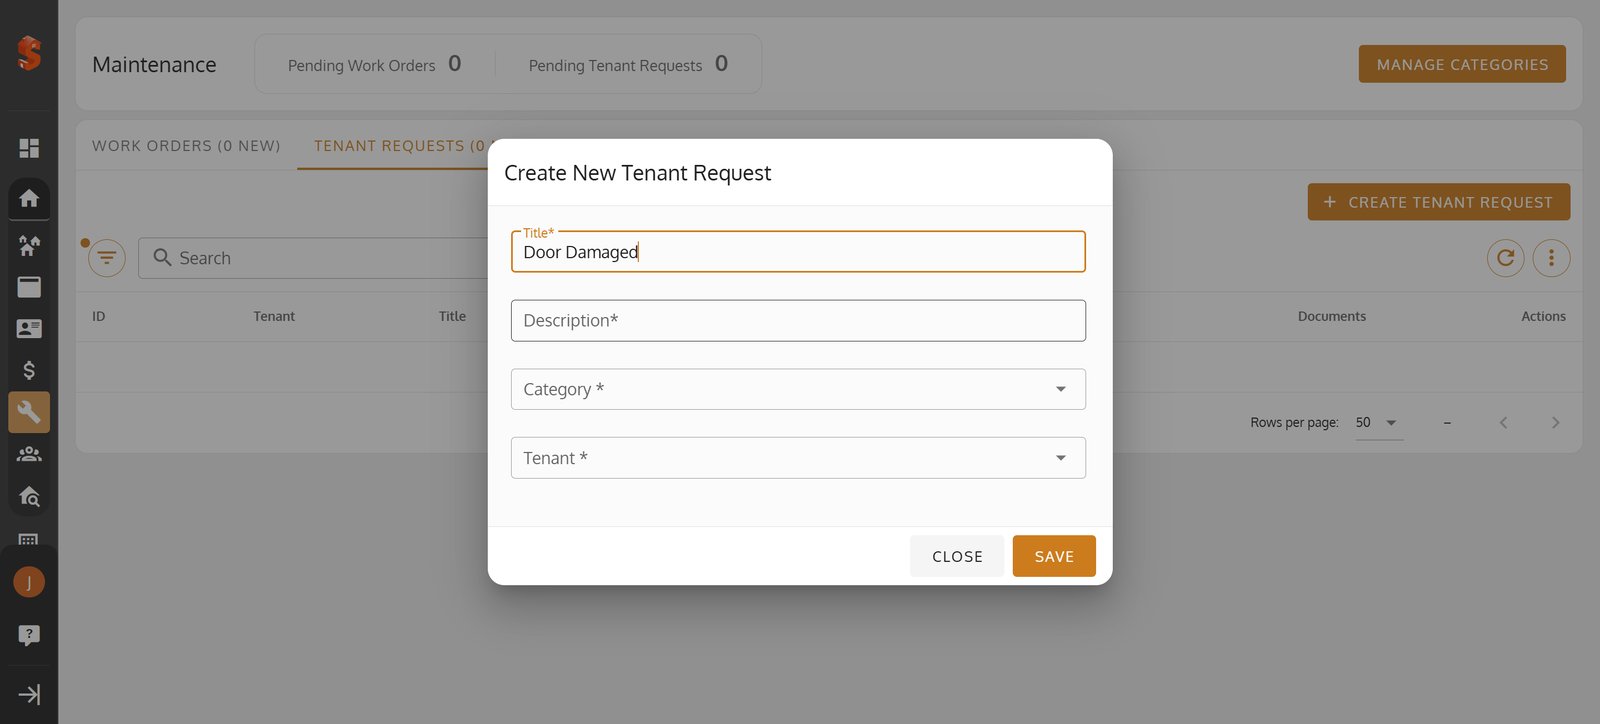
5. Enter a clear and descriptive title for the new tenant request.
Enter a clear and descriptive title for the new tenant request.

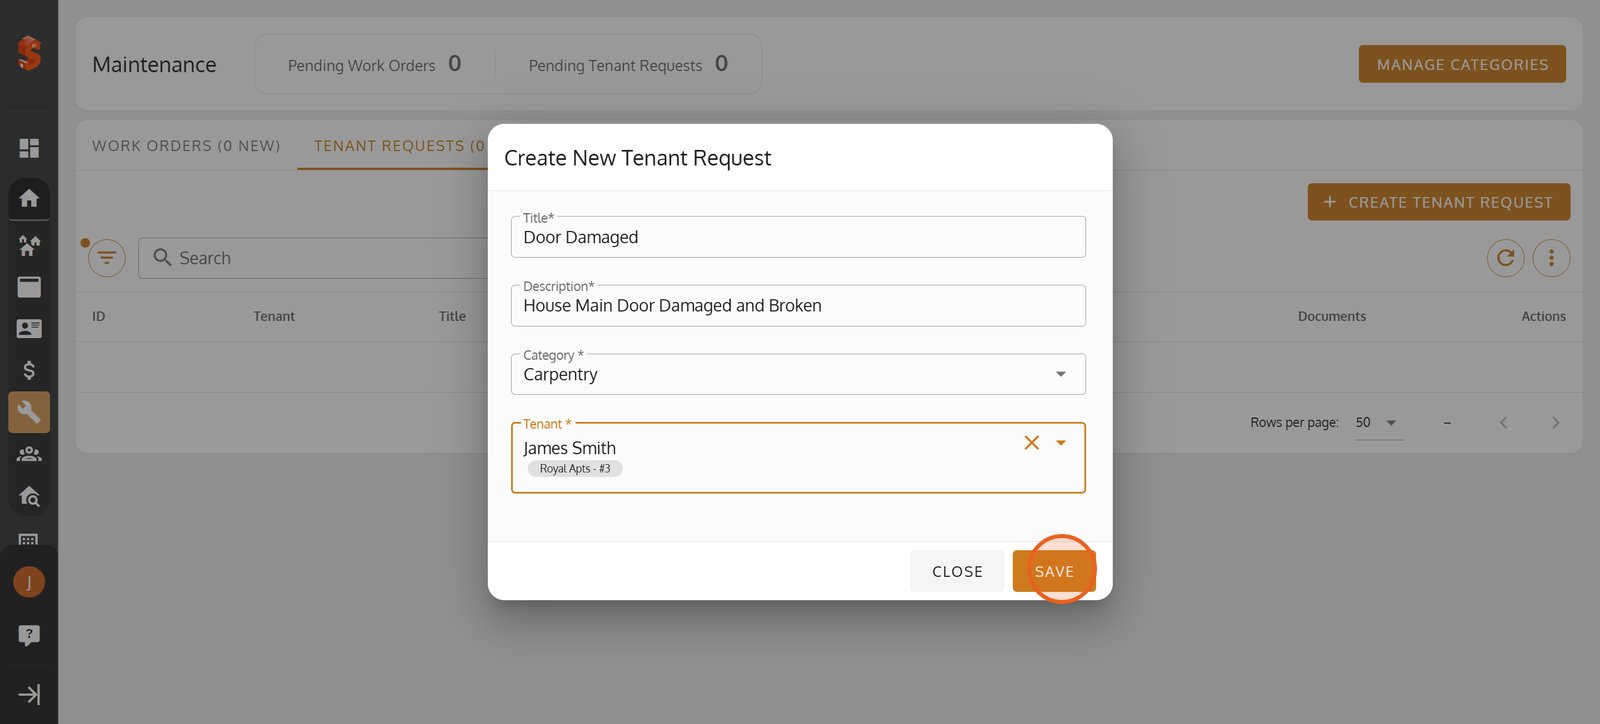
6.
7.
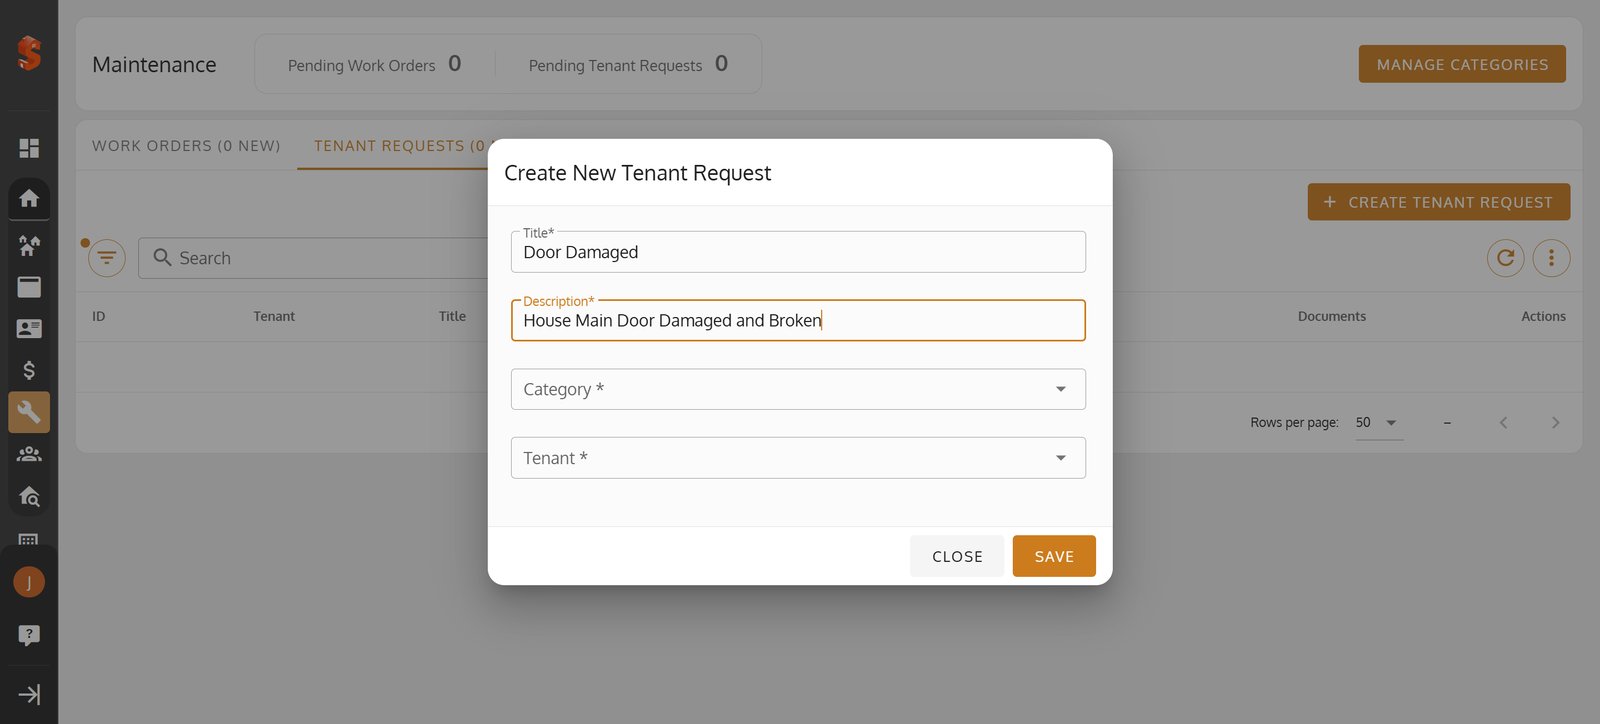
8.
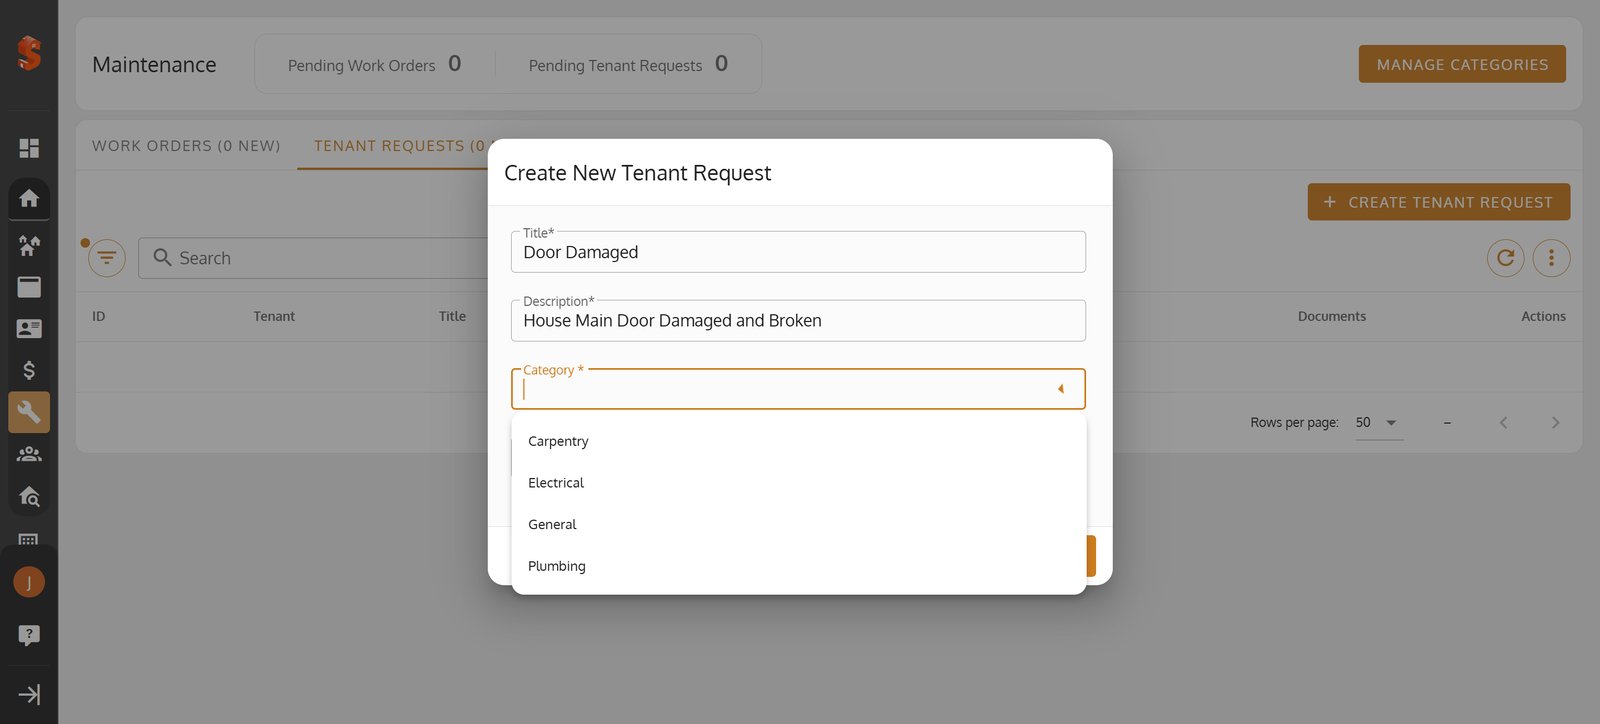
9.

10.

11. Click 'Save' to instantly add your tenant's maintenance issue to the workflow.
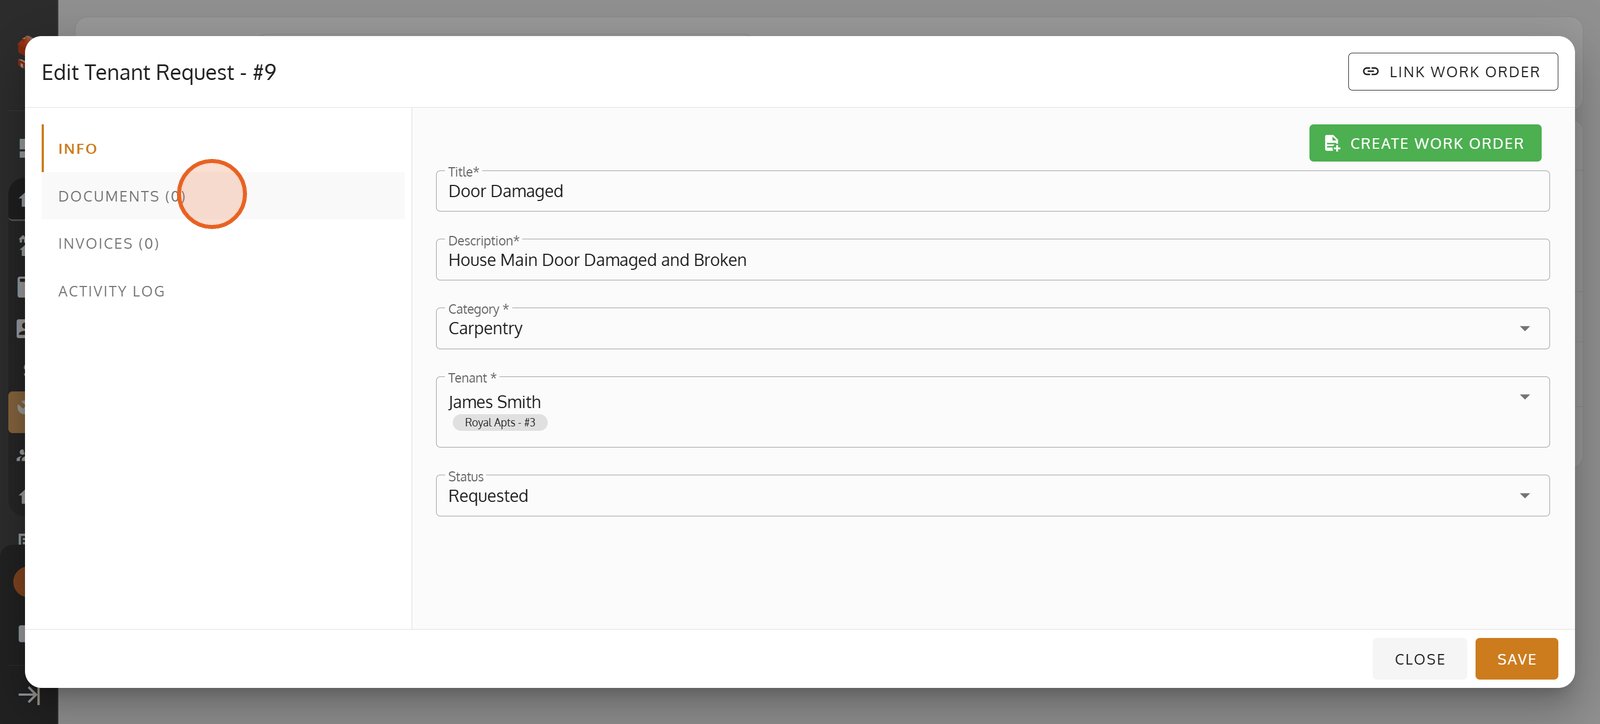
12. Access the 'Documents' tab to review or attach files related to the tenant request.
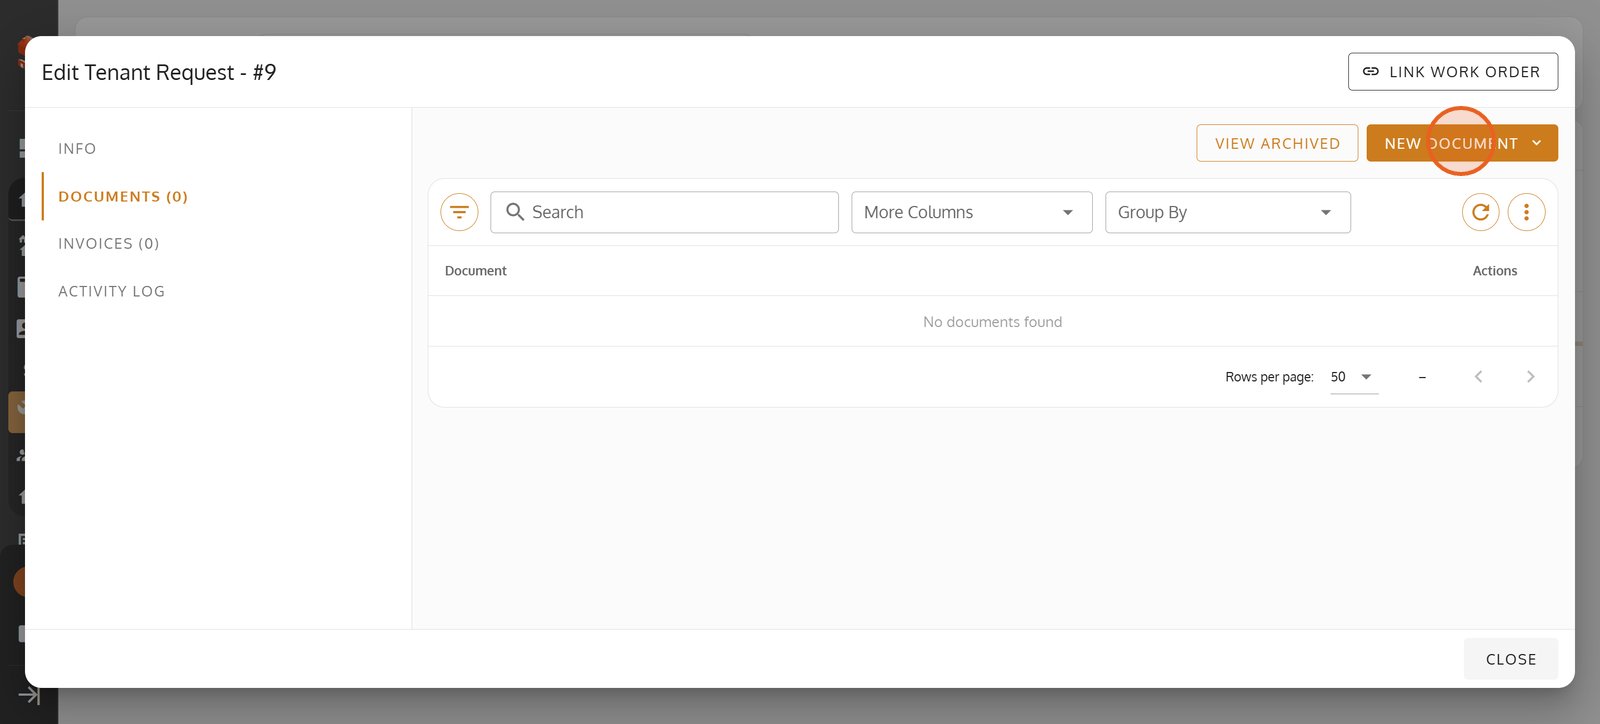
13. Hit 'NEW DOCUMENT' to upload essential paperwork or supporting files if any.
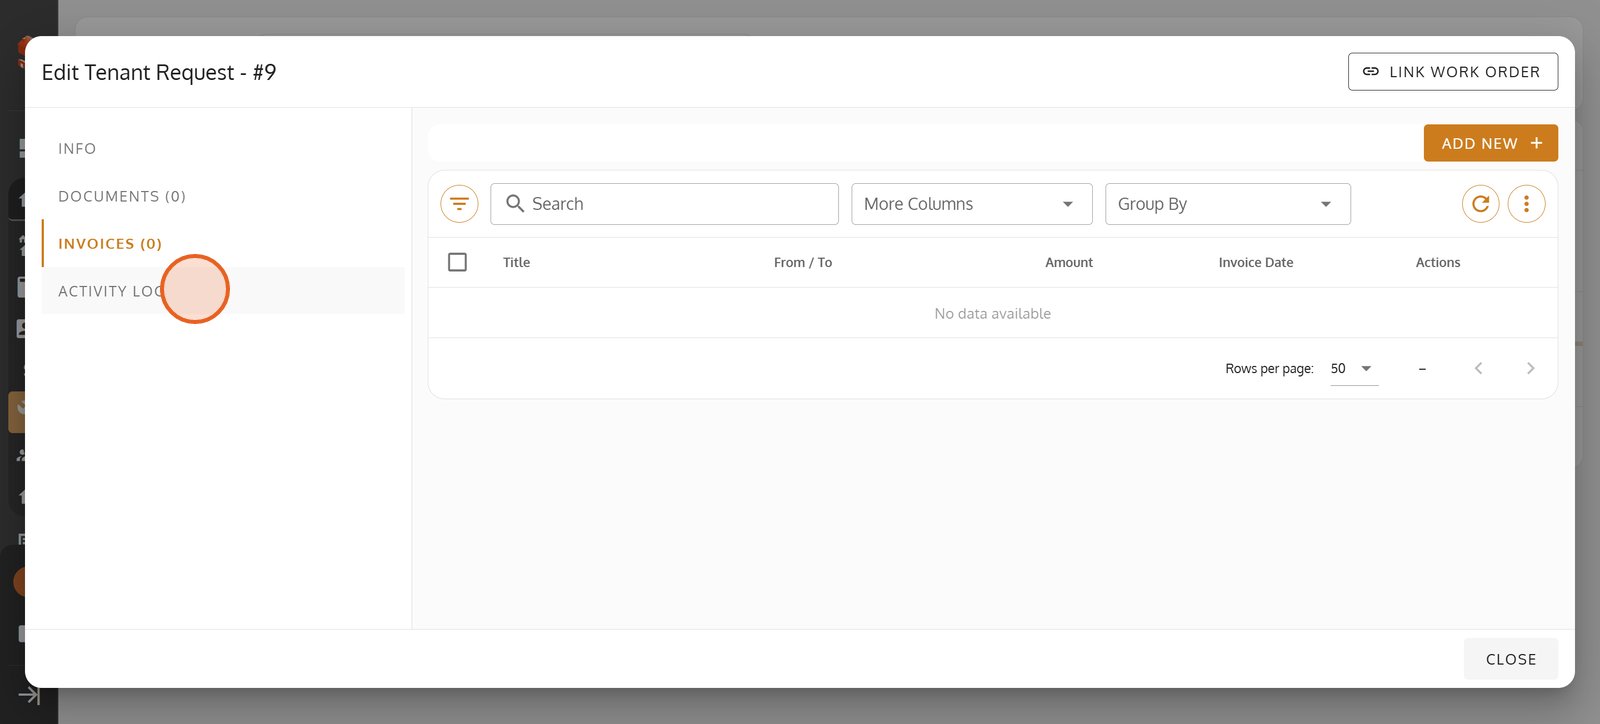
14. Switch to 'Invoices' to view or send billing records linked to this tenant request.

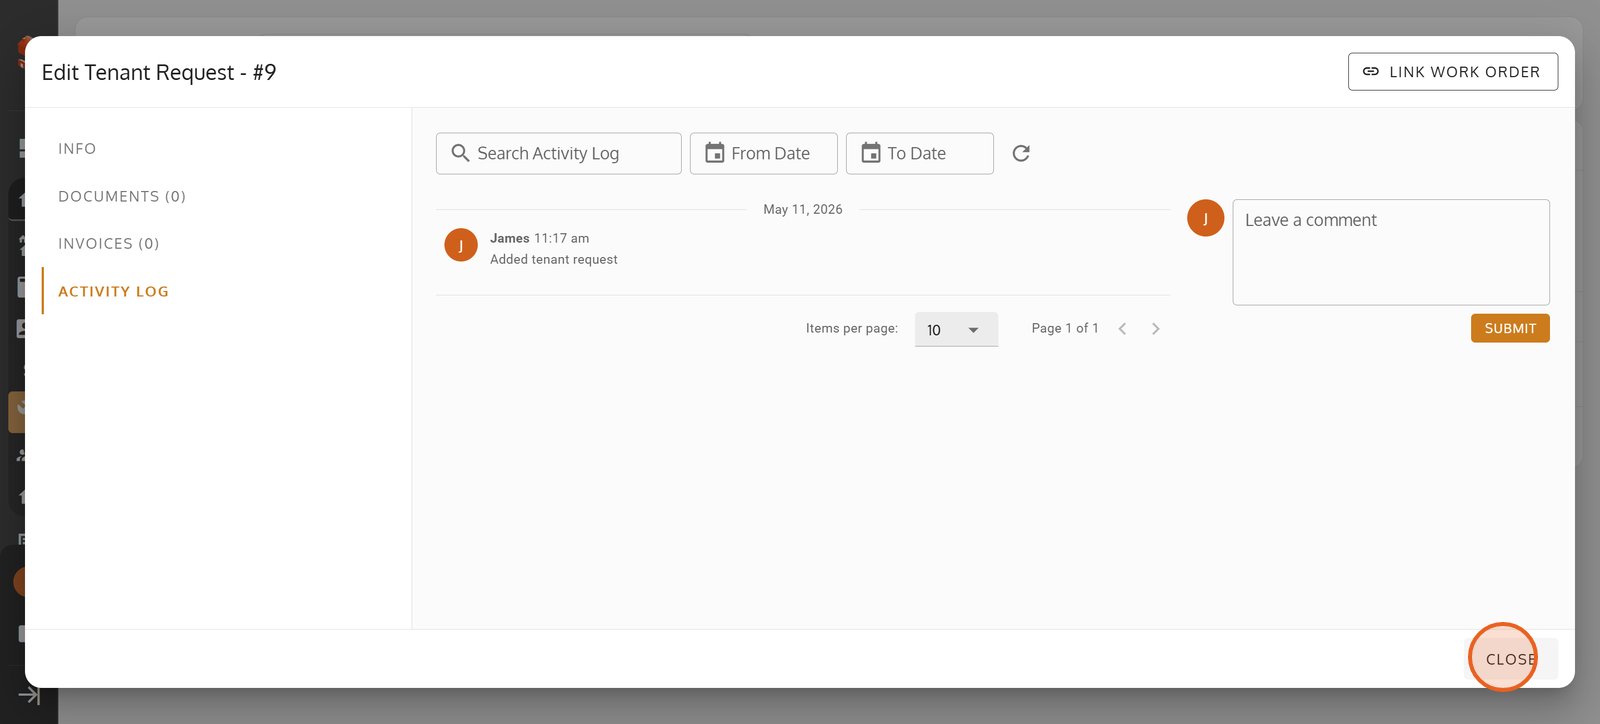
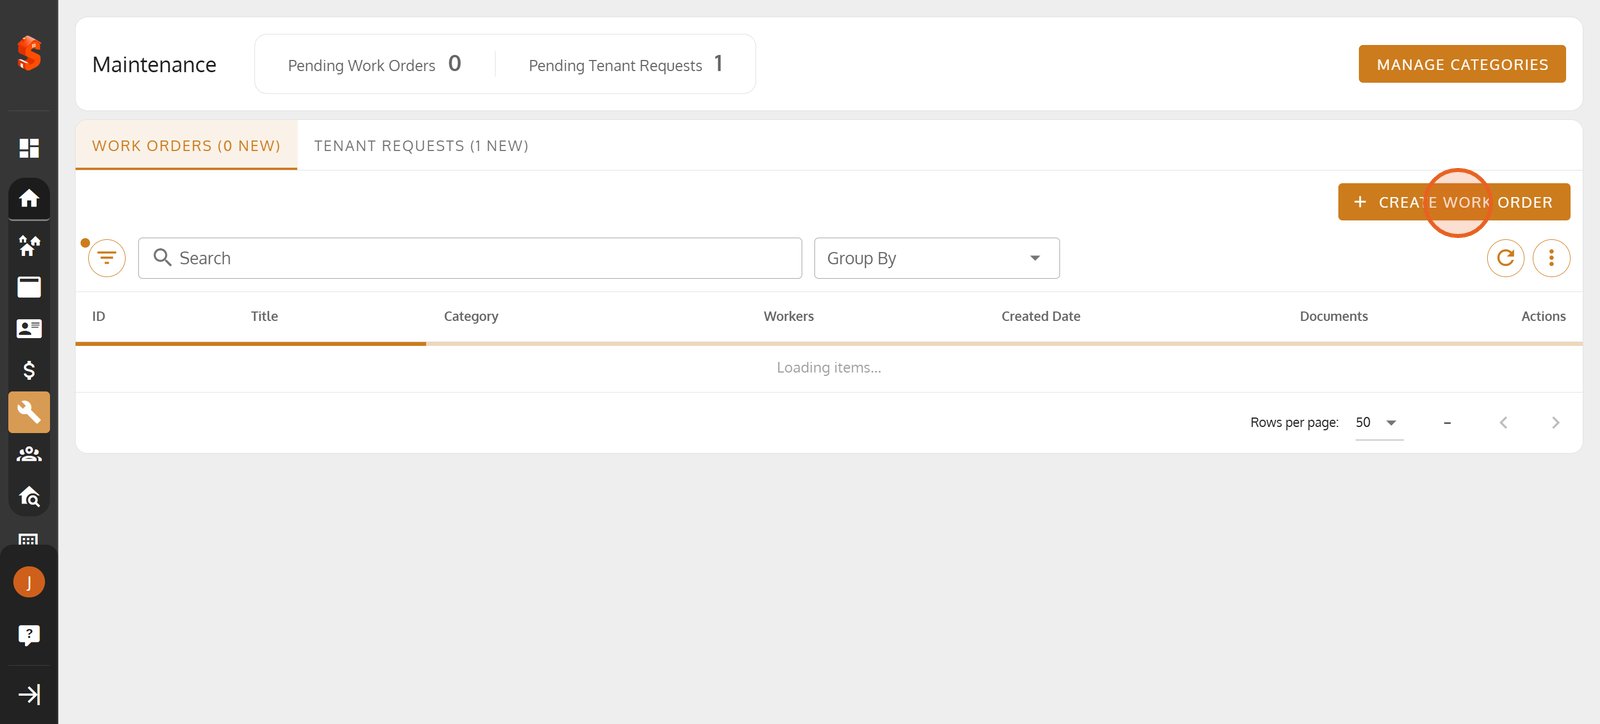
15. Review the 'Activity Log' for a complete history of actions and updates on this request.
16.
17. Check the 'Work Orders' tab to track progress and assign tasks for tenant requests.

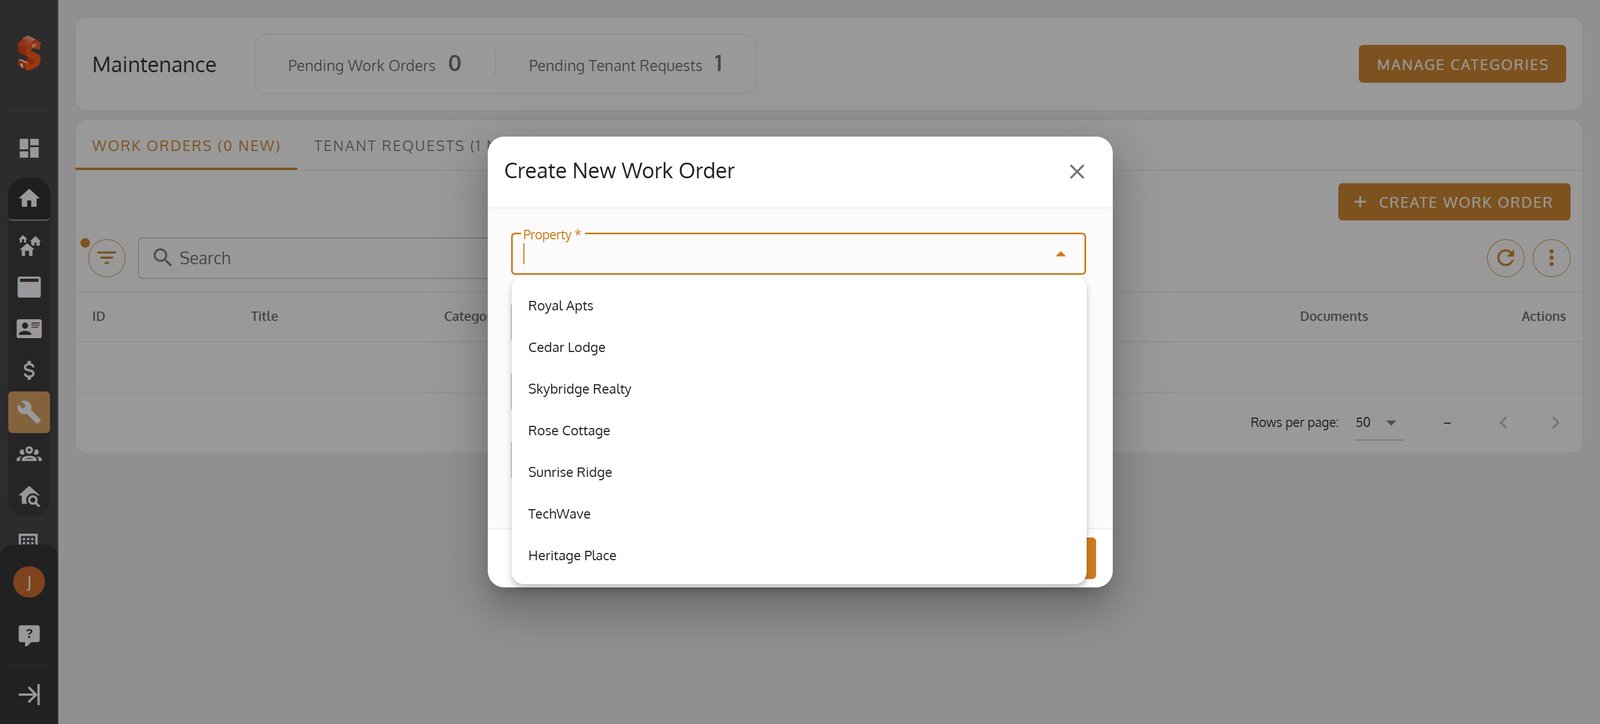
18. Select '+ CREATE WORK ORDER' to start a new task for property maintenance.
19. Pick the property needing attention to keep your maintenance organized.

20.
21.
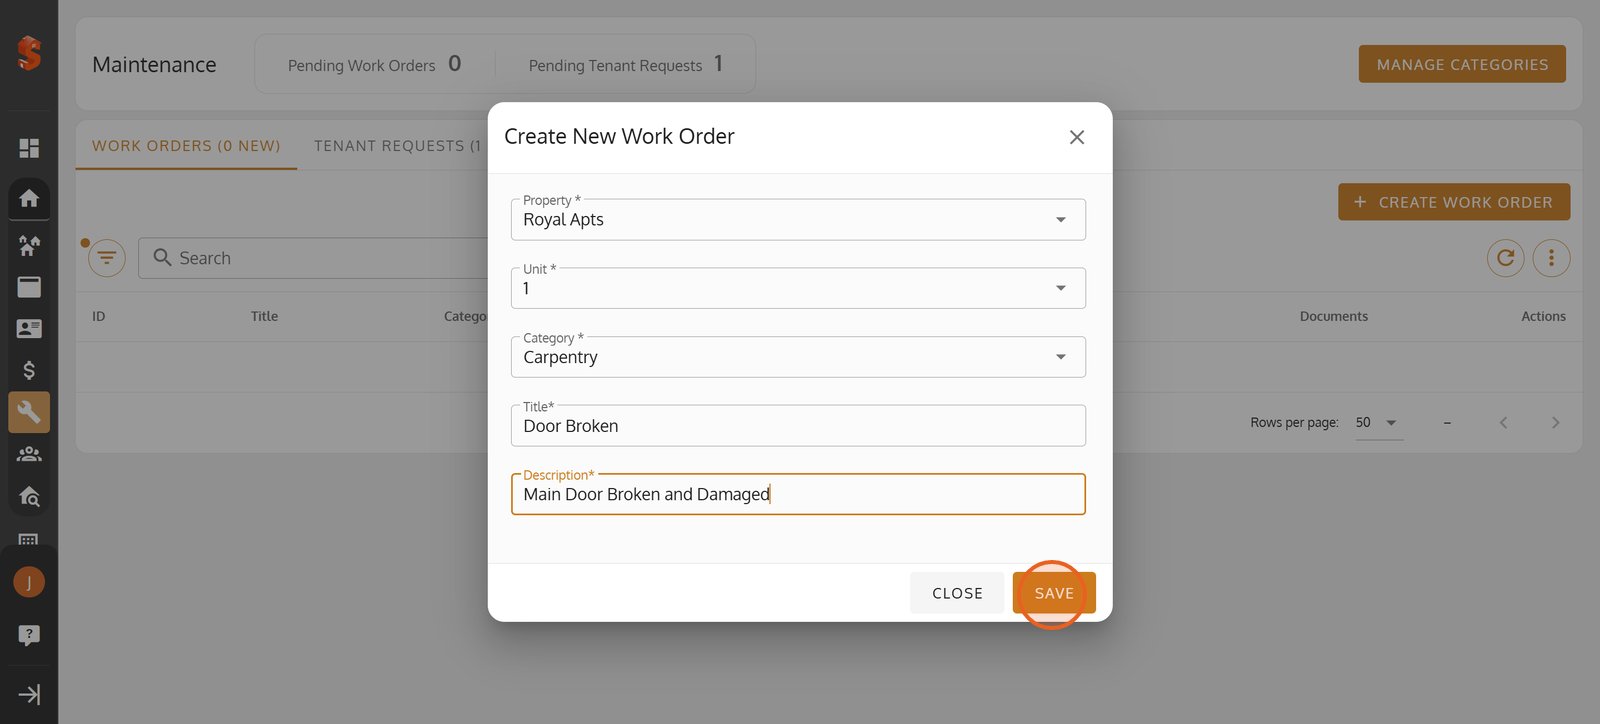
22.

23.
24.
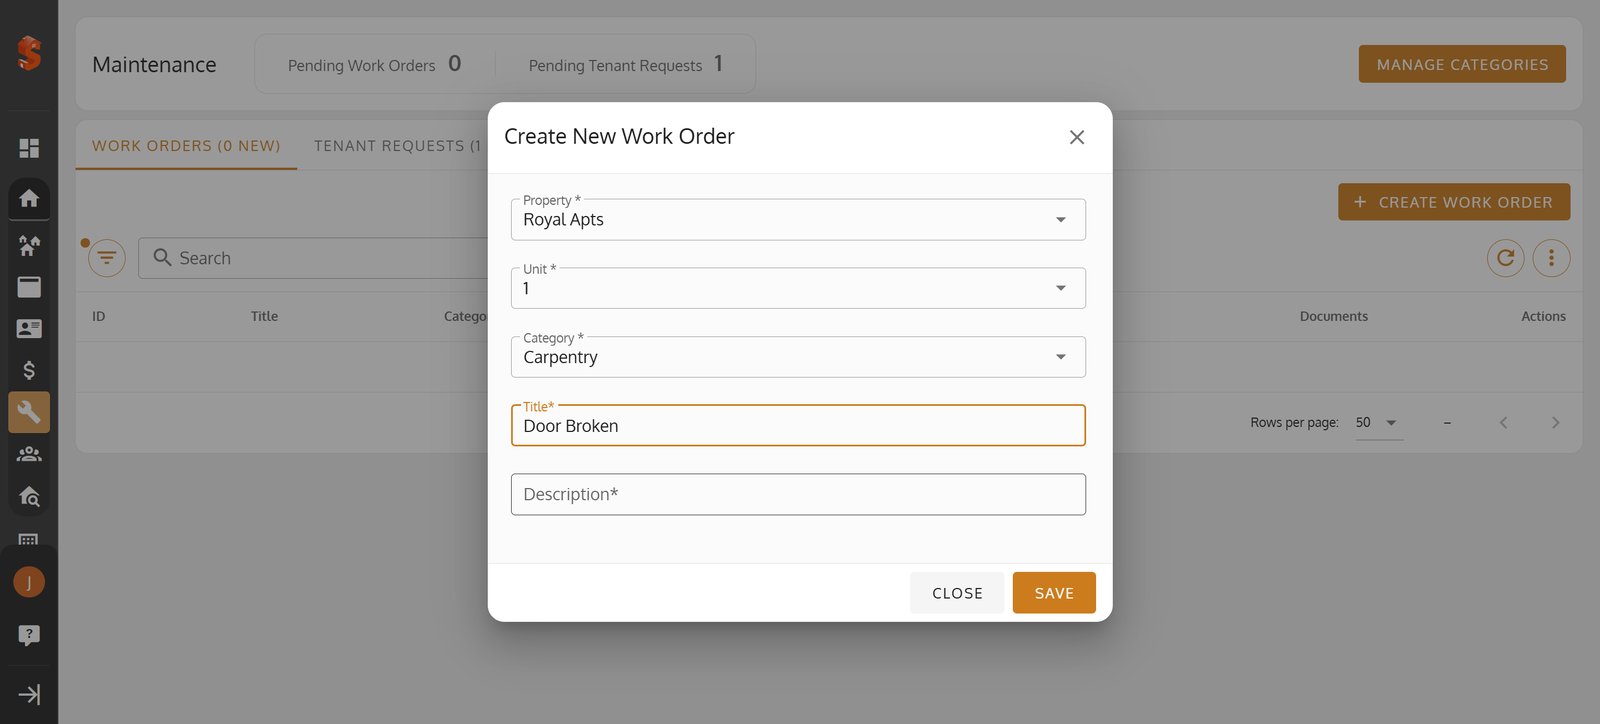
25. Click 'Save' to generate a new work order and keep repairs moving forward.
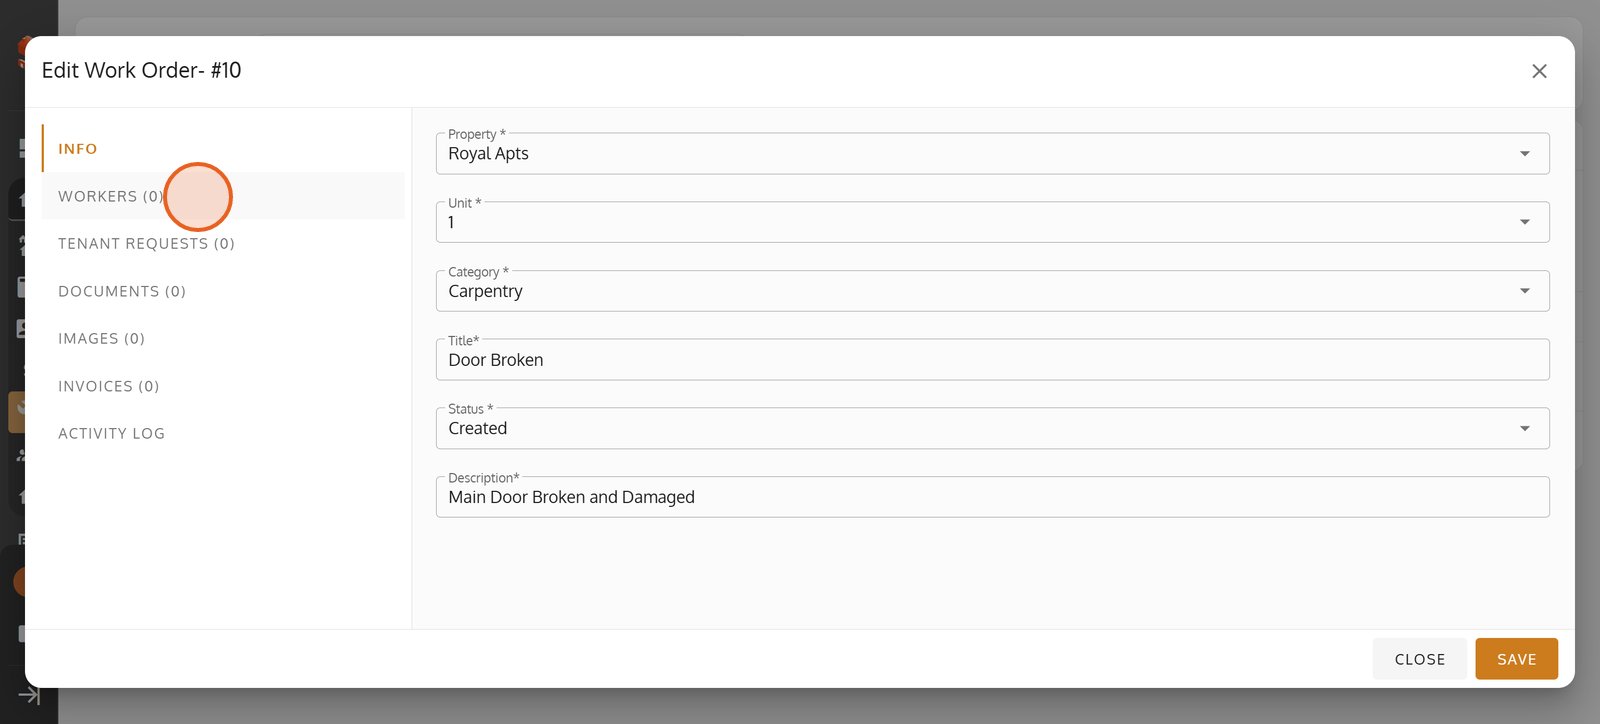
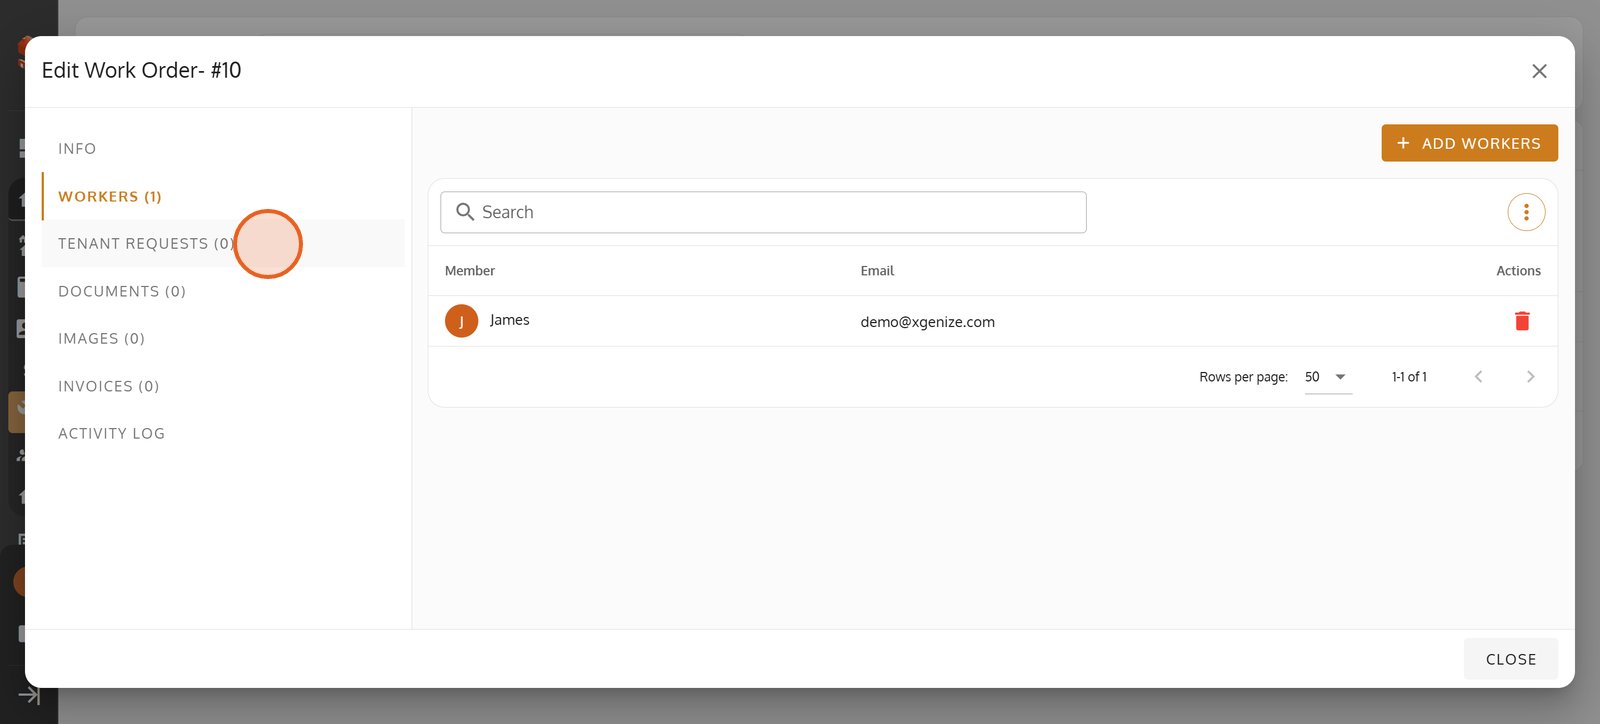
26. Check the 'Workers' tab to view or assign technicians for the job.
27. Click '+ ADD WORKERS' to quickly select staff for this task.

28. Check the box next to James to add him to the work order team.

29. Hit 'SUBMIT' to confirm your worker assignments.

30. Open the 'Tenant Requests' tab to link related tenant reports if needed.
31. Click the options menu for advanced settings or to export tenant request data.

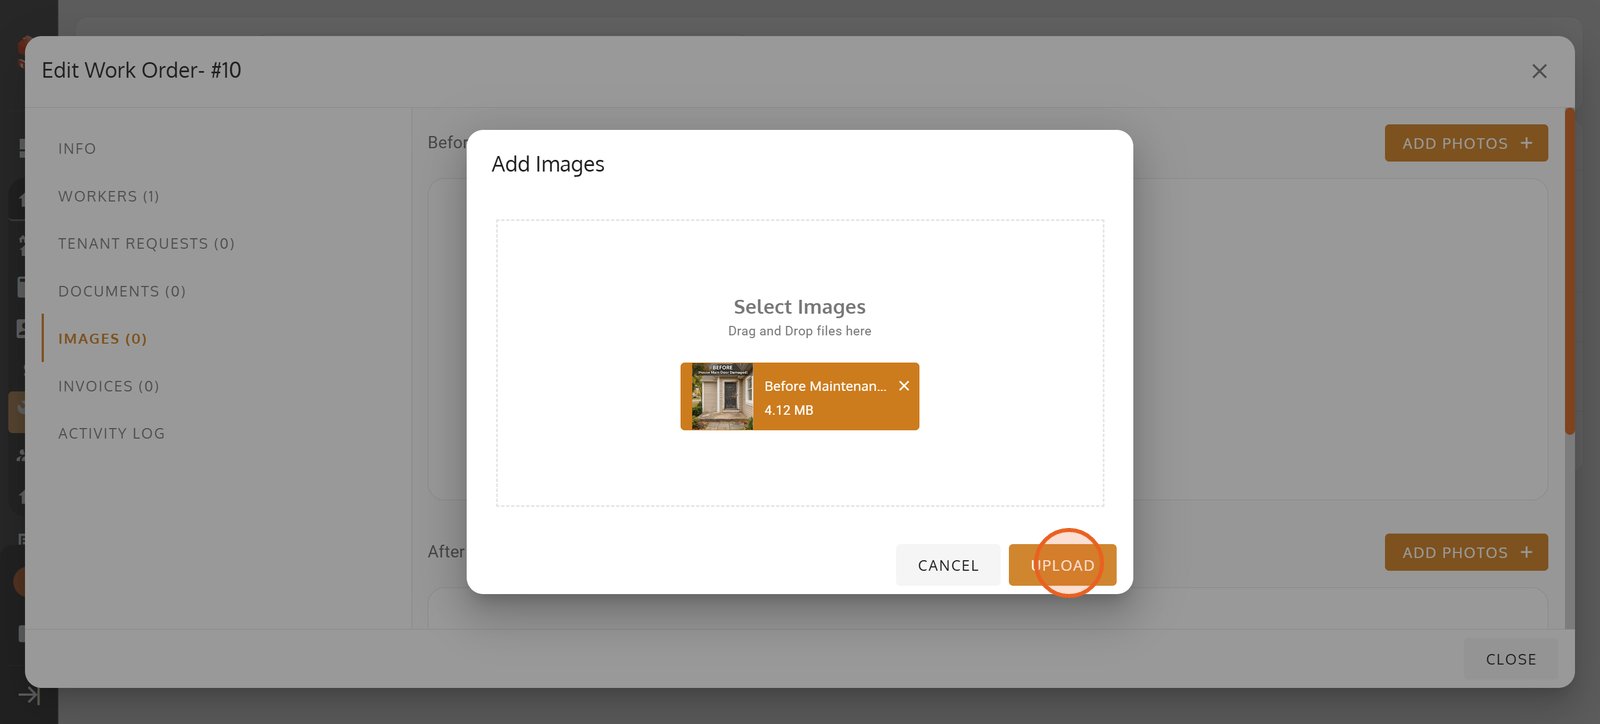
32. Explore export and reset options for comprehensive tenant request management.

33. Visit the 'Documents' tab to upload support materials for the work order.
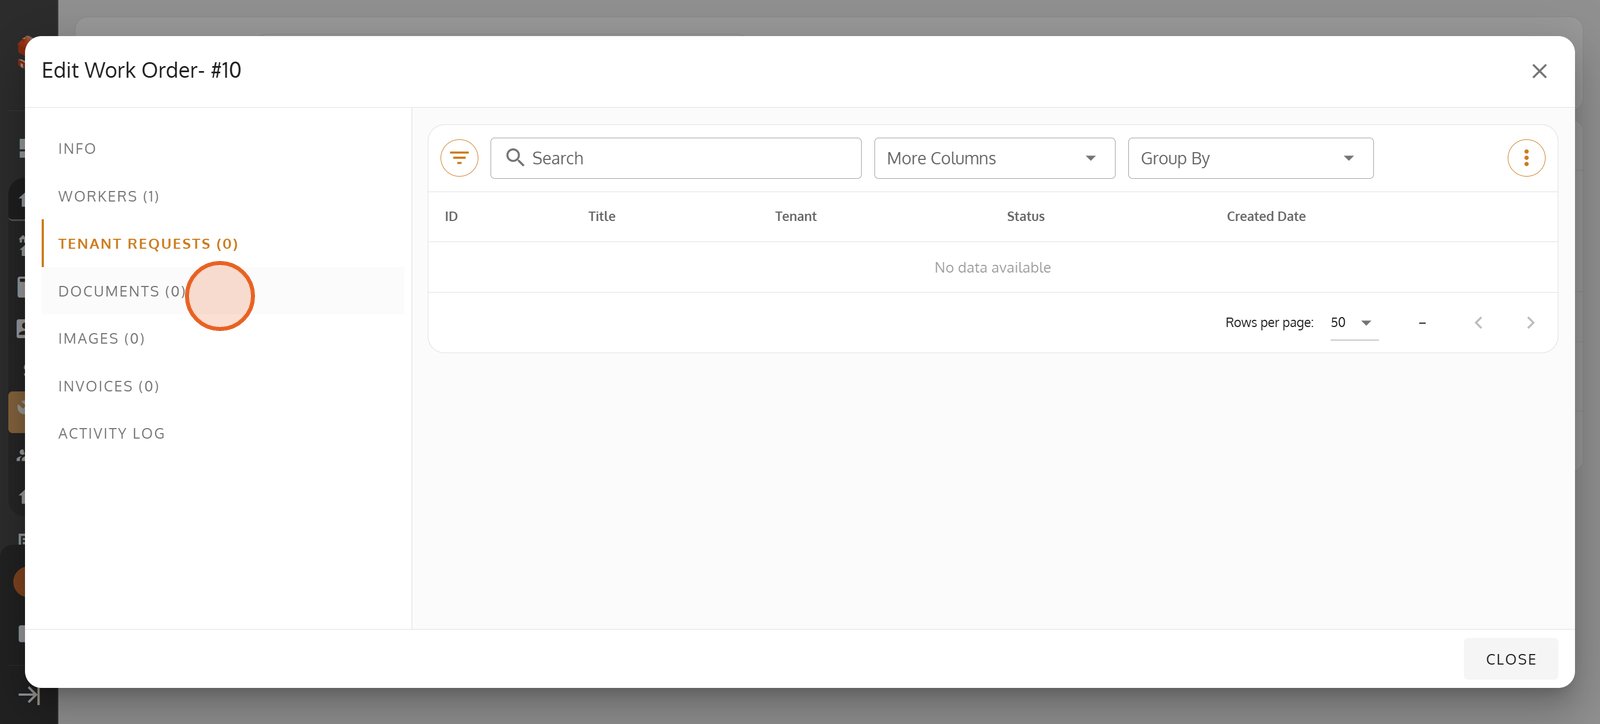
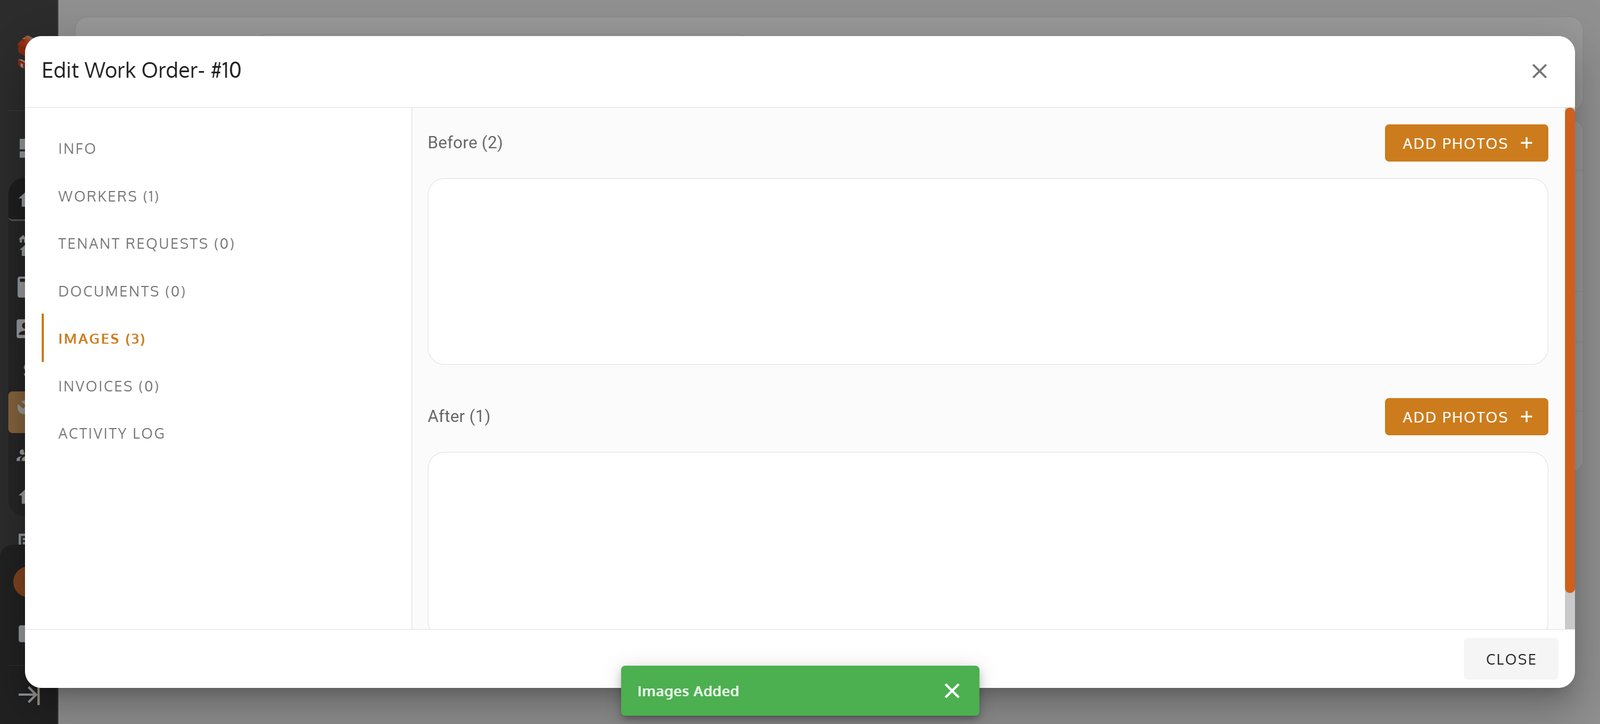
34. Switch to 'Images' to visually document repairs and maintenance progress.

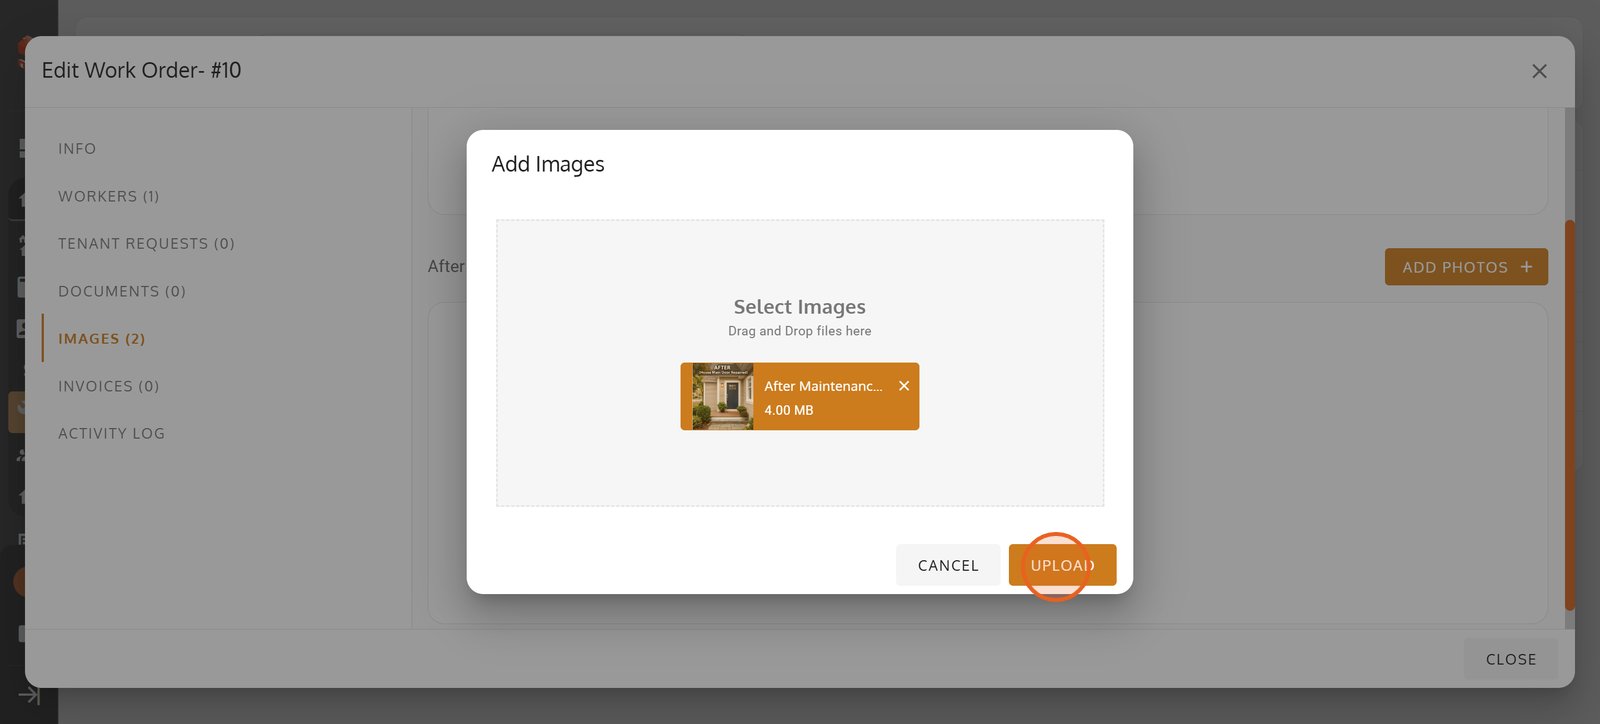
35. Add 'Before' photos for accurate records of the initial condition.

36. Choose files or drag images here to start uploading your photos.

37. Click 'UPLOAD' and your image will be instantly added to the work order for clear documentation.
38. Hit 'Add Photos' to further enhance your maintenance records.

39. Use this zone to drag and drop images to streamline the upload process.

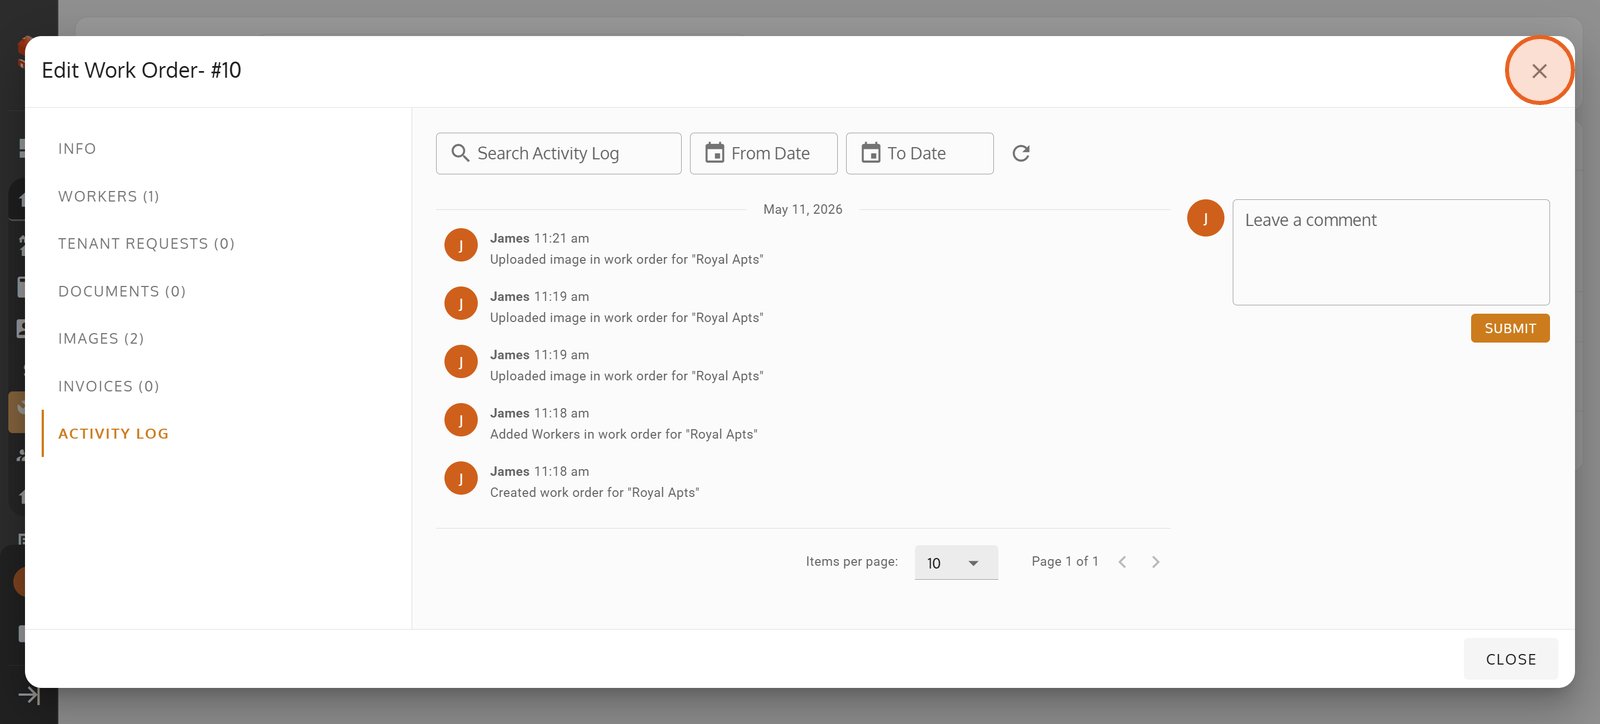
40. Click 'UPLOAD' to add your 'After' repair photo and mark work completion visually.
41.
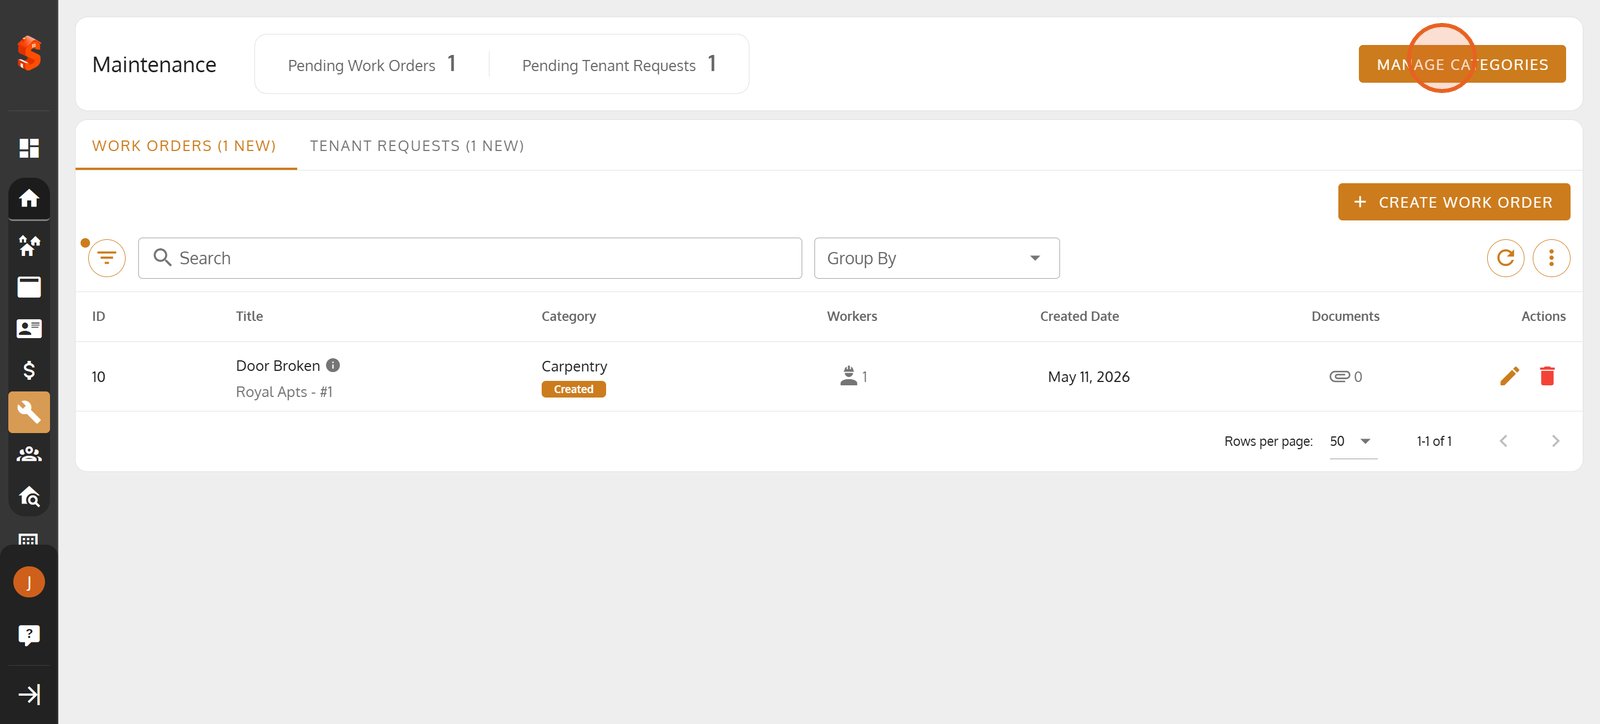
42. Click Invoices to add and review your invoice list.
Click Invoices to add and review your invoice list.

43. Click Activity Log to review every tenant request and work order update in one complete timeline.
Click Activity Log to review every tenant request and work order update in one complete timeline.

44. Click Close to exit the Edit Work Order view.
Click Close to exit the Edit Work Order view.
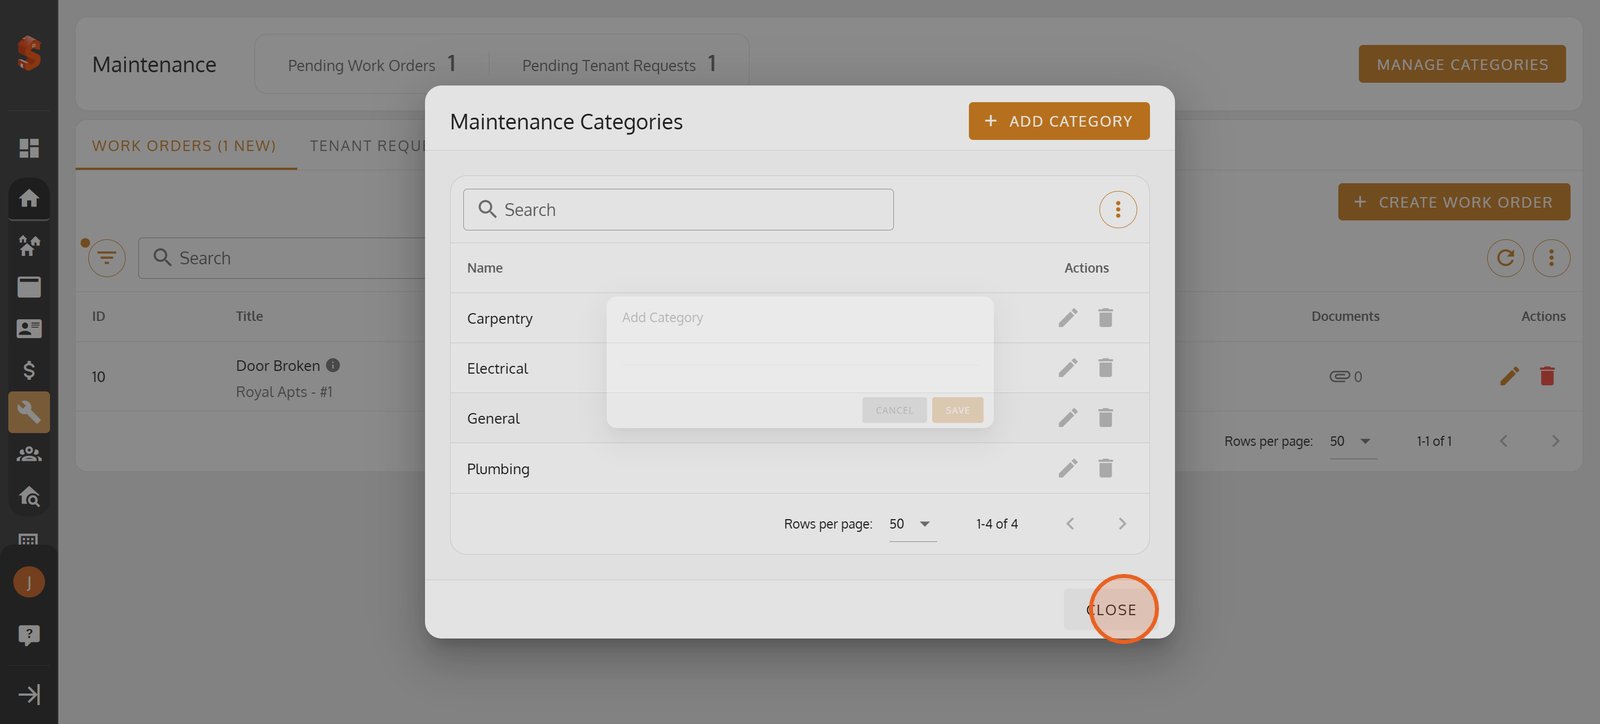
45. Click MANAGE CATEGORIES to organize request types and streamline work order tracking.
Click MANAGE CATEGORIES to organize request types and streamline work order tracking.
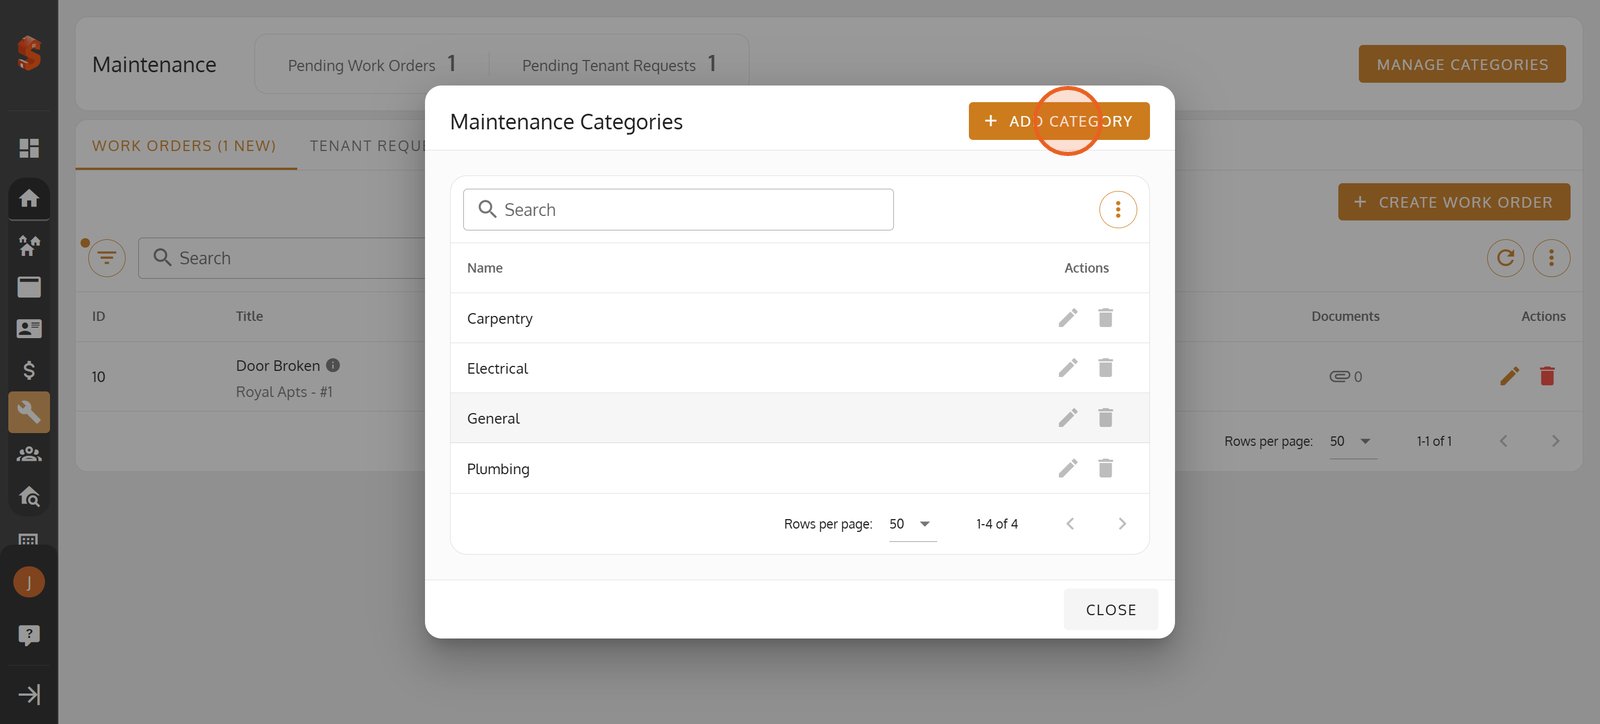
46. Click Add Category to create a new category.
Click Add Category to create a new category.
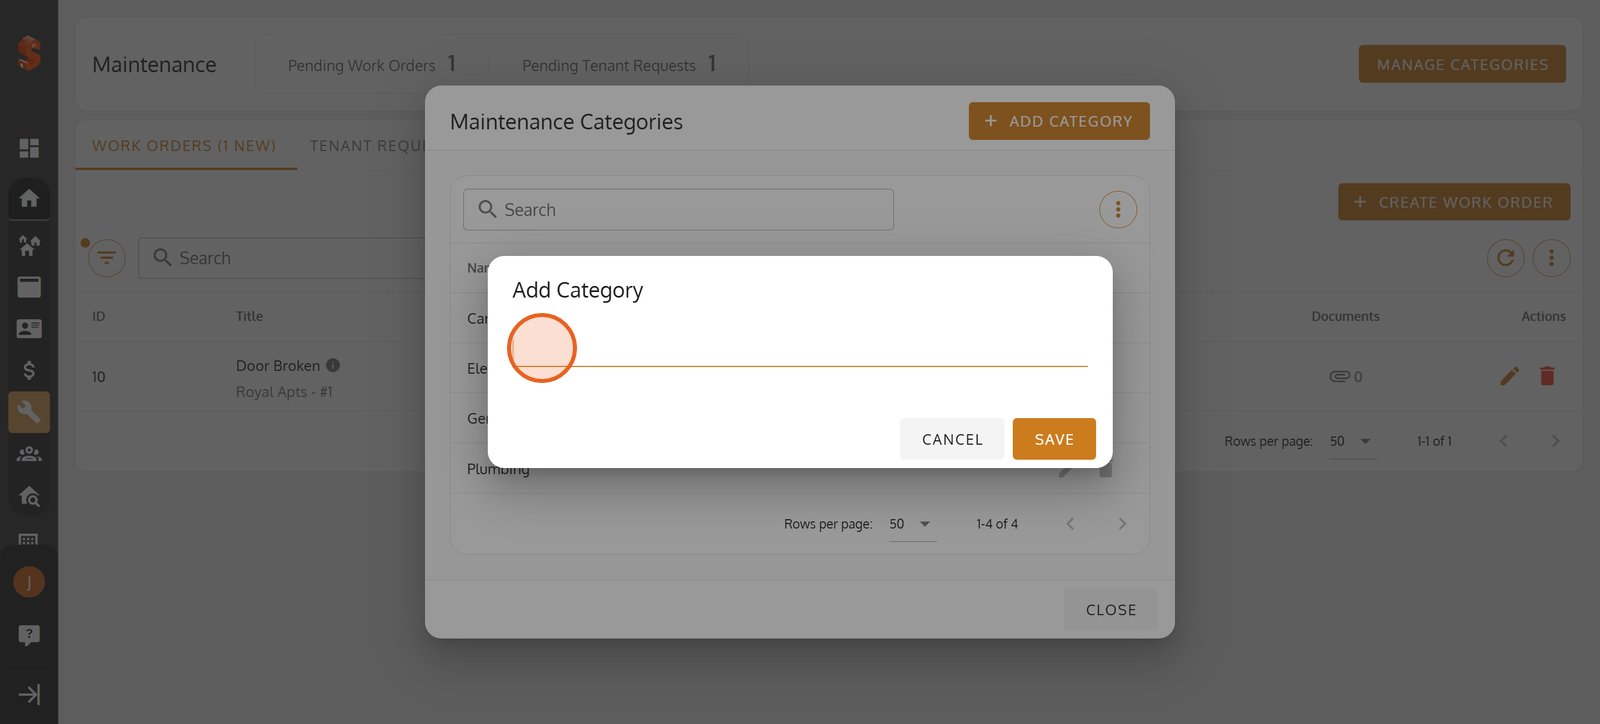
47. Create the category you want to appear in the categories dropdown.
48. Click Close to exit.
Click Close to exit.
49.
